If you have a railing or any part of your garden elevated from the ground, you may want to consider securing it with these tips. If there are any children in the area, they may be tempted to climb on the railings and fall off. One way to make your fence more secure is to use a fence post clip. This is a device that attaches to the end of the railings and secures them to the ground. Another way to secure the fence posts is to use a screwdriver to secure them to the ground.
The railing could also become loose over time because of things like soil shifting, which can lead to an accident. You’ll need something heavy-duty enough not to break when people lean against it but lightweight enough that you don’t damage your plants by installing them incorrectly. Bamboo is often a good material for garden railings because it’s strong and lightweight. Most people don’t use bamboo very often in the garden, but it’s an excellent choice for projects like this one.
There’s no sense in spending all that time planting and then ruining everything by leaving your plants unprotected! So this post will give you helpful tips on how to secure railing planters while still getting all its benefits!
8 Steps to Follow on How to Secure Railing Planters
Step One: Look for a Decking Pattern
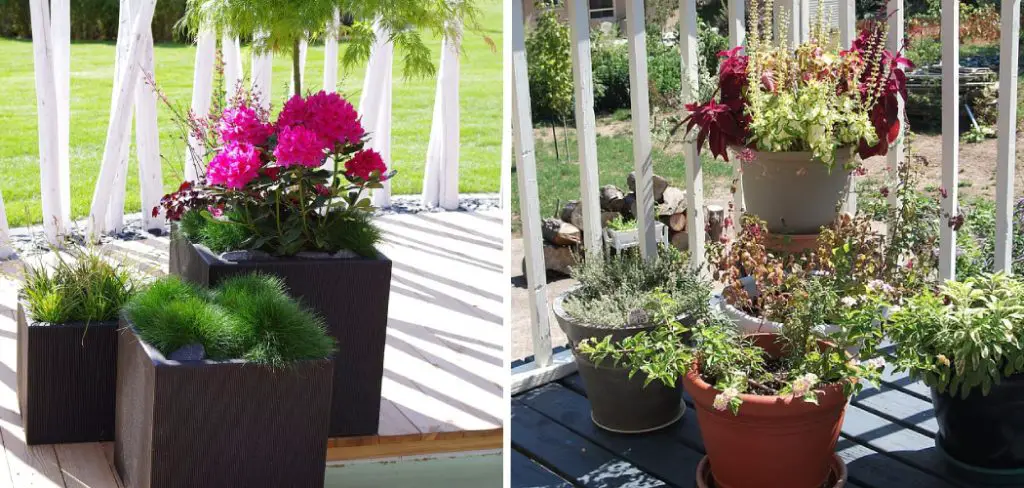
There are many different kinds of railing planters, but most look roughly the same. They have a flat top and a curved front section that forms the shape of a bowl. The back of the planter is usually a smooth vertical surface that extends up from this curve. This is where the planter attaches to the railing. There are several different ways that this attachment can occur. Some railing planters have small metal brackets that attach to the vertical surface of the back of the planter.
The railing planters usually come with an included fastening kit, which means you should be able to find the necessary hardware without any trouble.
Step Two: Choose a Fastening Point
To secure your railing planter to your deck rail, you need to find the part of the planter that will fit over your decking. Unfortunately, some manufacturers do not include any hardware with their planters; this often means there is only one way to attach the planter to your deck. If you want to purchase a decorative planter, you need to make sure that it has some sort of drainage system. Some planters come with a small built-in saucer or drip tray; this is the best type of planter to buy.
Other times, however, railing planters are equipped with fastening hardware that allows you to place the planter on either side of your railing if you need to find a way to secure both sides of your railing planter, start by reading your manufacturer’s instructions on how to attach the included hardware. Deck rail planters: deck, balcony and porch rail planters. Deck rail planters are an easy way to add some color to your deck, balcony or porch. Many of our customers use them on balconies, decks, patios and more.
Step Three: Determine Hardware Placement
Placing the hardware on your railing planter is easy, especially if you purchased a kit that will fit over both sides of your deck railings. Once you find the part of your railing planter that fits over the top of your decking, look for two small holes at either end of the curve.
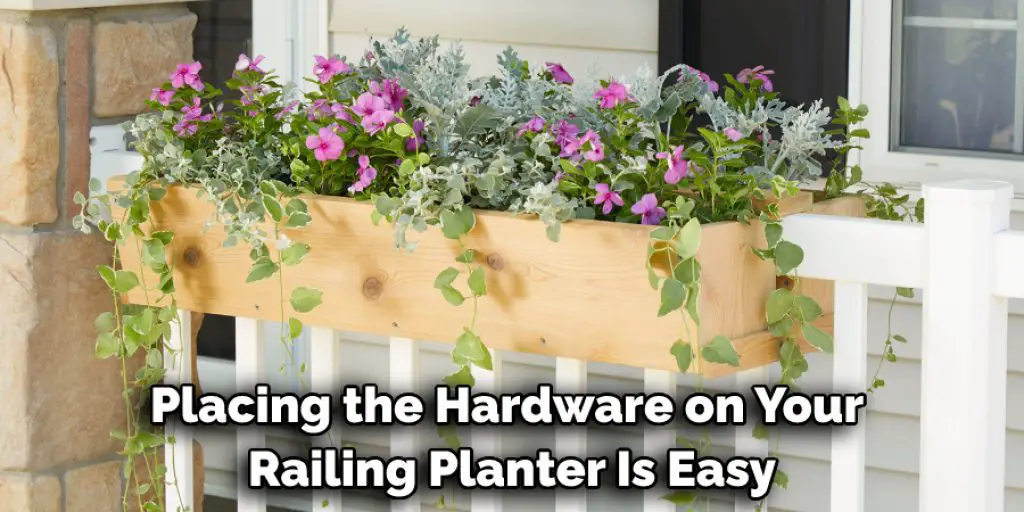
These holes are where you will put the included screws and washers to attach the planter to your deck railing. These screws should be long enough to go through your railing and into the side of your planter. You may need to drill pilot holes in the planter, depending on how thick it is.
Step Four: Secure Hardware
In most cases, you will be able to secure your rail planters with screws and washers that come with your kit. In addition, look for a small piece of hardware that attaches securely to both sides of your railing planter.
When you attach this hardware, the planter should be secure enough that it will not detach easily. However, if you feel that the included hardware is not enough to secure your railing planter, you should also look into using other kinds of hardware, such as tee nuts and bolts.
Step Five: Secure the Top
Your railing planter should have a flat top that is perfect for mounting plants or other materials. You can secure this top by sliding a washer onto each of your screws and tightening them in place with pliers to hold everything in place.
Once you do this, your rail planters will be sturdy enough to handle any plants you put on them. However, it is a good idea to check for loose screws once or twice a year to ensure that everything is still in place.
Step Six: Make Adjustments
Some rail planters have fastening holes that are too short of slipping over the top of your railing, or they may not fit at all. This means you will have to take some time adjusting the length of your screws so they can be attached securely to your railing and planter.
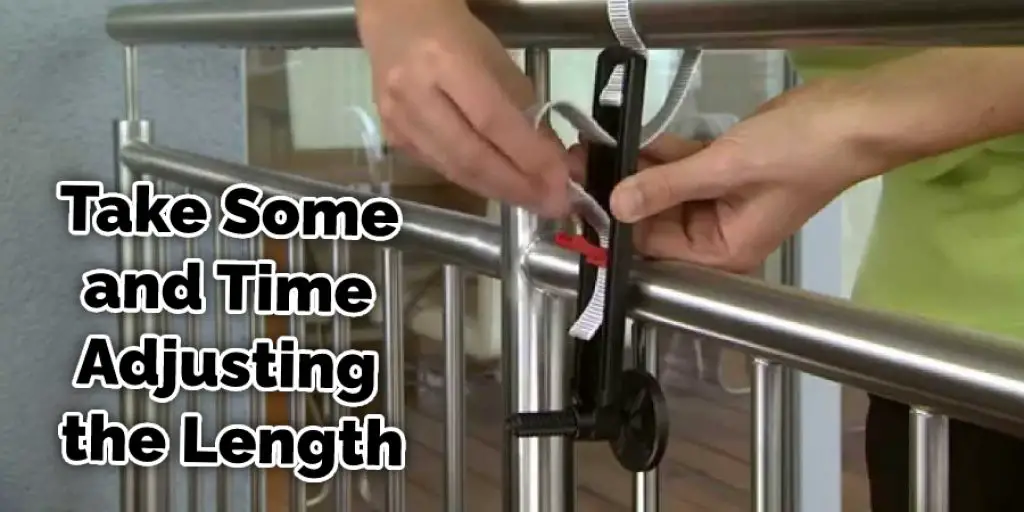
Most rail planters have a “lip” on the edge that is attached to your deck railing. You can adjust this lip by removing some of the screws and sliding it either up or down, depending on where you want it to be. Doing so will allow you to attach more hardware if needed without worrying about the planter slipping off your deck railing.
Step Seven: Drill Holes for Tension Bolts
Some rail planters require tension bolts to be attached securely to your deck railings. These bolts are used when you cannot attach hardware directly onto the side of your deck railing so that they will require a different kind of fastening system.
If you use tension bolts, drill holes into your deck railing where the rail planter will attach. The size of these holes should be slightly smaller than the shaft of your tension bolt to ensure it stays in place securely. Once you have drilled these holes, insert the bolts and tighten them down with a wrench. In this article, you will read how to secure railing planters.
Step Eight: Secure the Bottom
Some rail planters have holes that allow you to secure them to your deck railing by inserting screws through these slots into the side of your deck railing. These are often used when you want to create a gap between two sets of railings, so they should be drilled in along the bottom portion of your deck’s boards.
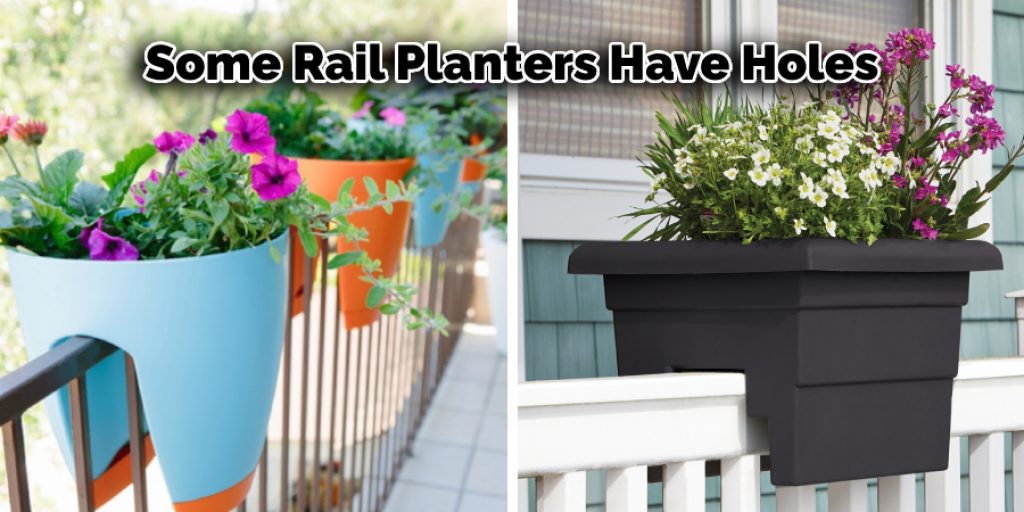
These slots are usually on the bottom of deck rail planters and should be drilled into your deck railing on either side of aboard. Once you have drilled these holes, insert the screws and tighten them down with a wrench or screwdriver until the rail planter is secure.
Frequently Asked Questions
Are Railing Planters Safe?
Yes, they are safe as long as you follow the instructions on how to install them. If you don’t follow the instructions carefully, then they may not be safe.
Do Railing Planters Need Drainage Holes?
The type of drainage holes that you need will depend on the soil conditions in your garden. For example, if your soil is heavy and wet, then drainage holes may not be necessary.
It would be best if you also considered whether or not you have an underground sprinkler system that might create a problem with the drainage holes. In this case, it would be best to avoid the use of any drainage holes to avoid flooding.
Can You Grow Vegetables in Rail Planters?
Yes, it is possible to grow vegetables in rail planters. It is possible to grow any vegetable in a rail planter. The only thing that you need to do is plant the seeds and water them regularly. You can also use compost for growing plants as well as for fertilizer.
Where Do You Drill Holes in Rail Planters?
The Most Common Locations to Drill Holes in Rail Planters Are :
- On the backside of the planter, between the legs, and where they meet at the bottom of the metal bar.
- On the top side of the rail, near where it meets with each leg.
Conclusion
The railing planter is a beautiful and functional addition to your home. But, unfortunately, it can also be quite dangerous if it’s not installed correctly or secured correctly. We’ll show you some of the most common mistakes people make when installing their railing planters, as well as how to fix them so that they are safe for both you and your family members.
If this sounds like something you want help with, get in touch with us today to schedule a consultation. We can help you choose the suitable rail planters for your deck, and we’ll walk you through all of the necessary steps of installing them so that you can rest assured they’re secure and functional. The article has been a good guide on how to secure railing planters.
You may also read: How to Stiffen a Deck Railing


