Introduction
The Hotpoint oven is a cooking appliance that sits on your kitchen counter. It consists of a metal box within which burners and an electric heating element are installed. The inner tube can hold several shelves for food, and the oven door opens to expose the interior racks for you to load up your goodies. Hotpoint ovens usually come with a stirring paddle or wide spatula for safe food removal from inside this hot metal box.
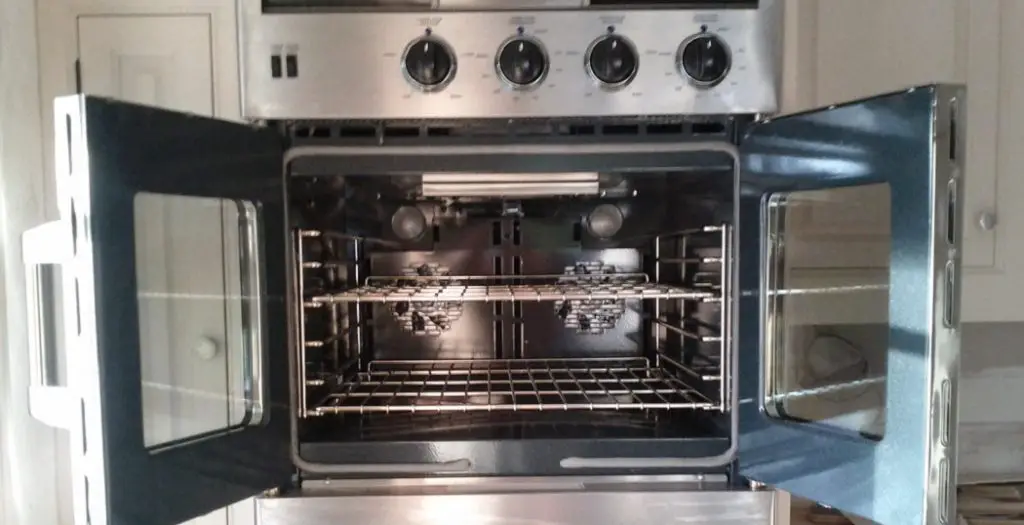
The inside of the Hotpoint oven is covered by reflective surfaces such as glass or shiny steel, designed to reflect heat onto what’s cooking to cook it more efficiently. These surfaces get very hot during use, hence the need for safety accessories such as the stirring paddle! In this article, I will discuss how to self clean Hotpoint oven. So let us get started.
A Detailed Stepwsie Guide on How to Self Clean Hotpoint Oven
Step 1:
Unplug the oven. Put on gloves and safety goggles before you do any work inside the oven cavity.
Warning: If you are cleaning certain types of floor coverings, check first with the manufacturer to ensure it is safe to use cleaners near them. Most modern floors are now created to resist heat but always check for complete safety.
Step 2:
Remove shelves from your oven. Some may come out quickly by sliding them toward the front, and others will require you to remove screws or unfasten clips before they can be removed. Check carefully once they are out because small items like silverware often fall through ventilation holes in the bottom or side of your oven racks, and you don’t want to look for them once you start the cleaning process.
Step 3:
Remov all screws or unfasten clips that hold your oven’s outer metal cover in place. This is usually located on the side of your range and may require some force to remove if it is held down tightly by years of accumulated grease and dirt. Be careful not to drop screws into crevices where they can be difficult to retrieve later. Once off, scrutinize the inside surface, looking for bits of food or burned on greasy residue from baking spills.
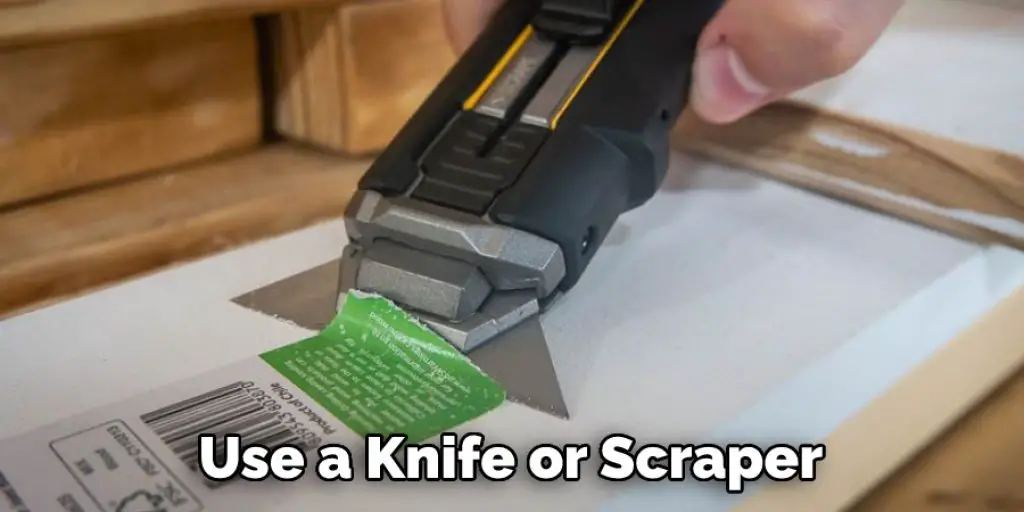
Use a knife or scraper to lift off any large chunks but do not scrape off your paint finish with a sharp object! Once you’ve done a thorough inspection, go ahead and wipe down the entire outside surface of your oven. You can use soapy water or an oven cleaner for this task, but be sure to wipe it dry with clean paper towels before you begin working inside your oven.
Step 4:
Remove the racks from the oven. If they are reversible, remove one side and then pull up on that side until it detaches, allowing easier access to debris stuck between the top and bottom of the rack slots. Follow the same procedure for both sides of each rack if applicable until all-out frames are free of debris and grease buildbuildupFinally, place them on a clean surface where you can easily reach any dirt caught in cracks or crevices during removal.
Step 5:
Clean any parts attached to oven walls by first removing screws or unfasten clips that hold them to the oven. If necessary, use a knife or scraper to remove any debris stuck in crevices, then wipe down all surfaces with soapy water or an oven cleaner.
Step 6:
Disconnect the oven light by pushing it on one side while rotating it slightly until you feel a click and can pull it out of its socket entirely. Wipe clean both parts separately with dish soap and water, dry thoroughly before reconnecting power.
You Can Check It Out to Make a Toaster Strudel in the Oven
Step 7:
Remove outer door glass panels by unfastening screws holding tiles in place around the outer rim of the door opening. Reach inside carefully with your hand and slide off each board one at a time, don’t forget the part held in place on the opposite side but hidden from your view by the oven. Again, wipe down all parts with soapy water or an oven cleaner just as you did with the rest of your oven.
Step 8:
Now that everything is removed from inside your oven, you can turn it upside down to begin cleaning from the bottom up. A brush or a spray bottle will make this job much easier and faster, allowing you to clean more areas at a time without any need for scrubbing with a sponge.
Step 9:
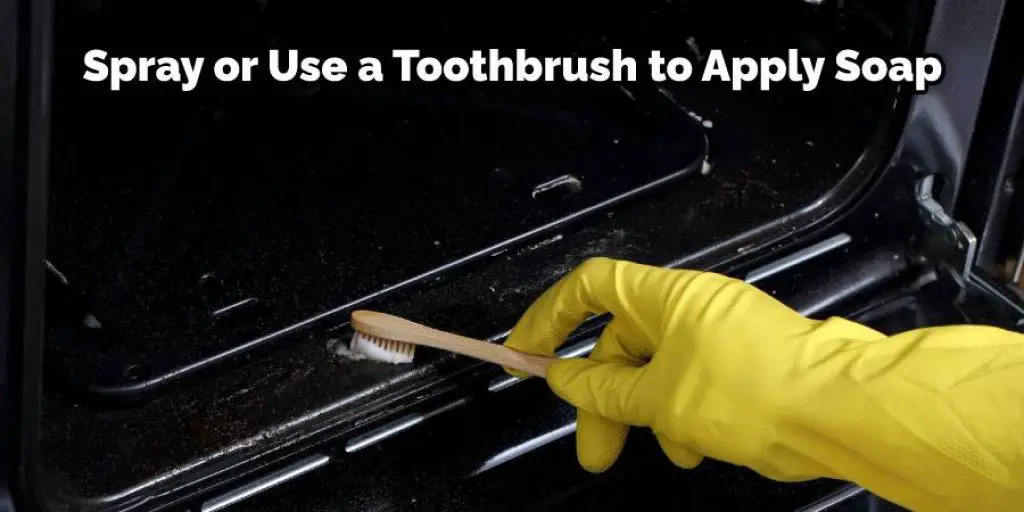
Spray or use a toothbrush to apply soap or oven cleaner to all crevices and grooves in door seal and around heating elements typically blackened with carbon residue from cooking. Leave on for one minute before spraying clean again repeatedly until no more dirt buildbuildupars on the areas you’ve applied your cleaner to.
Next, spray or pour water on the bottom of the oven and scrub with a toothbrush or brush where necessary, but avoid cleaning glass panels as doing so may cause them to break.
Step 10:
Turn the oven right side up and move it back into position over the ventilation hole in the floor for easy access during the next step. Stand on a safe surface such as a wooden stool or ladder; do not climb onto a rickety chair or box that could give way under your weight and seriously injure you.
Step 11:
Using a can of compressed air, blow any debris from corners at the top and bottom of the oven around heating coils and fan blades located below the minimum cooking area on the bottom of the oven. You can also use a vacuum attachment but be careful not to scratch fan blades and always unplug the oven before doing this.
Step 12:
Clean any grease or grime left on the door’s exterior by spraying with a cleaner and wiping down thoroughly with paper towels until all areas are gleaming clean. Replace glass panels in reverse order of removal, then replace outer door panel screws in the same holes you removed them from earlier.

Slide racks back into their slots one at a time, making sure they sit evenly against both sides when you push them back in place. Reattach bulb if applicable and replace oven light cover by pushing down firmly until it locks in place in its socket.
Step 13:
If your oven has removable heating pans, use soapy water to wipe out any groove debris where the pan connects to the heating element. Be sure to clean both sides and all areas around any connectors before reconnecting pans in place and reattaching the screws that hold them securely in place if applicable. Always dry thoroughly after washing.
Step 14:
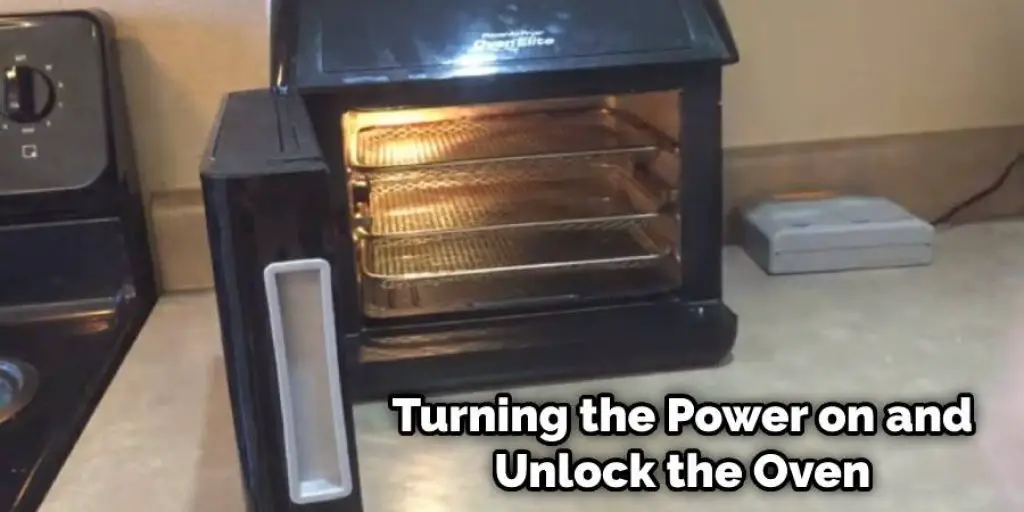
Reattach the control panel by turning the power on and inserting the key into the oven lock to unlock it, then pushing back firmly until you hear a clicking sound which signals it is locked once again in its original position. Depending on your model’s specifications, either screw back in or reattach clips for panels attached to the outer door rim.
Step 15:
Replace food items inside the oven so all parts of the appliance are correctly connected and working as they should be after cleaning according to manufacturer guidelines and instructions provided in the included booklet.
Step 16:
Turn the oven back on and preheat at 350 degrees Fahrenheit for 20 minutes, then turn off and allow to cool before use.
Precautions While Self Cleaning Hotpoint Oven
- Ensure the oven is cold before starting a new cycle or restarting a previously interrupted process.
- Turn off the oven after three hours of self-cleaning if a cycle is interrupted. Failure to do so could result in an open fire.
- If you have turned off the stove and it has been less than 3 hours since the last program was completed, an automatic restart may not occur. To ensure that your oven begins a new cycle, turn it on for 1 minute at the highest temperature setting before starting a new clean process.
You Can Check It Out to: Food Processor vs. Blender: Which Is Better?
Frequently Asked Question
Can You Leave the Racks in A Self-Cleaning Oven?
It is possible to leave the racks in a self-cleaning oven, but it’s not recommended. This will result in damage and make your oven more difficult to clean.
Here are some of the reasons why you should avoid leaving the racks in a self-cleaning oven:
- Self-cleaning cycles use high temperatures that can cause harm to your food if they’re left on too long.
- Leaving the racks in an oven can cause uneven heating which leads to burnt or undercooked food.
- The temperature at which a self-cleaning cycle is run is also very hot, so there’s no way for steam or moisture from cooking to enter and soften baked goods as it does when using conventional heat sources like an oven with a broil setting.
Is It Safe to Be in The House when Cleaning Oven?
It is safe to be in the house when cleaning the oven. However, it is recommended that you turn off all the power switches in your home and stay outside of the kitchen while cleaning the oven.
If you have a gas oven, make sure that there are no sparks near any electrical devices before turning on your oven again.
How Often Should the Oven Self-Clean?
An oven self-clean cycle is performed on a regular basis to remove grease and other food debris from the oven.
The frequency of cleaning depends on the type of material used in your oven. For example, stainless steel or glass surfaces are cleaned every time they are used, while ceramic or enameled surfaces need to be cleaned after each use.
Should You Open Windows when Self-Cleaning Oven?
If you have a self-cleaning oven, then you can clean it by opening the windows and allowing the fan to ventilate. This will allow all the steam that is created to escape.
However, if you do not have a self-cleaning oven, then opening the windows may lead to possible flooding of your home.
Conclusion
I hope this article has offered all the necessary instructions on how to self clean Hotpoint oven. Thank you and have a nice day!
You may also read it – How to Build a Corner Cabinet for a Wall Oven


