Aquariums have become a popular home decoration, and for a good reason – they can be beautiful to look at. However, keeping an aquarium can also be a breeding ground for bacteria and other organisms if you’re not careful. This article will teach you how to sterilize aquarium equipment to help keep your fish healthy and your aquarium looking great.
Sterilizing is an essential part of fishkeeping. It removes all organic and inorganic materials from aquarium equipment. This eliminates harmful bacteria and other microorganisms that cause diseases such as fin rot, ich, and cloudy eyes. Sterilizing your equipment will also extend the life and cleanliness of your filter pads and cartridges.
Things you’ll Need
- Air pump and airline tubing
- Heat source (aquarium heater)
- Bucket or pot large enough for the aquarium and equipment
- Gloves
- A scrub brush
- Bleach or boiling water
A Step by Step Guide on How to Sterilize Aquarium Equipment
Step 1: Determine How Much Equipment You’ll Need to Sterilize
It would be best to estimate how much equipment you will be sterilizing. If you are only doing a partial water change, for example, buying some new sterile equipment is unnecessary; make sure the old equipment is adequately cleaned.
If the equipment looks dirty or slimy, then it should be replaced. How often you return your equipment depends on several factors, including how heavily stocked your tank is and how large the aquarium is. It’s recommended that most aquatic keepers replace their aquarium cleaning utensils once every three months unless they need to clean them more often than that or replace them sooner for sanitary reasons (i.e., they look too dirty).
Step 2: Emptying The Tank
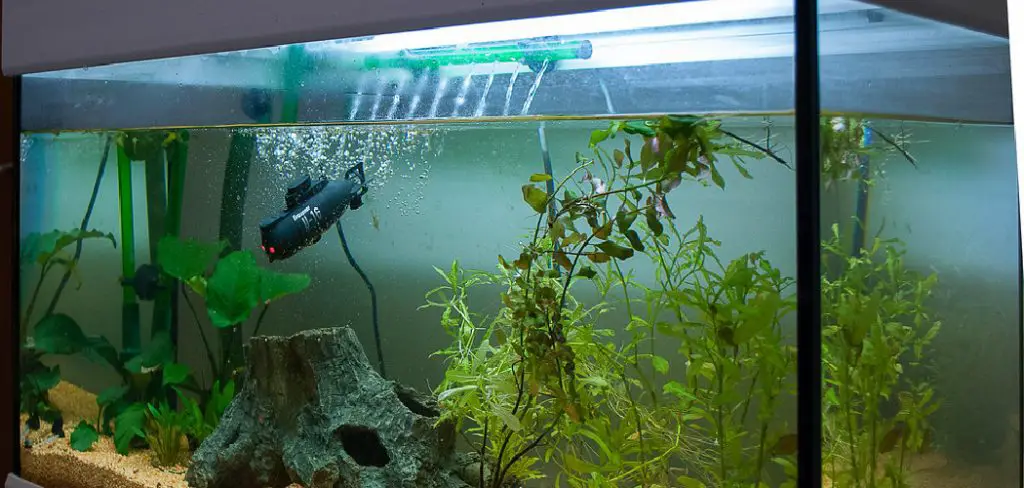
Closely related to step one, you must empty the fish tank once everything has been removed. How much water you take out depends on how big your container is. You will only need enough room in the new aquarium to cover all your equipment and a little extra for movement. Look at what your aquarium looks like inside before pouring everything into a bucket or pot.
Step 3: Set Up the Equipment to be Sterilized
To sterilize equipment that can sit on top of the aquarium (heaters, nets, etc.), take apart the pieces and lay them out near the sink. To sterilize gravel, remove it from its bag and place it in a strainer.
Run water over it until any debris is gone. How much you choose to rinse is up to you. Decorations can be scrubbed with hot soapy water or boiled for 10 minutes or more to sterilize them. Sand should be placed in another bucket and rinsed thoroughly before being introduced into your aquarium.
Air pump inside an old pot. The air stone provides oxygen for bacteria growth while heating the water to its boiling point.
Step 4: Prepare the Heat Source
To boil water, you need a heat source that reaches at least 100 degrees Celsius (212 Fahrenheit). You can use an electric stove, but only if the burner is large enough for your water container. The best way to do this is by using an old pot with a sturdy handle and placing the aquarium heater inside it.
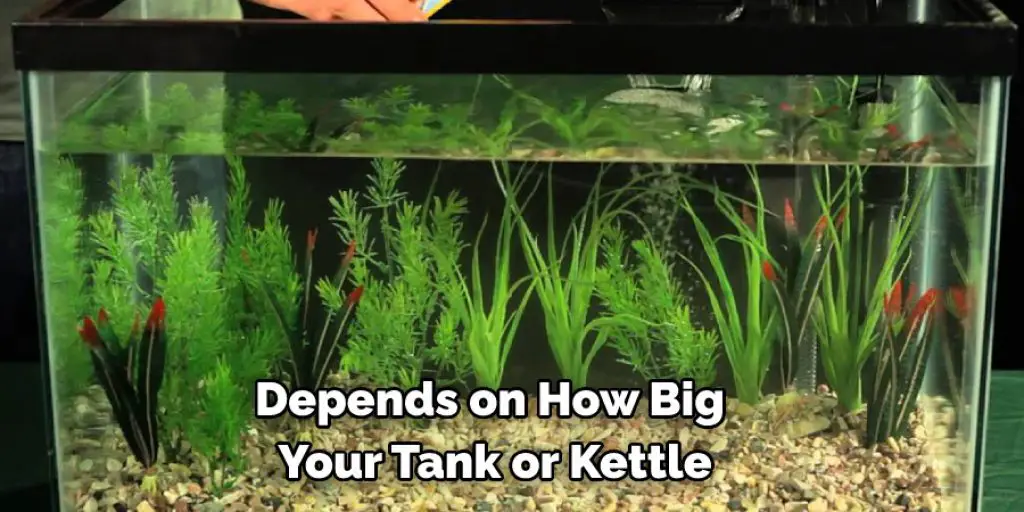
Fill the pot with water until it’s about 2-3 inches from the top. Then, turn on your air pump to oxygenate the water. An old aquarium will work just fine, provided there are no leaks! How much time you leave it under heat depends on how big your tank or kettle is, but it should be at least 30 minutes.
Step 5: Bleach Equipment
Take the old aquarium water and pour it into a bucket or pot that’s large enough to fit your gravel, filters, decor, etc. Wear gloves while doing this to protect your hands from any harmful chemicals. You can use regular bleach (8 ounces per gallon of water).
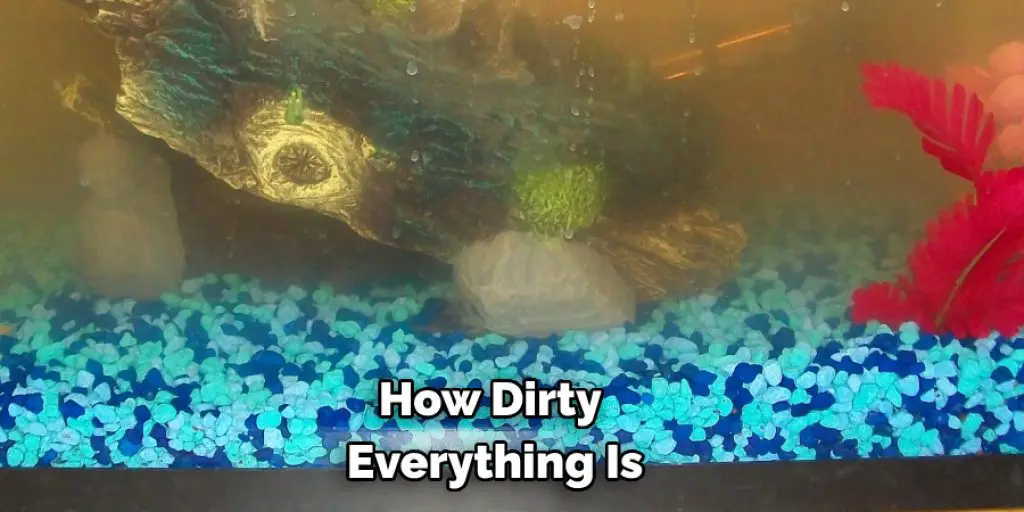
Let everything sit for 20-30 minutes before removing them with tweezers or tongs. Rinse each piece thoroughly after removing it from the bleach bath. How many times you repeat this step depends on how dirty everything is. If you do not see bubbles during the first bleach bath, you will need to soak everything again in another bath.
Step 6: Boil Substrate (Sand) & Gravel
Make sure that the pot is large enough to accommodate your substrate. How much water you use depends on your container’s size, but it should be about an inch covering the bottom. Bring the water to a boil and let it sit for at least 30 minutes with everything in there.
How many times you repeat this step depends on how dirty everything is. If you do not see bubbles during the first bath, you will need to soak everything again in another boiling bath.
Step 7: Clean Your Filters
Take apart any old reusable filters and soak them in hot soapy water or put them into a bleach bath. After being sterilized, rinse each part very well before setting them aside to dry completely.
How you clean your old filters depends on how dirty they are. If they are just dusty, give them a quick rinse in hot soapy water before setting them out to dry. How long they need to dry completely depends on the humidity of the air in your home. You can also use new sponges or replaceable cartridges.
Step 8: Sterilizing Your Decor
Ensure that any plastic plants have been scrubbed with hot soapy water before putting them in the pot. How much time you leave everything in boiling water depends on how big your container is and how big the decor pieces are.
Plastic plants do not need to be sterilized for very long, but large pieces of driftwood can take up to an hour or more. How often you boil your decor again depends on how dirty everything is. If you do not see bubbles during the first bath, you will need to soak everything again in another boiling bath.
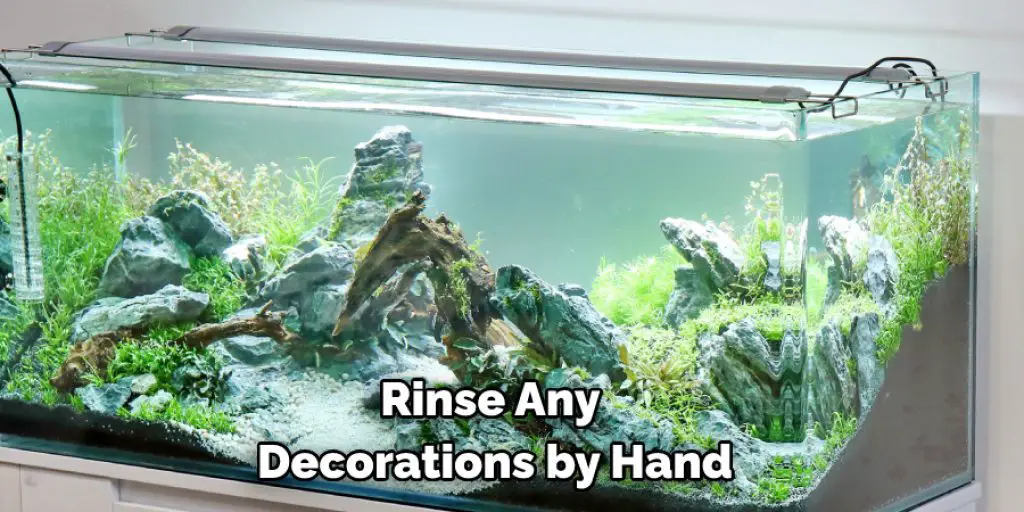
Step 9: Clean Your Aquarium & Rinse Gravel
Pour the old aquarium water into the same bucket that holds your substrate or an empty pot for sterilization. How much gravel you rinse also depends on how dirty it is, but it should be done at least three times before returning it to your tank. How many times you repeat this step depends on how dirty everything is.
How long each rinsing takes depends on how big your container is and how fast water drains from it. You can rinse any decorations by hand or wash them in a dishwasher. Again, how many times you repeat the cycle depends on how dirty everything is.
It would help if you allowed all your sterilized equipment to dry completely before putting it back into your aquarium tank. How long this takes again depends on the humidity of the air in your home and how big each piece is. You can also use a fan to speed up evaporation rates, which helps save time during the “waiting game” that comes with aquarium care.
The waiting game typically consists of cleaning & re-assembling filters, decor, etc., plus letting these items dry out entirely after rinsing/soaking/boiling/etc. Of course, how much time you wait depends on how dirty everything is, but it can take a couple of hours to a few days.
How long the sterilization process takes also depends on how dirty everything was and how many times you repeat each step. It would be best if you did not have to go through all seven steps more than twice, but it typically takes at least an hour or two.
Step 10: Put Everything Back Together
Once everything has been allowed enough time to dry out, put the gravel back into the tank first before adding any water. How many substrates you use depends on your aquarium’s size and shape. How much water you add after that also depends on your tank size and shape and if it is a fresh or saltwater set-up.
How many times you rinse each piece of decor or filter media again depends on how dirty everything was. How long you rinse each piece also depends on how big your aquarium is and all of the variables that come with using a dishwasher/bleach/boiling water to clean it.
How long you let everything dry before adding it back into your tank depends on the humidity in your home and if you used a fan when cleaning/sterilizing any equipment. How old this tank is can also affect all variables.
Step 11: Maintain Proper Water Parameters & Enjoy!
It would help if you only went through the sterilization process once every six months. Still, some people find they have to do more often depending on their tanks’ size, the type of fish being kept, the number of fish being kept, aquarium equipment use/abuse, water changes, etc.
How often you go through each step again depends on these same variables. How dirty your aquarium is when you sterilize it also affects how quickly it begins to accumulate bacteria again. How long this process takes again depends on how dirty everything was when you started, and that is about all there is to it! These steps will help in how to sterilize aquarium equipment.
Conclusion
Aquariums are a great way to bring the beauty of nature into your home. However, they also require regular maintenance and care to stay healthy, happy, and free from disease-causing microbes. A critical part of aquarium maintenance is keeping water clean using appropriate filters or chemical treatments.
However, there’s another aspect that many forget about which can be just as important–sterilizing all equipment before placing it back inside the tank! If you’re not sure how to sterilize aquarium equipment, this article will provide some tips on what works best for keeping things fresh and safe.


