Painting is one of the most popular DIY projects. Painting can be done with any paint, but chalk paint is an excellent option if you want to save money and time. Chalk paint is easy to apply, and it’s less expensive than traditional paints because it requires fewer coats.
Now that you know how much chalk paint costs, I’ll show you how to thin your chalk paint for spraying! Spray painting will make applying your project easier on yourself and result in a higher quality finish. This blog post will teach you how to thin chalk paint for sprayer so that you can get the best coverage on large surfaces quickly.
Step to Follow on How to Thin Chalk Paint for Sprayer
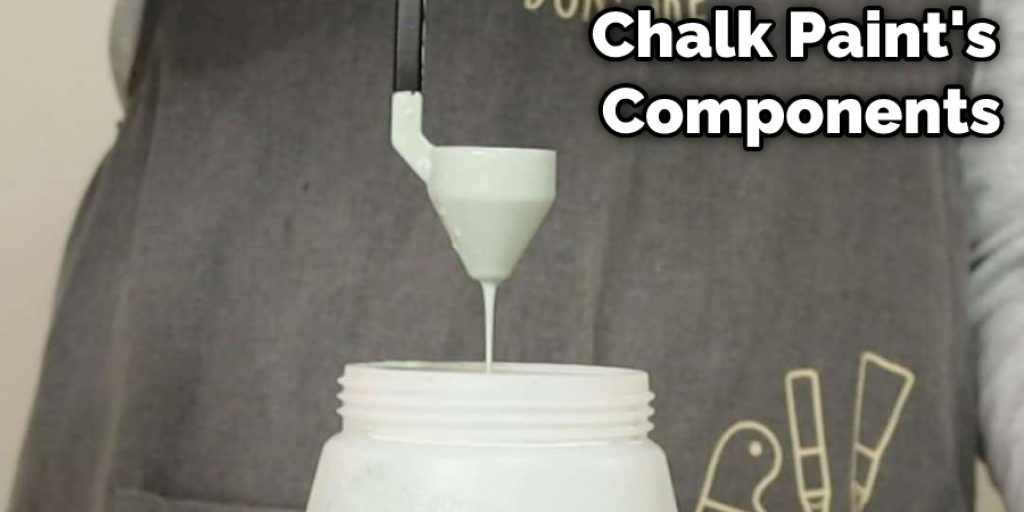
Step One: Determine Your Chalk Paint’s Components
Before you can thin your chalk paint, you need to know what ingredients make up the paint. If any of the following are included in the list of ingredients, you should not thin your paint: wax, fiberglass resin, stone, or marble dust. However, you can purchase a paint additive if these ingredients are present and you wish to thin and spray your paint.
If your chalk paint is latex, it should not be thinned at all. So, do not add water to latex paint. However, if you have chalk paint advertised as washable, the instructions will usually state that it may be thinned up to 50% with water, but ideally should be applied by brush or roller.
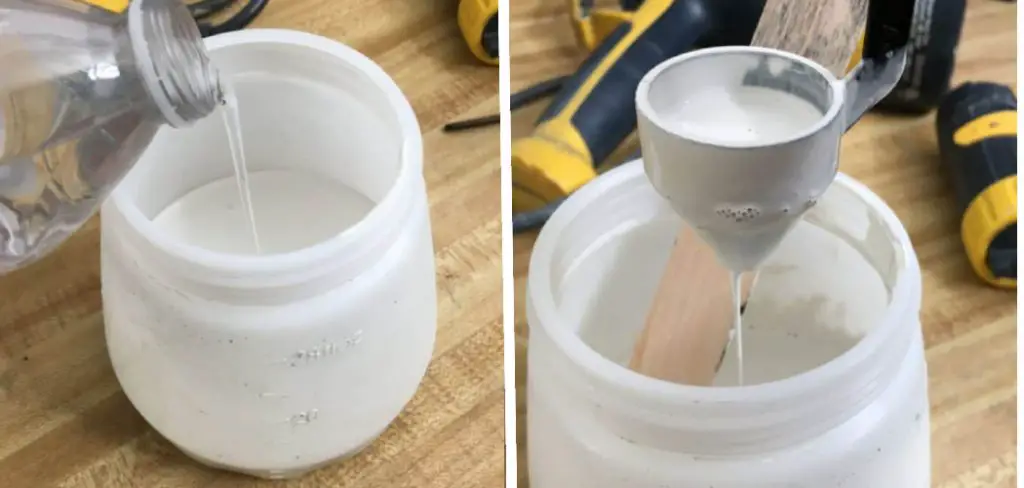
Step Two: Mix Paint and Water Together
Mix your paint with water in a ratio of one part paint to two parts water. For example, add two cups of water to one cup of paint. Stir the mixture until it becomes smooth. If it is still too thick, repeat this process using smaller ratios of paint to water until you reach the desired consistency.
Because water is heavier than paint, adding it to the mixture will cause the paint color to become lighter. However, you can opt to add more paint instead if you don’t mind a darker color. An alternative method is to add the water directly to your sprayer and then mix in the paint from there.
Step Three: Test Your Mixture for Consistency
Once you have mixed your paint and water, test the mixture. Pour a few drops onto your work surface and wait to see if it spreads or stays in place. If it spreads, continue mixing and adding water until you create the consistency of paint that is of sprayable volume.
If your mixture forms into little balls when dropped, this means that it has too much binder. If the paint mixture is too thick, it will not be able to spray correctly. You can use a modifier in this case to create the desired consistency. If you wish to keep the same color before thinning your mix, add more of your original paint.
Step Four: Add Modifier if Desired
Modifiers are used to create a less dense substance that will not clog your sprayer so that the paint can flow freely. For example, if you use latex paint, you do not need to add a modifier because it already flows well. However, water-based varnishes and oil paints are too thick to be used in a sprayer and will clog your device.
Mixing in a modifier such as Floetrol makes the paint more like water and ensures that it flows through the airbrush easily. In addition, adding a modifier to your paint mixture will create a less strong surface similar to that created by brushing or rolling paint. Adding a modifier will make the paint more flexible and resistant to chipping, peeling, and cracking.
Step Five: Apply Mixture to Surface
Once you have created your paint mixture, it is ready to be used. Pour the paint into your sprayer and begin applying it to your surface. If possible, use a fan pattern so that you do not miss any areas. Make sure the shape of your pattern fits with the size of the area you are painting.
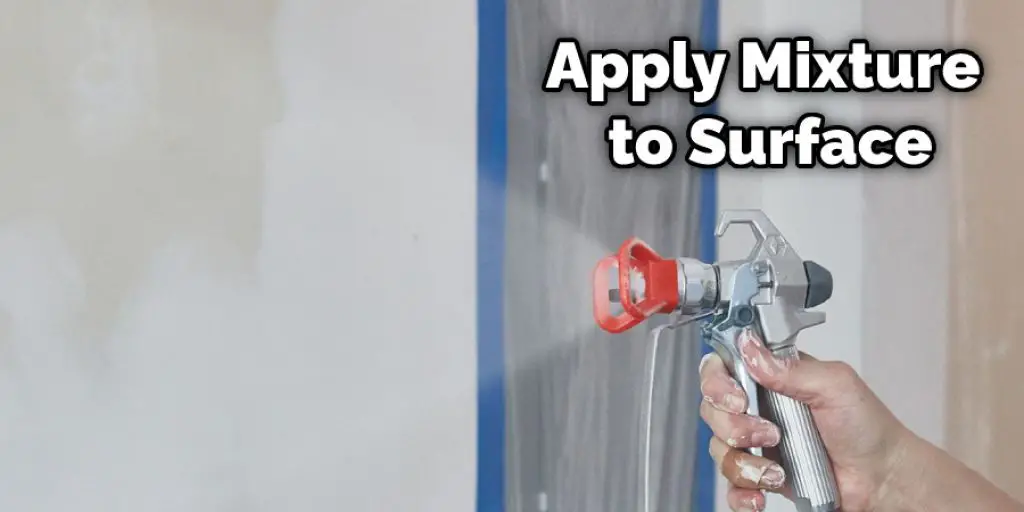
If you are painting a tabletop, for example, make sure the fan of your sprayer fits the size of a table. Remember that thinning your paint will reduce its covering power. You may want to apply multiple coats if necessary to achieve the look that you want.
Step Six: Clean Up Any Spillage
Once you have finished spraying, clean up any paint that has spilled on the surface. If water-based, follow the manufacturer’s instructions for cleaning your equipment and tile or linoleum floors. For oil-based paints, use mineral spirits since water will not remove them.
Pour the used paint mixture into a sealable jar and store it for later use. If you wish to save your paint mixture, make sure that any leftover paint is stored in the jar with water added to cover the solution’s surface. This will help in how to thin chalk paint for sprayer.
Step Seven: Continue Spraying
Continue to paint with your new mixture by adding more of the solution into your sprayer. You can continue to apply layer after layer until you have achieved the desired effect. When complete, remove any lids from your device and pour any leftover paint back into its jar for future use.
Your sprayer is now ready for your next project and will work as well as it did before your paint mixture was thinned out. Although you can continue to apply paint in layers, do not allow too much time to pass between coats, or the paint may begin to dry. Work in short intervals when using this method.
Step Eight: Maintain Your Sprayer
Although your sprayer will not be damaged by thinning out your paint mixture, it is still important to maintain the device properly. Make sure that there are no cracks in the reservoir where paint can leak out. This can create drips that may affect your finished product.
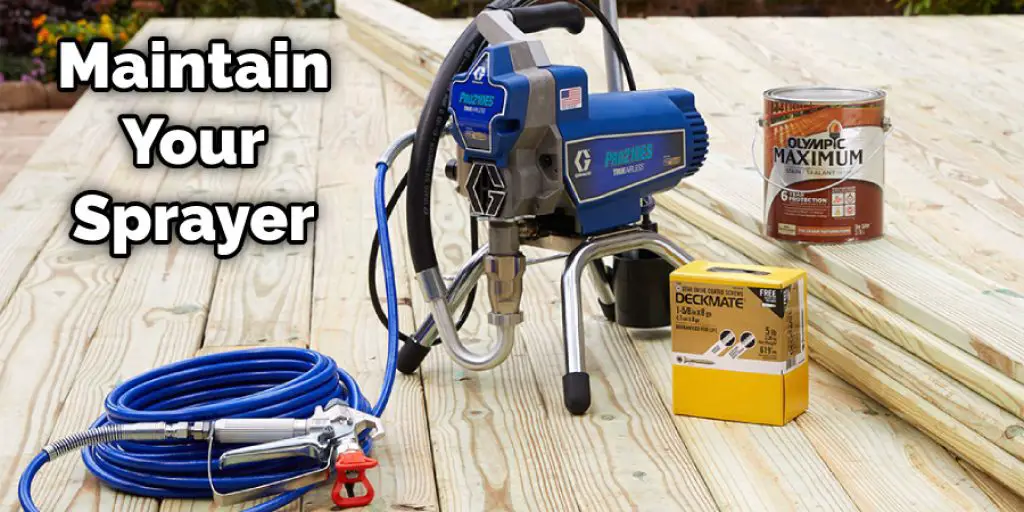
Also, make sure that you clean your equipment after each use. Wash the outside of your sprayer with a brush and warm, soapy water to remove paint residue. Take apart any removable parts and wash them as well. If you want to find out more about how to thin chalk paint for sprayer, keep reading.
Step Nine: Enjoy
You can now enjoy your finished product. However, remember that the mixture will not be as thick as it once was, so multiple coats may be necessary to achieve your desired effect. If you want a thicker coat of paint, do not thin out your original mixture too much.
You can also opt to brush or roll instead of spray if you prefer this method of application. As long as you follow the instructions above, your end product will be beautiful and last for many years to come!
Frequently Asked Questions
How Much Water Does It Take to Thin Chalk Paint With a Sprayer?
There is no set amount of water that will thin chalk paint. The best way to determine how much water you need is by trial and error.
First, spray a small area on the wall to see if it is too thick or not enough for the desired result. If it’s too thick, add more water and if it’s not enough, add more paint until you get the desired effect.
What Do You Do When Chalk Paint Gets Thick?
Chalk paint is a popular type of paint that is made from chalk, which consists of calcium carbonate. In the case where your paint becomes too thick, you can use a spoon to mix it with some water. You can also add some turpentine or other thinners to make it easier to apply.
Can You Use Chalk Paint in a Wagner Sprayer?
It is important to know the compatibility of your Wagner sprayer with chalk paint before you start painting. Chalk paint is a solvent-based acrylic emulsion that can be used in most paint sprayers, but not all.
To ensure compatibility, check the manufacturer’s recommendations for specific models and make sure you are using an airless sprayer or an airless paint sprayer. If you are using a different type of paint sprayer, such as a compressor-based one, or if it is old, then there may be some compatibility issues. Therefore it is best to consult the manufacturer’s recommendations before using chalk paint in your Wagner sprayer.
Why Is My Chalk Paint Chunky?
The most common cause of chalky paint is too much air being introduced into the container during mixing. To fix this, try adding a little more paint to the mixture or using less water. You can also increase the time you mix your paint to ensure that it has been fully mixed and is ready for use.
Conclusion
When thinning chalk paint, consider what type of sprayer you want to use and the amount of time it will take for your project. For example, if you’re using an HVLP high volume low-pressure spray system with a large air volume setting, then it’s best to mix 1 part water with three parts paint.
This is because if there isn’t enough liquid in the mixture, the paint droplets won’t be as fine as they should be, which can lead to an uneven finish. The conclusion paragraph is informative and provides information on how to thin chalk paint for sprayers.
You may also read it: How to Paint Grass on Wall


