How to Turn a Bowl on A Wood Lathe
A wood lathe is a great tool for anyone who wants to get into woodworking. It allows you to create beautiful and intricate pieces out of wood. The prospect of using one can be daunting if you’ve never used a wood lathe before. However, once you get the hang of it, it’s actually quite simple! In this blog post, we’ll show you how to turn a bowl on a wood lathe.
Why Should You Turn a Bowl on A Wood Lathe?
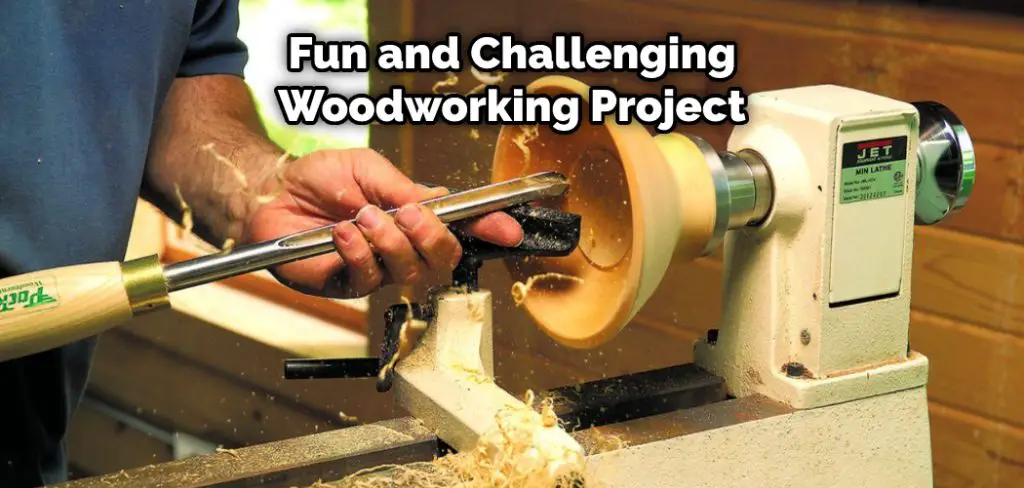
Turning a bowl on a wood lathe is an enjoyable and challenging woodworking project that anyone can do with basic woodworking knowledge and a few simple tools. There are many reasons why turning a bowl on a wood lathe is a great idea. First, it allows you to create a beautiful and unique piece of functional art.
Second, it is a relatively simple project that can be completed in a short amount of time. Third, it is an excellent way to practice your woodworking skills and learn new techniques.
Finally, turning a bowl on a wood lathe is an excellent way to show off your woodworking skills to friends and family. If you are looking for a fun and challenging woodworking project, then turning a bowl on a wood lathe is the perfect project for you.
7 Steps to Follow on How to Turn a Bowl on A Wood Lathe
Step 1: Find a Piece of Wood
The first step is to find a piece of wood that you want to use for your bowl. The type of wood you use is up to you; however, we recommend using something like maple or oak, as they are both strong and durable woods. Once you have your piece of wood, cut it into a disc using a bandsaw or another type of saw. The disc should be about 10 inches in diameter and 1 inch thick.
Step 2: Mount the Disc
Next, it’s time to mount the disc onto the wood lathe. To do this, first, find the center of the disc by drawing two lines intersecting in the middle. Then, drill a hole at the intersection point using a drill bit that is slightly smaller than the diameter of your lathe’s mandrel (the part that holds the disc in place). Once you’ve drilled the hole, insert the mandrel through it and tighten it using the screws on either side.
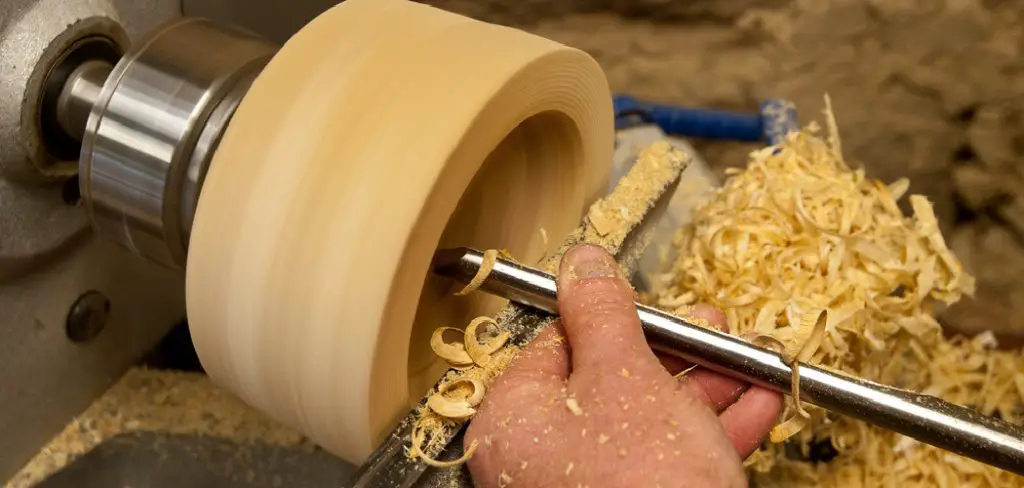
Step 3: Start Turning the Bowl
Now it’s time to start turning the bowl! First, set your lathe to spin at a slow speed; we recommend starting at about 500 RPM. Once the lathe is spinning at the correct speed, use a roughing gouge to shape the outside of the bowl.
Start by ensuring that the gouge’s cutting edge is touching the Wood at a 10-15 degree angle; then, push and pull the gouge along the length of the Wood while keeping pressure on the cutting edge (this will take some practice!). Next, continue shaping the outside of the bowl until it has an even thickness all around and is roughly round in shape.
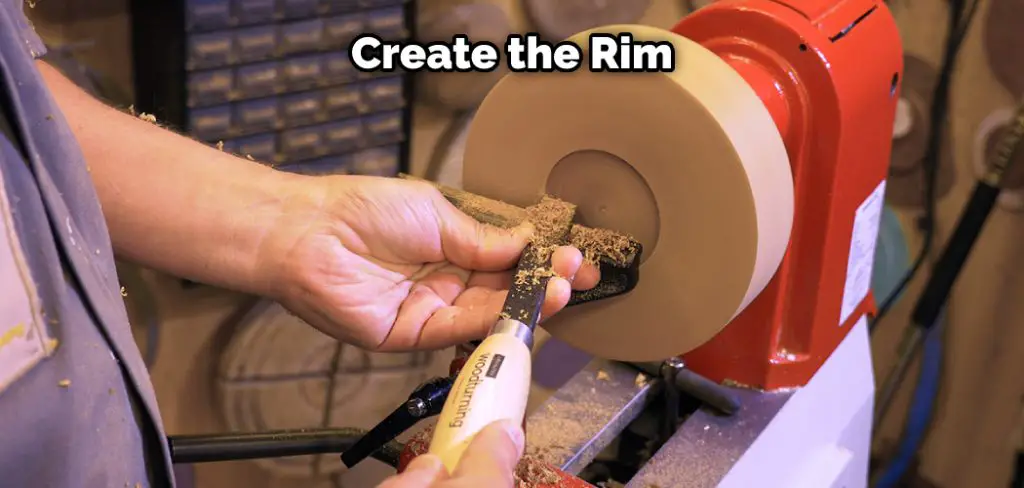
Step 4: Create the Bowl’s Rim
Once you’ve shaped the outside of the bowl, it’s time to create the rim. To do this, use a parting tool to cut a groove around the edge of the disc (this should be about 1/2 inch deep). Once you’ve created the groove, use a spindle gouge to smooth it out and make it even.
Step 5: Turn the Bowl Upside Down
Now that you’ve created the rim, it’s time to turn the bowl upside down so that you can work on the inside. To do this, simply remove the disc from the lathe and remount it, so the bottom side faces up.
Step 6: Shape the Bowl’s Interior
Once the bowl is upside down, use a spindle gouge to shape the interior. Start by cutting a small groove around the edge of the bowl. This will give you a guide to follow as you shape the rest of the interior. Next, use a skew chisel to cut away the excess wood from the sides of the bowl. Finally, work your way around the entire bowl until all of the sides are even.
Step 7: Sand and Finish the Bowl
The last step is to sand and finish the bowl. To do this, first, use coarse-grit sandpaper to remove any roughness from the surface of the bowl. Then, use finer-grit sandpaper to smooth out the surface. Once you’ve sanded the bowl, you can apply a finish if you like; however, this is unnecessary.
And that’s it! You’ve now learned how to turn a bowl on a wood lathe. We hope you found this guide helpful and that you’ll give it a try the next time you need a bowl.
You Can Check It Out To Get Rabbit to Drink from Water Bowl
5 Tips for Turning Beautiful Bowls on Your Wood Lathe
If you’ve ever wanted to try woodturning, there’s no better place to start than with a bowl. Bowls are among the easiest projects for beginner woodturners, and they’re also extremely rewarding. In just a few hours, you can create a beautiful piece that can be used for years to come. To help you get started, here are five tips for turning bowls on your wood lathe:
- Start with a pre-cut blank. Purchasing a pre-cut bowl blank from your local woodworking store will save you time and hassle in the long run. Not only will you avoid having to cut the blank yourself, but you’ll also know that it’s the right size and shape for your project.
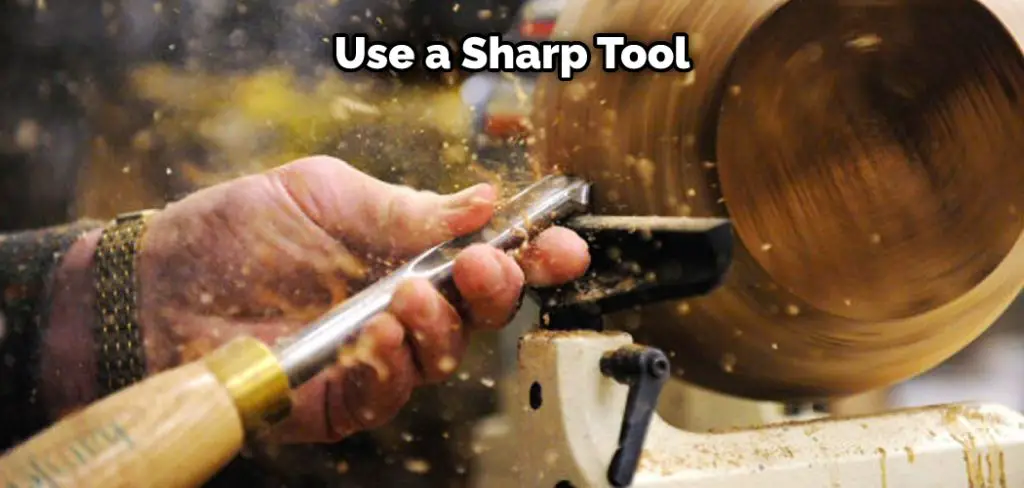
- Use a sharp tool. One of the most important things to remember when woodturning is to use a sharp tool. A dull tool not only makes the job more difficult, but it can also cause damage to your workpiece. But, again, plenty of resources are available online or at your local library.
- Work slowly and evenly. When turning bowls, taking your time and working slowly and evenly is important. Rushing the job will not only make it more difficult, but it can also lead to mistakes that cannot be fixed.
- Be careful of vibration. Another thing to keep in mind when woodturning is vibration. Vibration can cause your workpiece to warp or even break, so it’s important to work slowly and carefully to avoid it.
- Use finishing wax or oil. Once you’ve finished turning your bowl, it’s important to protect it from water damage by using finishing wax or oil. This will help seal the wood and prevent warping or cracking.
How to Choose the Right Wood for Your Bowl
If you’re thinking about making your own wooden bowl, you’ll need to choose the right type of wood. The most important factor to consider is the hardness of the wood. Hardwoods are harder to carve but less likely to crack or break. Softwoods, on the other hand, are easier to work with but can be more prone to damage.
You’ll also need to decide whether you want light-colored wood or dark-colored wood. Light-colored woods tend to show off the grain more, while dark-colored woods can give your bowl a richer look. Once you’ve considered all of these factors, you’ll be able to choose the perfect wood for your bowl.
The Different Types of Bowls You Can Turn on a Wood Lathe
A wood lathe is a versatile tool that can be used to create a variety of different types of bowls. Perhaps the most common type of bowl is the simple round bowl, which can be turned on a lathe using various techniques. Round bowls are typically turned using either a spindle or a faceplate, and they can be decorated with various types of carving and finishing work.

Another type of bowl that can be turned on a lathe is the oval bowl. Oval bowls are similar to round bowls but have an elongated shape, making them ideal for serving salads or other side dishes. They can also be turned using either a spindle or a faceplate, and they can be decorated in much the same way as round bowls.
Finally, the more complex form of the bowl is known as the tazza. Tazzas are shallow, dish-like bowls that typically have two handles and are often used to serve bread or fruit. Tazzas can be challenging to turn on a lathe, but with practice, it is possible to create beautiful and unique pieces.
Conclusion
These simple steps allow you to turn a beautiful wooden bowl on your wood lathe! Don’t be afraid to experiment with different woods and shapes to create bowls that are unique to you. Thanks for reading our post about how to turn a bowl on a wood lathe.
You can also check to Build a Wood Frame Stucco Fence


