How to Turn Off Water Heater Timer
If you’re anything like me, you probably forget to turn off your water heater timer every time you leave for vacation. And, if you’re like me, you also end up coming home to a ridiculously high gas bill. Well, not anymore! This article will discuss how to turn off the water heater timer. Just follow these simple steps, and you’ll be able to turn off your water heater timer with ease.
The water heater is often set to turn itself on between 4:00 and 6:00 in the morning because that is when people are least likely to need hot water. If you’re not awake at this time of day, you will end up with cold or lukewarm water by the time you get into your shower.
What is Water Heater Timer?
A water heater timer is a tool that automates turning your water heater on and off. This way, you can save energy as water isn’t needed if no one is home or it’s not daytime to use appliances such as dishwashers.
Standard water heater timers are either “float-type” or “thermostat-type.” The timer is usually found beside the water heater. Float-type timers are round, resemble a clock face and have metal flaps that open and close depending on how much water is in the tank. Thermostat-type timers compare an oven dial and are manually turned to determine how long the heating element should be activated.
Float-type water heater timers use two different float switches – one attached to the top of the tank, which rises as more coldwater enters. Hence, it knows when to turn off, and another float switch is connected to a rod at the bottom of the tank, which rises as the water level is reduced. How often they turn on and off depends on how they are programmed.
Thermostat-type timers use a metal rod that reaches the bottom of the tank to determine when the cold water enters. Then, it signals the heating element via an electrical connection to activate until it senses that the proper temperature has been reached, which turns off the heater without any further input from you.
A Detailed Guide on How to Turn Off Water Heater Timer
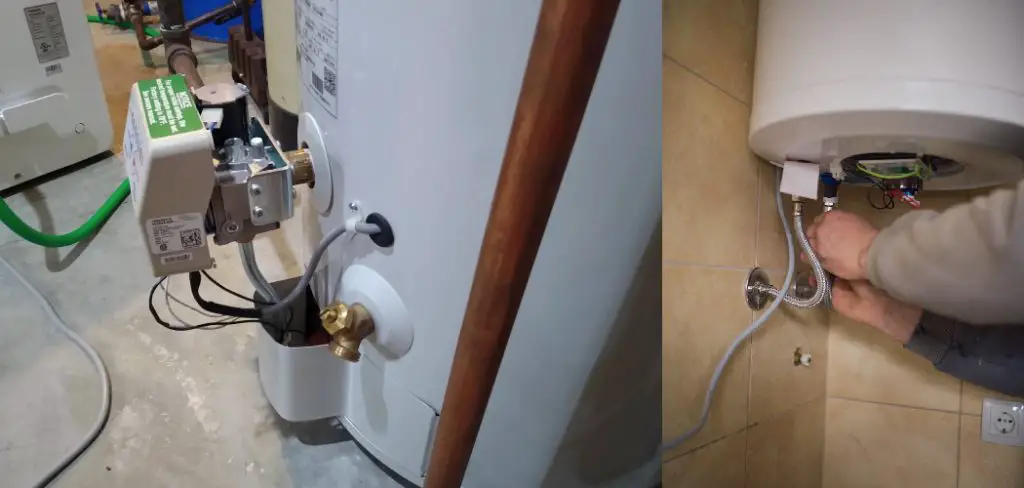
Step 1: Disconnect from Power Source
The power source of the water heater timer is essential for it to function, so you need to disconnect it from this source. How you do this might vary depending on the type of timer used. Usually, there will be a lever or button somewhere on top or behind the device that must be pressed and held down while unplugging it from the wall outlet.
Be extremely careful when doing this since some timers might still have residual electrical charges even after being disconnected from their power source. If no residual charge is detected during testing, turn off your house’s circuit breaker before actually touching anything.
Step 2: Turn the Water Off
After you’ve unplugged the timer from its power source, it’s now time to turn off the water supply supplying your home with hot water. How you do this will depend on where your main cutoff valve is installed and how it can be accessed.
However, if you’re confident that you can find and open up your main valve without much effort, then, by all means, try doing that first.
If opening up your main cutoff value proves too difficult or risky, a backup plan should be implemented instead. For example, if a cut-off value isn’t readily accessible inside a cabinet under the sink or behind some plumbing fixture, consider using an individual shutoff attached to the pipe feeding cold water into your water heater closet.
Once you’ve shut the water off, turn on all faucets in your house to ensure no residual pressure exists, which could damage your plumbing system when the water is restored.
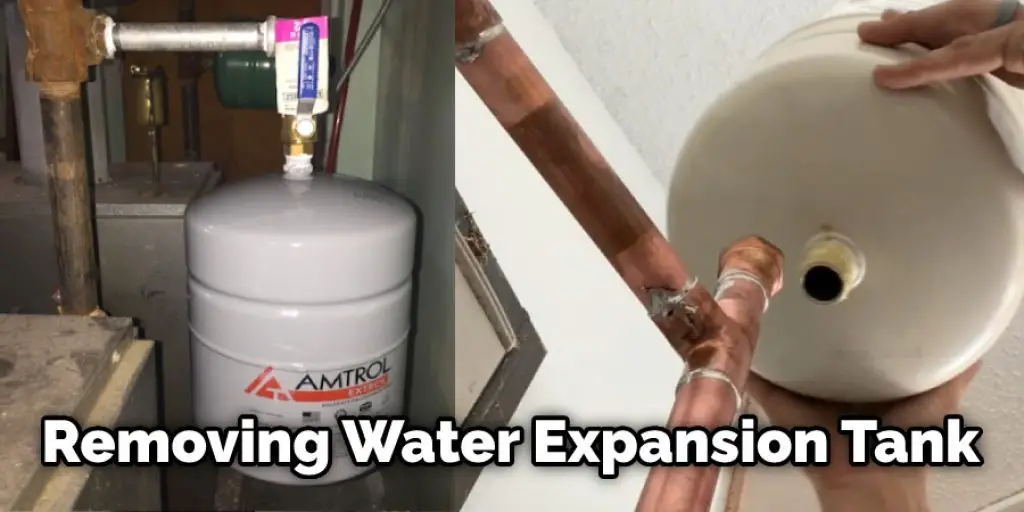
Step 3: Drain Water Line
If your house is outfitted with steel water pipes, disconnect the line feeding cold water to your heater closet before removing its expansion tank. After removing this cold water feed, drain all the water left in the system via a faucet or hose connected to an outside spigot.
How much you’ll need to drain will depend on how long it’s been since your last draining, but it should be enough to empty the lines leading into and away from your heater closet.
Step 4: Turn Off Line Voltage
After disconnecting both the power source and main valve, look for where incoming electrical wires are connected to your heater closet before shutting off this voltage supply. If there isn’t any switch or circuit breaker near where the incoming line can be found, switch it to the off position before removing the wires.
How you do this might depend on your experience with handling electric cables and switches. You can use a screwdriver or wrench to turn your heater’s circuit breaker into the off position.
Step 5: Cut Line Voltage
After cutting electrical power from surrounding areas, remove its ground wire from where it connects to metal plumbing components inside your water heater closet. Again, how you do this will depend on how familiar you are with dealing with live electricity in a home environment.
You can grip the unit with a pair of needlenose pliers and use a hacksaw to cut through any exposed conductors near where it connects to metallic parts inside your closet.
Step 6: Remove Electrical Control Panel
After removing the ground wire, you’ll now need to remove your water heater’s electrical control panel from inside its closet. How it is secured will vary from one unit to the next, so consult your owner’s manual before attempting anything.
Usually, there are screws or bolts used for this purpose, and they need to be removed first before the control panel can be pried out of place by hand or with a hooked tool.
Step 7: Disconnect Wires & Terminals
Once you’ve successfully freed an electrical control panel from inside a water heater closet, disconnect any remaining connections using pliers and wrenches.
These connections will depend on what manufacturer manufactured the unit in question. Again, consult your owner’s manual if you can’t figure out where connections are or what type of tools are being used on these terminals.
Step 8: Remove Thermostat
After disconnecting any wires, remove the thermostat attached to your heater unit by loosening its mounting screws with a screwdriver before prying it away from where it connects inside your closet.
How much effort will need to be exerted in this regard will vary depending on how many years have gone since installation and whether or not corrosion has already formed around screw holes. If things get too complicated, consider using a hacksaw to suit your needs better.
Step 9: Remove Burner Assembly & Reactor Rods
Once the main heating controls are removed from the unit, you can then set them aside and focus on removing your water heater’s burner assembly and any reactor rods that might be attached. How this is done again will vary depending on which manufacturer made your unit in question, so consult your owner’s manual for more information before trying anything.
After disconnecting any junction links between valves, tubes, regulators, or other components inside your heater closet, remove these parts from where they are mounted to access the main heating element responsible for creating heat in your home. How much effort this takes will depend on how many years have gone since installation, so don’t hesitate to use a hacksaw if things get too complicated.
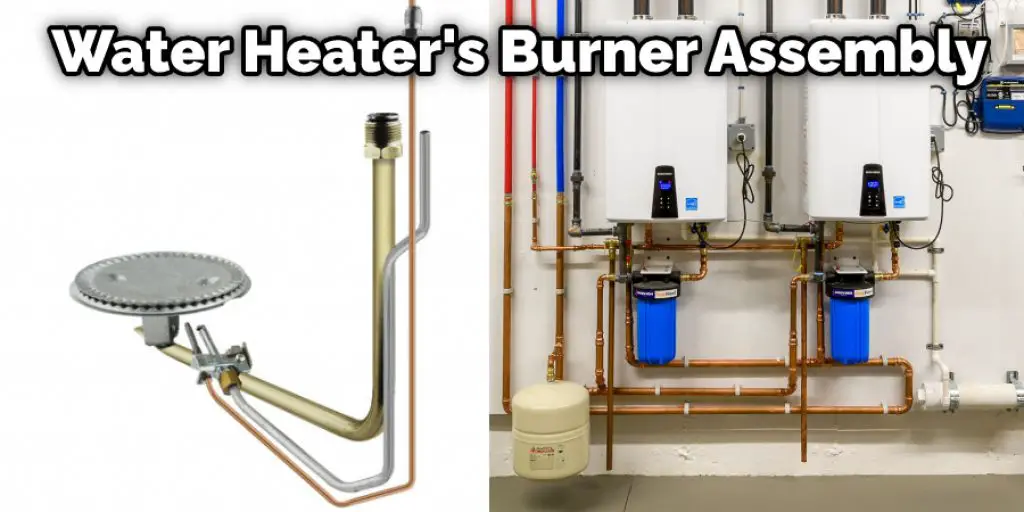
Note: Be sure to clean out this part of your water tank and inspect it for signs of corrosion before re-installing your heater’s main heating element. How you do this will depend on manufacturer instructions, so be sure to consult them if applicable.
Step 10: Reassemble
After inspection, reassemble your water heater by reversing the abovementioned process for easier access. How much effort this takes will vary depending on how many years have gone since installation and whether or not corrosion has already formed around screw holes.
If things get too complicated, consider using a hacksaw instead to better suit your needs before applying a fresh coat of paint or rust inhibitor to help protect the metal from further damage. How you do this is up to but always make sure that no live electrical currents are running through any of the parts you touch.
Step 11: Turn Power Back On
After reassembling your water heater, turn the power back on before turning on its main heating element to determine if it works properly. How much effort this takes will depend on how many years have passed since installation but should only take a few minutes to accomplish each time you need hot water in your home. In addition, these steps will help in how to turn off water heater timer.
You Can Check It Out to Get More Hot Water From Water Heater
Frequently Asked Questions
Why is There a Timer on My Hot Water Heater?
It sounds like there’s something wrong with your hot water heater! Here are a few things to check:
1. Is the water entering the hot water heater cold? – Make sure that the water entering the hot water heater is at a comfortable temperature. If it isn’t, you may need to set up a temperature control system.
2. Are the water lines clear? – If there are any obstructions or debris in the water lines, it will cause problems with the heating and cooling of the water. Check for clogs and leaks and take appropriate corrective action.
3. Is the electrical connection secure? – Make sure that there is a proper electrical connection between the hot water heater and the electricity grid. If there is not, it could result in a fire or other serious electrical malfunction.
Should Hot Water Tank Be on a Timer?
It depends on a variety of factors, including the type of water tank and the climate where it will be used. That said, it is generally advisable to keep your water tank on a timer to save energy and keep your home cooler in the summertime.
Is It Better to Have Hot Water on Timer or Constant?
This is a difficult question to answer as it depends on your specific needs and preferences. If you’re just looking for hot water when you need it, then Constant may be the better option. However, if you want hot water constantly at the touch of a button, then timers might be a better choice for you.
There are pros and cons to both options; timers have the advantage of being more convenient since they don’t require any effort on your part. They can also save energy by turning it off when not in use or when asleep. On the downside, they can be cumbersome if there is a lot of noise in the environment (like during the daytime while people are working). Constant heaters can get slightly louder over time but tend not to wear out as quickly as timed models do.
Is It Ok to Turn Off an Electric Water Heater?
If you are using an electric water heater, it is important to keep it properly maintained and in good working order. Some common problems that can occur with electric water heaters include – low water pressure, leaking hoses, and malfunctioning controls. If any of these problems occur, it may be best to turn off the water heater until the problem can be fixed.
Why is My Hot Water Constantly on?
There may be a number of reasons why your hot water is always on, and the most common one is that there might be a leaky faucet. If this is the case, you will need to replace the entire faucet in order to fix the issue. In some cases, a defective valve or hose can cause constant-on hot water. This can often be fixed by replacing these components.
Other possible causes of continuous-on hot water include low air pressure or insufficient heating capacity from an automatic thermostat. To correct either of these issues, you will first need to check for leaks and then upgrade your heating system if necessary.
Conclusion
Like most people, you probably don’t know how to turn off water heater timer. That’s okay! We’re here to help. This article outlines how to turn off your water heater timer in a few easy steps. So please keep reading for instructions on properly shutting down your water heater timer.
You Can Check It Out to Install a Recirculating Pump on A Tankless Water Heater


