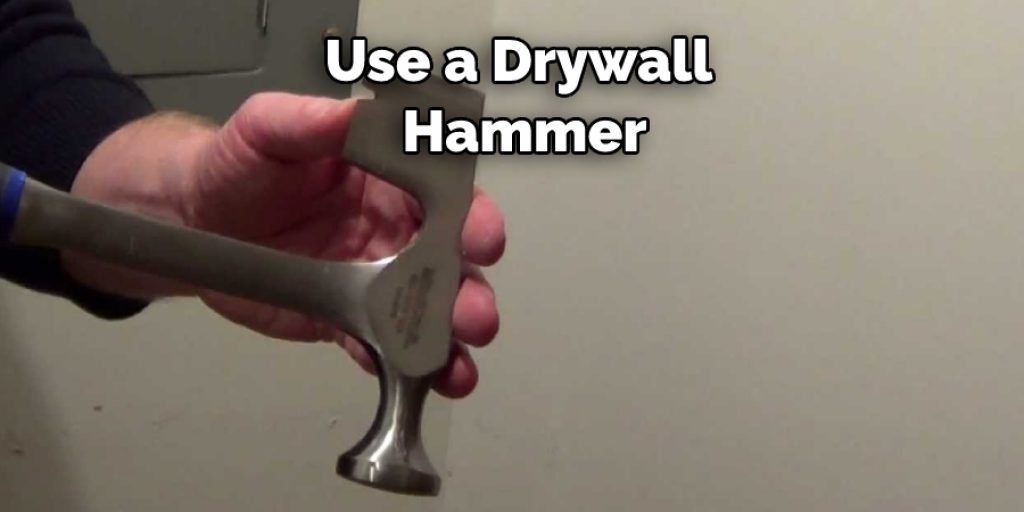
How to Use a Drywall Hammer
Drywall hammers are an essential tool for anyone who is working with drywall. They can be used to create or fix holes in the wall, and they are also helpful when it comes to tapering off the edges of the drywall. To get the most out of your drywall hammer, it is important to understand how to use it properly. Here are a few tips on how to use a drywall hammer effectively.
What Is a Drywall Hammer?
A drywall hammer, also known as a stud finder, is a tool used to locate the edges of studs or joists behind drywall. The tool consists of a handle and a sensing plate. To use the tool, the user simply presses the sensing plate against the drywall and moves it around until the edge of a stud is located.
The stud finder will then emit a sound or light signal to indicate the stud’s position. Drywall hammers are essential for anyone who regularly works with drywall, as they provide a quick and easy way to locate hidden studs or joists.
Why Should You Use a Drywall Hammer?
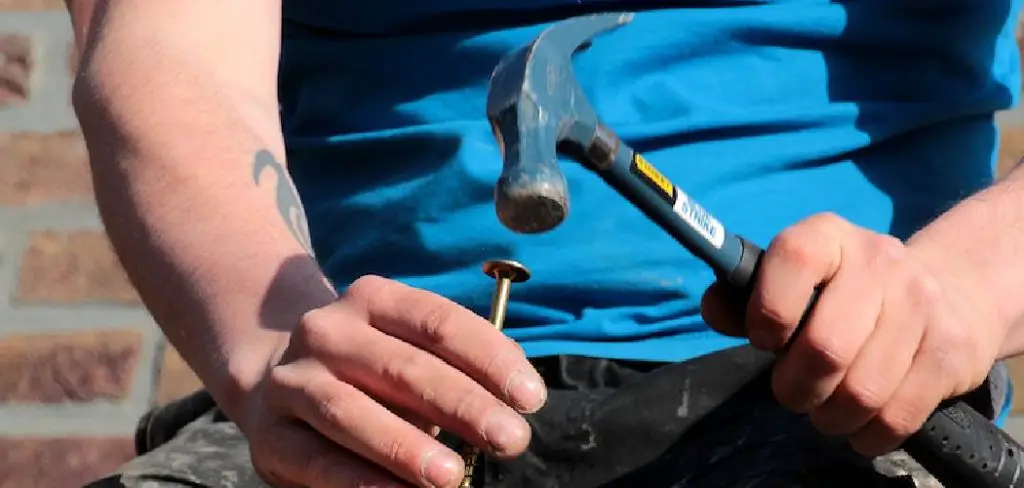
Anyone who has ever hung drywall knows that having the right tools can make all the difference. While a screwdriver and drill can be used to attach the drywall to the studs, a hammer is necessary to secure the drywall in place. Because of its size and weight, a hammer can easily drive nails into the drywall without damaging the material.
In addition, a hammer has a wide head that can be used to flatten out any bumps or irregularities in the drywall. As a result, a drywall hammer is an essential tool for anyone who wants to hang drywall properly.
6 Steps to Follow How to Use a Drywall Hammer
Step 1: Inspect the Hammer Before Each Use
Each time you pick up your hammer, give it a quick once-over. Check the head to ensure it’s not loose, and look at the claws to ensure they’re not damaged or bent. If anything looks out of place, don’t use the hammer until you’ve had a chance to repair it.
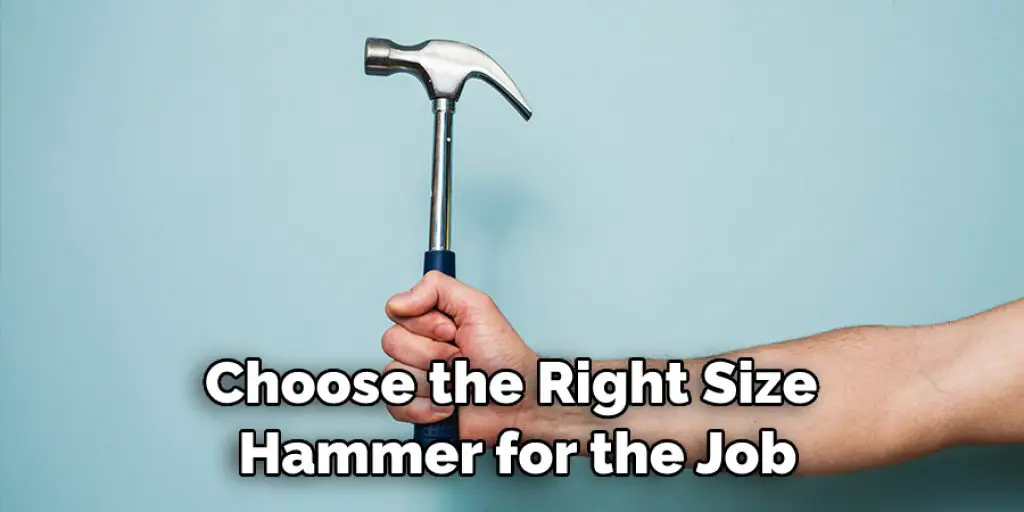
Step 2: Choose the Right Size Hammer for the Job
The size of the hammer you use will depend on the job you’re doing. For smaller projects, a 12-ounce hammer will do. However, if you’re working on something bigger, like hung drywall or framing, go for a 16- to 20-ounce model.
Step 3: Wear Protective Gear
When you’re using a hammer, always wear safety glasses to protect your eyes from flying debris. If you’re going to be doing a lot of pounding, it’s also a good idea to put on some earplugs or headphones to minimize the risk of damage to your hearing.
Step 4: Grip the Hammer Properly
How you hold the hammer will greatly impact how well you’re able to use it. For the most control, grip the handle in your dominant hand and place your thumb along the side of the head, not on top of it.
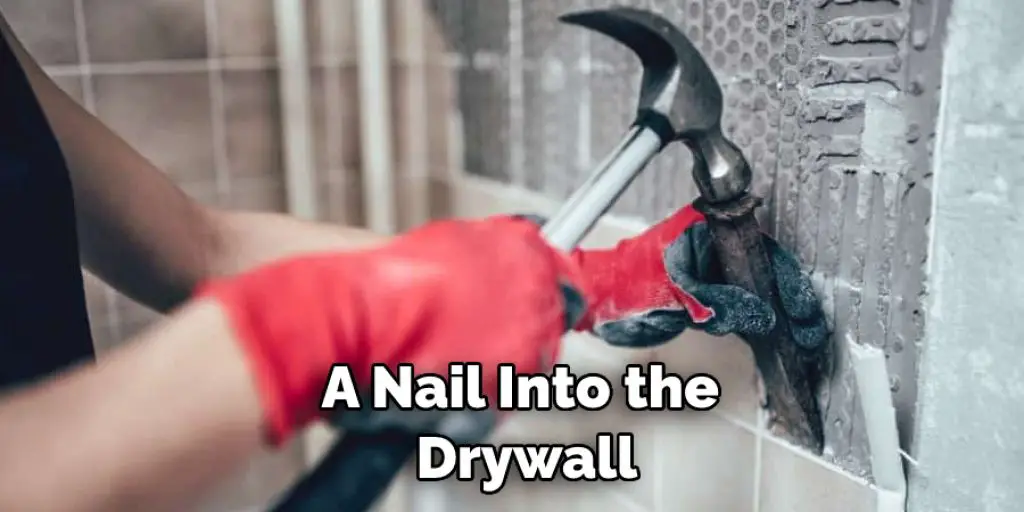
Step 5: Use the Right Technique
When you swing the hammer, aim for the center of the nail. Let the hammer’s weight do the work, and avoid using your hand or wrist to add extra force. If you’re having trouble driving a nail straight, try holding the head of the hammer at a slight angle.
Step 6: Keep Your Workspace Clean
A cluttered workspace can be dangerous, so make sure to keep it clean. For example, sweep up any nails or debris that you see, and put tools away when you’re not using them. If you’re working in a dusty area, wear a dust mask to avoid inhaling harmful particles.
That’s it! You’ve now learned how to use a drywall hammer. With these tips in mind, you’ll be able to tackle any project, big or small.
The Different Ways You Can Use a Drywall Hammer
A drywall hammer is a tool specifically designed for drywall use. The head of the hammer is slightly curved, which allows it to drive nails into drywall more easily. The hammer’s handle is also designed to be comfortable to hold, and the head is usually made from steel or aluminum for durability.
In addition to being used for hanging drywall, a drywall hammer can also be used for other tasks such as removing nails, driving screws, and even breaking up concrete. As a result, it is a versatile tool that can be used for various purposes. Whether you’re a professional contractor or a DIY enthusiast, a drywall hammer is an essential tool for any toolbox.
How to Fix Common Mistakes When Using a Drywall Hammer
If you’ve ever worked with drywall, you know that it’s important to have the right tools for the job. One of the essential tools is a drywall hammer. While a regular hammer can be used for some tasks, a drywall hammer is specifically designed to avoid damaging the wall. However, even with the right tool, mistakes are still possible. Here are some common mistakes to avoid when using a drywall hammer:
Hitting the wall too hard is one of the most common mistakes people make when using a drywall hammer. Hitting the wall too hard can damage the paper surface and make it difficult to apply joint compounds. Instead, tap gently until you feel the right amount of force.
Not using enough nails: Another mistake people make is not using enough nails. It’s important to put nails every eight inches to ensure the drywall stays in place. If you don’t use enough nails, the drywall may eventually start to sag.
Forgetting to countersink nails: Once you’ve driven a nail into the drywall, it’s important to countersink it slightly below the surface. This will help prevent the joint compound from cracking when applied. If you forget this step, you’ll likely end up with unsightly cracks in your walls.
By following these tips, you can avoid common mistakes and ensure that your walls look professional and polished once they’re finished.
Conclusion
Using a drywall hammer is a simple process, but there are a few things to remember. First, make sure you have the proper tools and safety gear and take the time to get the job done correctly. With a little practice, you’ll be an expert at hanging drywall in no time! Thanks for reading our post about how to use a drywall hammer.


