How to Waterproof Cabinet Under Kitchen Sink
I’ve always been an elegant and organized person. I love to have everything in its place, but that can be hard when so many things to do around the house. For example, one of the biggest chores is cleaning under the kitchen sink because it seems like water somehow manages to leak out from underneath no matter what you do.
There are several ways you can waterproof a cabinet under the kitchen sink without spending too much money or time so you can get back to the things that matter most. So, this article is for you. You will learn how to waterproof cabinet under kitchen sink with just one simple trick!
Step to Follow on How to Waterproof Cabinet Under Kitchen Sink
Step One: Cover-Up
Cover your exposed cabinet with a heavy plastic sheet. If you are lucky enough to own a piece of furniture or cabinet door that can function as a sleeve, slide it over the exposed cabinets and secure it in place with duct tape. Otherwise, make one by cutting two long sheets of heavy plastic large enough to extend across the exposed surfaces.
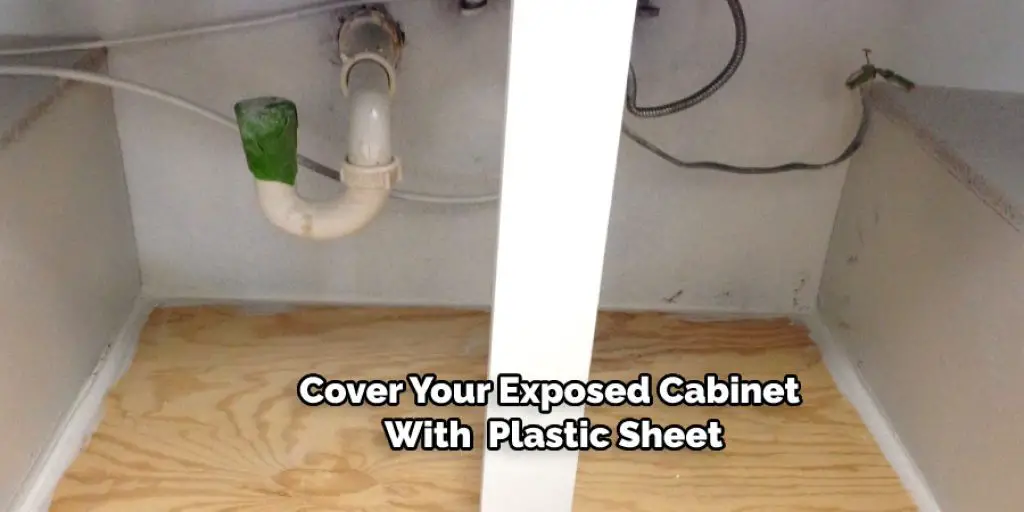
Secure the plastic in place using a staple gun or duct tape and cut around any corners or protrusions, including drawers, where they stick out. Make sure the plastic extends several inches beyond the exposed sides of the cabinets to wrap your kitchen with a watertight seal.
Step Two: Wipe-Up
Use a wet rag or sponge to wipe off excess dirt and dust from exposed surfaces. Do not use soap, chemicals, or any soapless cleaning product. If you must clean the cabinets, do so only with water or vinegar and allow them to dry before continuing with your project thoroughly.
Make sure cabinets are as clean as you can get them before continuing. If there are still visible marks after wiping them with water, use a cloth dipped in vinegar or baking soda or a paste made from vinegar and baking soda to scrub stubborn areas.
Step Three: Tape-Up
Cover the face of exposed cabinets with duct tape, making sure you overlap each strip of tape by half its width. This can be tricky depending on what kind of cabinet door surfaces you have, but make sure that every surface is covered in tape.
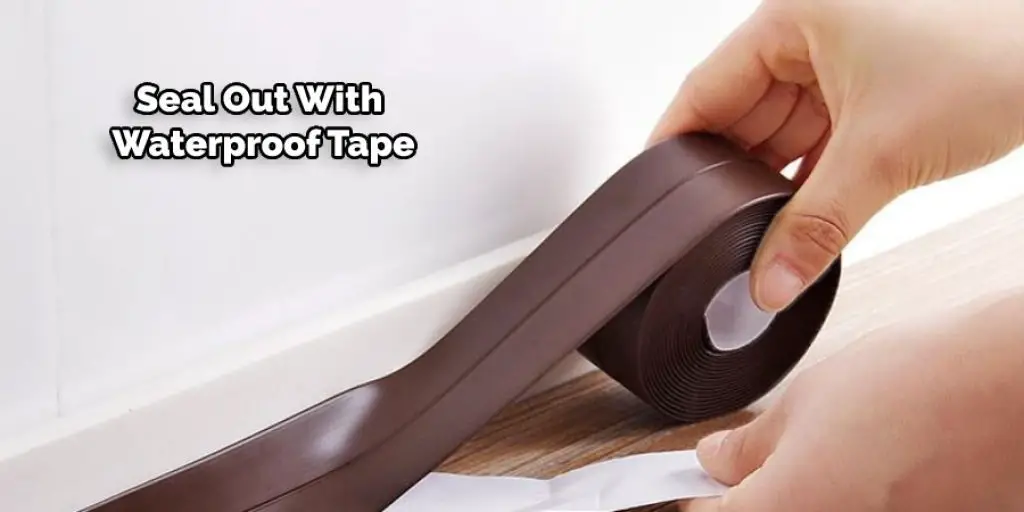
If you are covering wallpaper or decorative woodgrain, cut lengthwise strips of tape and evenly space them across your cabinets to hide the pattern while also sealing it with waterproof tape. If necessary, use more than one strip of tape; wrap each cabinet twice or three times to make sure they are completely sealed. These instructions will teach you how to waterproof cabinet under kitchen sink.
Step Four: Seal-Up
Smooth out and press down all duct tape to avoid ripples or bubbles, then use a razor knife to cut around any protrusions. Once you have the cabinets taped up with waterproof tape, use a sharp utility knife or razor blade to slice through the tape to get a clean edge when you remove it from the cabinets.
Make sure to press down firmly on the blade as you slide it through the duct tape, cutting only the amount of tape that needs removal and leaving the rest in place. You must remove all old tape before applying new tape for waterproofing purposes, so leave at least one inch of duct tape covering every cabinet surface before trimming it off.
Step Five: Apply New Tape
Remove the old tape with a precise, fluid motion by starting at the corner and applying firm pressure with your thumb as you slide the blade through it. When you get to the end of your cut, leave about one inch of tape covering that cabinet surface before removing the rest.
New tape does not need to overlap the old tape, which can get gummy and less effective over time. Instead, apply a fresh strip of tape directly to the cabinet surfaces without gaps in between for a watertight seal. Be sure to overlap each strip of tape by half its width.
You Can Check It Out to Paint a Porcelain Kitchen Sink
Step Five: Paint-Up
Pour a small amount of water onto your exposed cabinets and watch for any seepage or leakage. You might need to add another layer of tape to seal up the cracks if you notice any signs of dampness after testing. If everything looks dry, paint over your duct tape with two coats of primer and two coats of the same color paint you used for your cabinets.
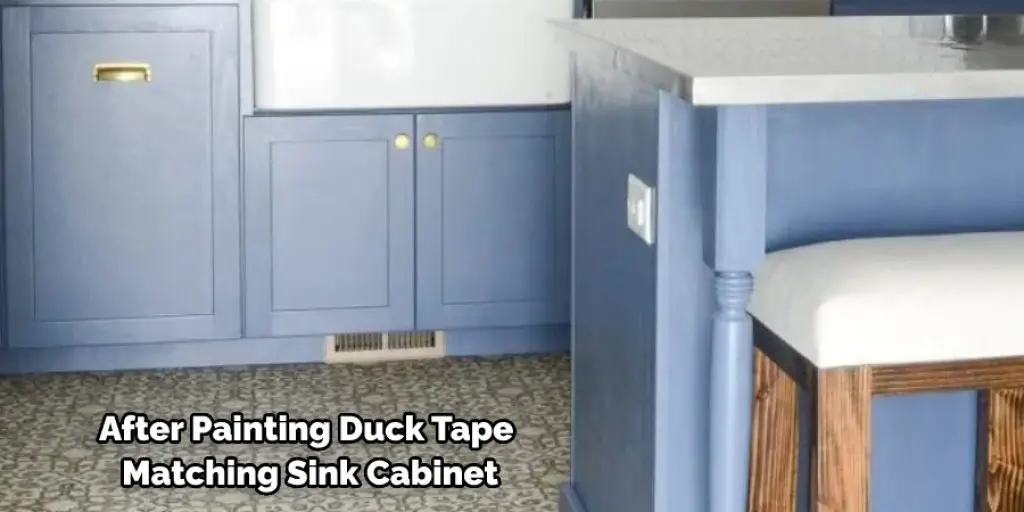
Allow each coat to dry thoroughly before applying the next one, and be sure not to bump or damage the tape while painting. When the final layer of paint is completely dry, you will have sealed up your cabinets with a watertight seal. These steps should help you in learning how to waterproof cabinet under kitchen sink.
Step Six: Clean-Up
Make sure you do not leave any paint or dust on the surface of your newly waterproofed cabinets, which can cause damage if it gets inside. Instead, use a soft cloth dipped in vinegar to wipe down all surfaces and remove any residue that might cause harm to your cabinets.
Let the vinegar dry on the cabinet surfaces, and then wipe them down with a clean, damp cloth to make sure they are completely clean and clear of residue and debris. Allow the cabinets to dry completely before closing them up and using them again. Whatever articles you choose to read or use in your project, be careful how you dispose of them when you are done.
Step Seven: Reassemble
Once your cabinets have dried out completely, reattach them to your countertop and base cabinet using a screwdriver. Then, connect the new plumbing according to any required building codes or professional advice to be ready for use as soon as they are fully sealed up.
Be sure that all exposed surfaces have been adequately cleaned before you replace them, then replace any old caulk with new caulk to finish your waterproofing project. Waterproofing cabinets can be difficult if you do not know what you are doing, but the results are well worth it for kitchens with high water traffic.
Step Eight: Maintain
Maintaining your newly waterproofed cabinets is important for keeping them working properly. Waterproof products can wear down over time and need to be replaced, which you can do by following the steps above in reverse order. In addition, examine your tape now and then for signs of damage or leaks, replacing it as needed to ensure that your cabinets are always sealed up properly.

For kitchens with high water traffic, such as those near the sink or dishwasher, you should replace your tape every two to three months for best results and protection of your countertops and base cabinets. Then, follow the steps outlined above to waterproof the cabinet under the kitchen sink and learn even more!
Frequently Asked Questions
Can You Use Regular Cabinets Outdoors?
It is not recommended to use regular cabinets outdoors because they are not made for weather conditions. If you want to use your kitchen cabinets outside, it is best to choose outdoor kitchen cabinets resistant to rain and moisture.
What Do You Put in the Bottom of a Kitchen Drawer?
A kitchen drawer is an enclosed cabinet containing utensils and other items in a kitchen.
The bottom of the drawer is typically filled with objects such as spoons, forks, knives, measuring cups, measuring spoons, spatulas, tongs, and ladles. The top of the drawer usually has compartments for storing dish towels or other items such as baking sheets or muffin tins.
Why Is It Wet Under My Kitchen Sink?
There are many reasons why it could be wet under your kitchen sink. The most common reason is that there might be a leak in the pipe or drain of your sink. A blockage usually causes this in the pipe or something inside the drain loosened and needs to be fixed.
The other possible causes for wetness under your sink are condensation, drainage from the dishwasher, overflow from your garbage disposal, and food particles that have fallen into your pipes and drains.
Can Damp Rid Be Used Under a Kitchen Sink?
Damp Rid is a powerful product that can be used for multiple purposes. It can be used in the bathroom, kitchen, or anywhere else where you need to remove moisture from your home.
There Are Many Benefits of Using Damp Rid, Such as :
- It removes mold and mildew from hard surfaces.
- It eliminates bacteria on surfaces.
- It eliminates odors like smoke, pets, cooking smells, and mildew.
- It helps reduce condensation buildup by sealing water vapor within walls and ceilings.
What Is the Black Pad Under the Kitchen Sink?
A black pad is a soft rubber mat, usually made of silicone or other flexible material, absorbing spills and debris from the kitchen.
The main purpose of the black pad is to protect the surface underneath it from getting dirty. They are also used to help catch any liquids that might be spilled.
They are very popular in households with children because they make cleanup easy and do not require scrubbing.
Conclusion
If your cabinet under the kitchen sink is leaking, you may need to waterproof it. Start by using a putty knife or other type of flat-edged tool to scrape off any old caulking around the edge of the door. Once this has been removed, use an acid wash solution and scrubber pad to remove grease, soap residue, grime, and dirt from the area where new caulk will be applied.
Now that everything has been cleaned up thoroughly with an appropriate cleaner apply silicone sealant just inside the outer edges of both doors before replacing them on their hinges. This blog post has given helpful advice on how to waterproof cabinet under kitchen sink.
Related Article- How to Install a Countertop Dishwasher Under the Sink


