How to Wire a Wall Heater
Are you considering adding a wall heater to your home? Installing a wall heater is a great way to improve the comfort of your home, and it’s a project you can do yourself. Most people think of a wall heater as nothing more than an eyesore, but with a bit of effort, it’s possible to make them blend in with your decor.
This blog post will show you how to wire a wall heater. We will also provide tips on choosing the right wall heater for your home. We will also cover some common mistakes people make when wiring these appliances. So if you’re thinking about installing a wall heater in your home, read on!
Why Should You Use a Wall Heater?
There are many reasons why you might want to use a wall heater. They are an efficient way to heat your home and can be used with other heating sources such as furnaces and boilers. Wall heaters are also relatively easy to install and don’t take up much space. In addition, you can find wall heaters designed to match the décor of your home, and they can be a great addition to any room.
6 Benefits of Using a Wall Heater:
1. Unobtrusive and Compact:
Wall heaters are designed to be compact and discreet. They can be mounted on or recessed into the wall, so they don’t take up much space. As a result, the wall heaters help save a lot of space in your home.
2. Easy to Install:
Wall heaters are relatively easy to install. You can do it yourself or hire a professional. If you’re handy, you can save money by doing it yourself. Wall heaters come with installation instructions. You can install them in new construction or retrofit them into an existing home.
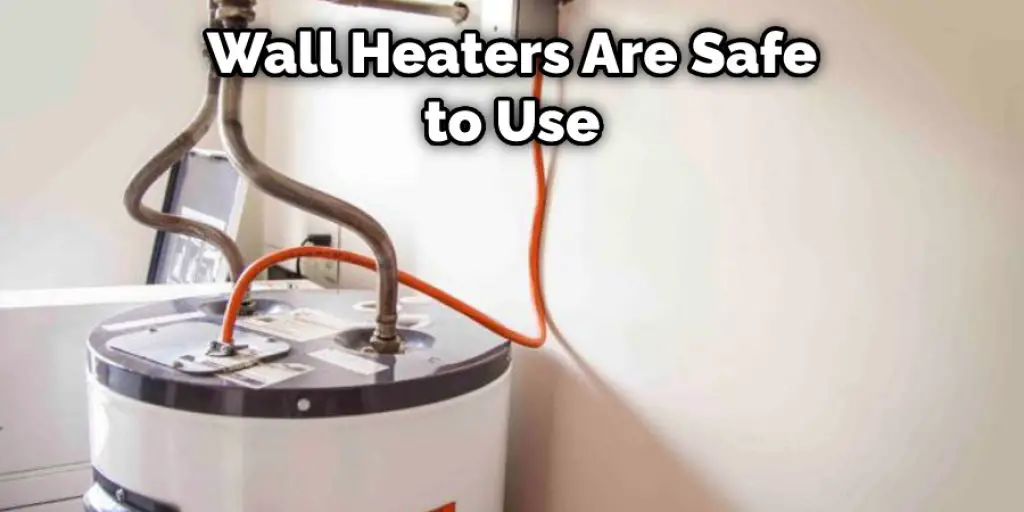
3. Safe to Use:
Wall heaters are safe to use. They have built-in safety features such as tip-over switches and thermal overload protection. These features prevent the heater from starting a fire if it tipped over or is overloaded. The wall heater also helps you to save on your energy bills.
4. Built-in Thermostat:
Most wall heaters come with a built-in thermostat. This feature allows you to set the temperature of the heater. The built-in thermostat ensures that the heater doesn’t use more energy than necessary to maintain the desired temperature. You can find the thermostat on the side or back of the heater.
5. Energy Efficient:
Wall heaters are an efficient way to heat your home. They use less energy than other types of heaters such as space heaters. The wall heater is also safer to use because it doesn’t produce open flames. A wall heater is also known to last longer than other heaters.
6. Cost-Effective:
Wall heaters are a cost-effective way to heat your home. They are less expensive to operate than other heaters, such as central heating systems. Additionally, wall heaters do not require a lot of energy to run so you can save money on your energy bill each month. The cost-effectiveness of wall heaters is one of the main reasons they are such a popular choice for homeowners.
What Tool & Materials Needed:
- Wall heaters
- Thermostat
- Drill
- Wire cutters/strippers
- Screwdriver
- Level
- Tape measure
- Hammer
Step by Step Guide: How to Wire a Wall Heater
Step 1: Find a Suitable Location.
The first step is to find a suitable location for the wall heater. Choosing a spot that’s out of the way is important, so it doesn’t impede foot traffic. Selecting a spot where the heater won’t be in the way of furniture or other obstacles is also important.
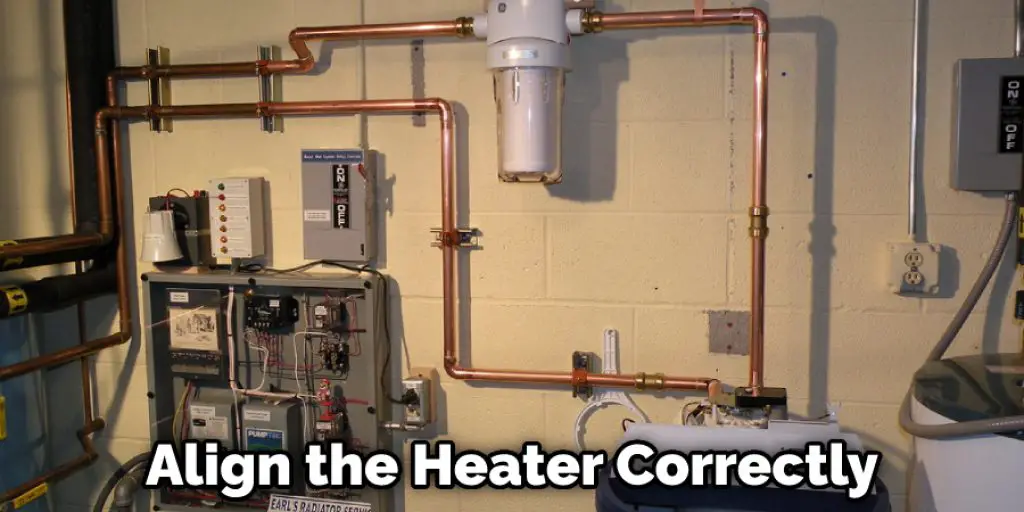
Step 2: Mark the Location.
Once you’ve chosen the location, use a pencil or marker to mark the spot on the wall. This will be the center of the heater. Marking the location will help you align the heater correctly when installing it.
Step 3: Drill a Hole for the Wiring.
Next, you’ll need to drill a hole for the wiring. The hole size will depend on the type of heater you’re installing. Consult the instructions that came with your heater to determine the size of the hole. Once you’ve determined the size, drill a hole at the marked location.
Step 4: Run the Wiring.
After you’ve drilled the hole, run the wiring through it. The wiring length will depend on the type of heater you’re installing. Consult the instructions that came with your heater to determine the length of the wiring. Once you’ve determined the length, cut the wiring to size and run it through the hole.
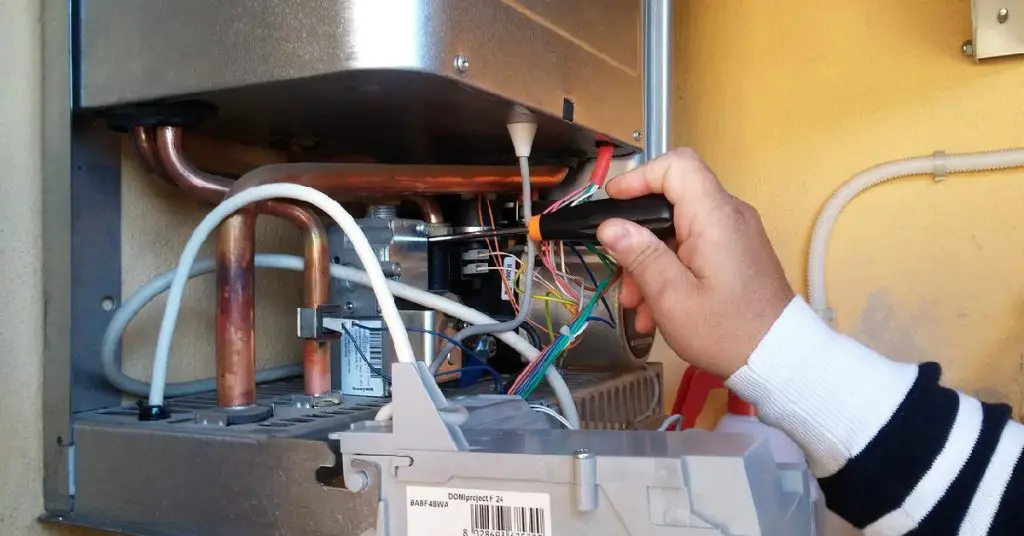
Step 5: Strip the Wiring.
After running the wiring through the hole, you’ll need to strip it. Use wire strippers or a knife to remove the insulation from the end of the wire. Be careful not to damage the wire as you strip it. If the wire is damaged, it could cause a short circuit.
Step 6: Attach the Wiring to the Heater.
Next, you’ll need to attach the wiring to the heater. Again, the specific instructions will vary depending on the type of heater you’re installing. Consult the instructions that came with your heater for more guidance. In most cases, you’ll need to strip the ends of the wires using a wire stripper before attaching them to the heater.
Step 7: Attach a Dedicated Circuit.
After attaching the wiring to the heater, you’ll need to install a dedicated circuit. This will ensure that the heater has its dedicated power source. The specific instructions will vary depending on the type of heater you’re installing. Consult the instructions that came with your heater for more guidance.
Step 8: Place the Heater Mounting Box.
After installing the dedicated circuit, you’ll need to place the heater mounting box. The mounting box will serve as support for the heater. The specific location of the box will depend on the model of the heater you have. Once you’ve determined the location, use a drill to make pilot holes in the drywall. Next, insert the mounting screws into the box and tighten them until the box is secure.
Step 9: Hang the Heater on the Mounting Box.
After the wiring is complete, the last step is to secure the wall heater to the mounting box. Use the screws provided with your model to do this. Hang the heater on the box and then use the screws to secure it. Make sure that the heater is level before tightening the screws completely.
Congratulations! You’ve successfully installed your wall heater. Now all you need to do is set the temperature and enjoy the warmth.
Additional Tips and Advice When Wiring Heater
- Be sure to read the instructions for your heater carefully. This will ensure that you wire the heater correctly and avoid any damage.
- If you’re not comfortable wiring the heater yourself, hire an electrician to do it for you.
- Always test the heater before use to ensure that it’s wired correctly and safe to operate.
- When wiring the heater, use the proper size and type of wire.
- If you think the wiring is damaged, have it inspected by a qualified electrician before using the heater.
- Never operate a wall heater if it’s damaged or not working properly. Doing so could result in serious injury or even death.
- Never use extension cords with a wall heater. Doing so could result in fire or electrocution.
Final Words
Wall heaters are a great way to add an extra layer of warmth to your home, and they can be installed in just a few simple steps. Wall heaters provide a convenient and efficient way to warm up a room. In this post, we have shown you how to wire a wall heater so that you can get started enjoying the warmth as soon as possible.
Following the instructions in this article, you can have your wall heater up and running in no time. Have you ever installed a wall heater before? If not, would you give it a try after reading this article? Let us know how it goes in the comments!


