A stove can be made flush with a wall by lining the unit’s front edge with a wooden board. This step will make it easier to clean up spills and reduce the chance that children or pets may get burned. You could also use this technique to create additional storage space on top of your stove for pots, pans, dishes, etc.
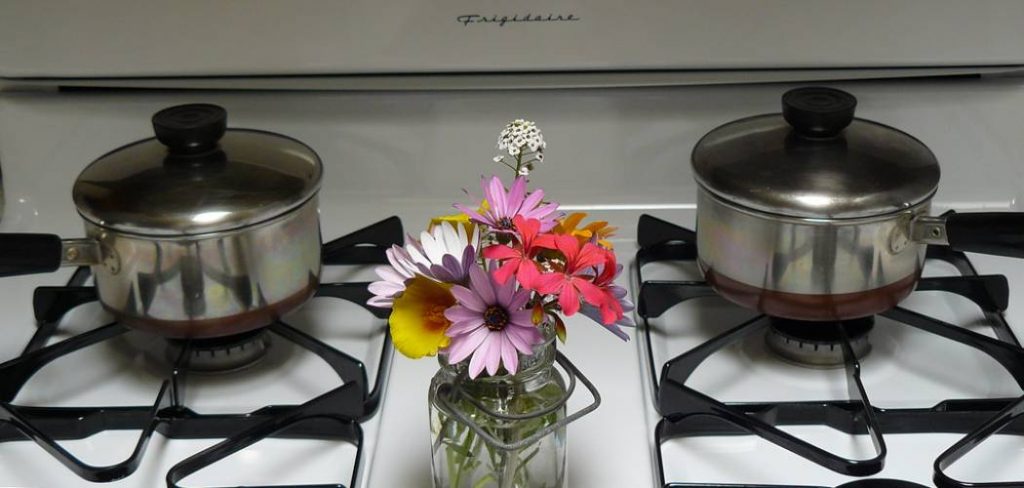
One consideration is to install wood trim behind any gas burners, so they are not exposed directly to view when you open the door. If needed, purchase metal brackets that attach securely to both sides of your wall cabinets or countertop in order to hold them into place while installing your stove. So, this article is for you. You will learn how to make stove flush with wall with just one simple trick!
6 Steps to Follow on How to Make Stove Flush With Wall
Step One: Remove the Old Stove
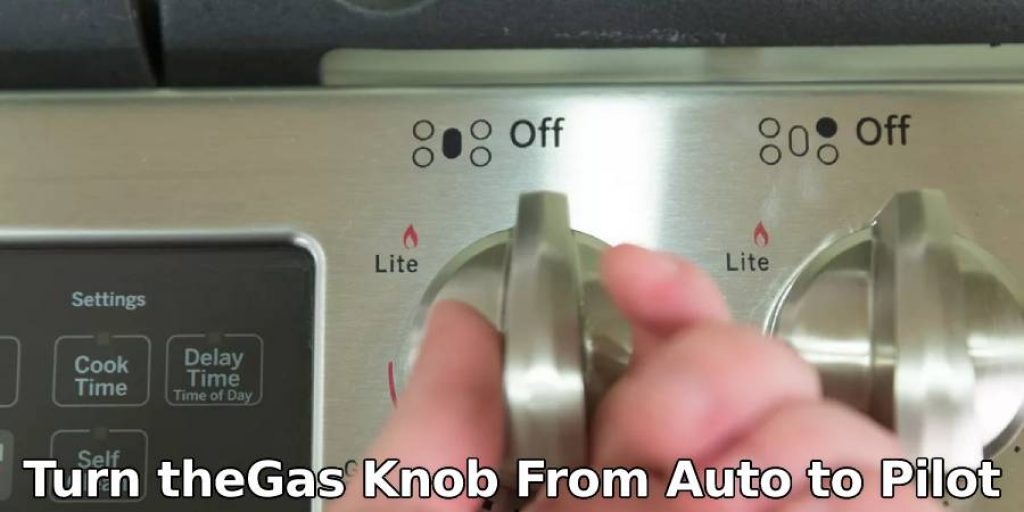
If your stove is a self-cleaning or convection unit, you need to turn off the breaker that supplies power to it. If you have an older gas range, you need to turn the gas stove knob from auto to pilot and ignite a match near any burner holes to ensure no gas leakage. Next, you need to unscrew the burner access panel on top of the stove, remove the screws that hold it in place, and then pull out your stove.
If you have a gas stove, make sure to disconnect the gas pipe before you do anything else. There may also be an electrical connection that you need to disconnect. After that, there may be a metal bracket under the stove or braces attached to your cabinets. Loosen and remove these so that you can take the stove out.
Step Two: Prepare for Installation
If there is an existing opening in your wall with no framing behind it, measure its width and height and cut a piece of plywood to fit if you have a solid wall behind the opening, measure and cut a piece of exterior-grade plywood that fits into the space between your cabinets.
To attach the sheet to cabinets, first use wood glue and a nail gun to attach it firmly in place. Then drill pilot holes for countersink screws every four inches along the perimeter or edges of the sheet.
Step Three: Add Studs and Drywall
The student should attach two or more 3-inch blocks of wood to the inside edge of their cabinet so that they run vertically between the top and bottom cabinets. Then, the student should attach three 2×4 studs horizontally between these vertical blocks. The student should use a level to check if each block is plumb before attaching it, then secure all four with screws.
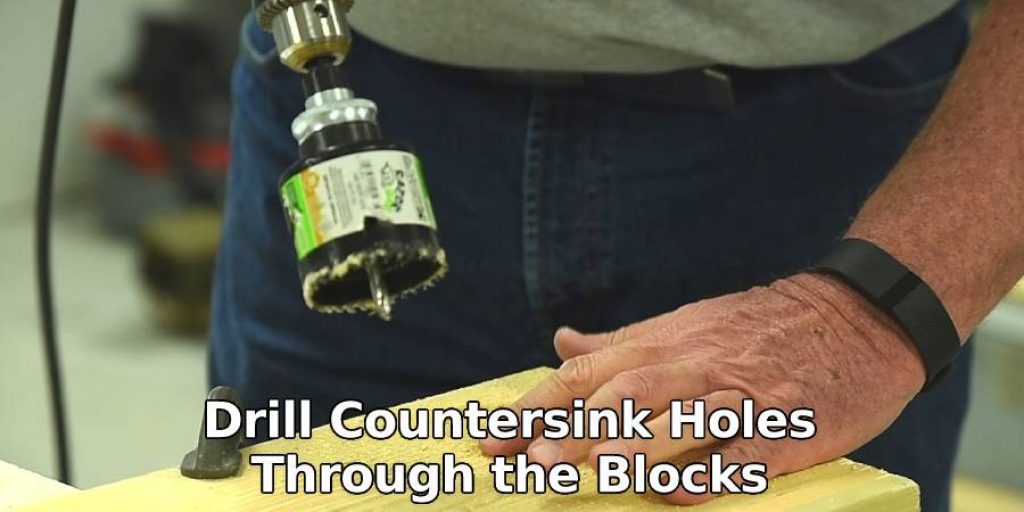
At the top of each vertical block, measure, and mark where the studs will attach to them. Drill countersink holes through the blocks at those locations, then use a screwdriver to drive wood screws into place so that they are recessed slightly below the blocks’ surface.
Step Four: Frame Opening for the Stove
Measure and cut two pieces of 2×4 to fit between the studs you just attached at the top. Space them 4 1/2 inches apart and attach them with screws, then cut an additional piece of 2×4 to fit evenly between these two pieces.
It should be plumb against both the wall and the cabinet on one side and level with both the block supports and cabinets on the other. First, attach it with screws, then use a level to check if all studs are plumb before attaching them to your cabinets as well.
Step Five: Add Framing for the Stove’s Flue
Cut two pieces of 2×4 that match those you just added from top to bottom, but instead of adding them vertically, lay them horizontally and use a level to check if they are plumb before attaching them.
Cut four more pieces of 2×4 so that they fit between the horizontal studs and attach these as well, then cut two more pieces of 2×4 that match those you just added from top to bottom and attach these vertically with screws.
Step Six: Build the Base of the Stove
Measure and cut three pieces of 2×4 so that they match those you just added from top to bottom, but attach them horizontally. Screw them to your horizontal studs, then measure the width of your stove unit with its widest point facing out. Next, cut two pieces of 2×4 that match this measurement, then measure the height from that same widest point to the top of your stove’s cabinet.
Cut two more pieces that add up to this height. Attach these five pieces in a rectangle with screws, one on each end and one in each middle location where it touches another piece of wood. Then, cut one 1/2-inch piece of 2×4 and screw it to the bottom of your stove unit. This acts as a base for proper leveling. Thanks for reading about how to make stove flush with wall. Read More…

How Do You Fill a Gap Behind a Stove and Wall?
You can fill a gap between your stove and wall with insulation, caulk, or another filler. But most of these are temporary fixes that will not fully block drafts or heat loss. Increasing the size of the air seal is often necessary to make an efficient permanent solution for filling gaps behind stoves. Insulating stove backs properly means adding more insulation and a layer of air-sealing materials.
The best way to fill gaps behind a stove is with spray foam insulation. Before using the foam, make sure you prepare all surfaces of your stove for optimal adhesion. Also, your stove must be anchored to the rear wall studs. Then, you will use mastic to make an airtight seal between your stove’s insulation and sheet metal.
Frequently Asked Question
What Do You Do with A Gap Between Stove and Wall?
There are a few options that you can do with a gap between stove and wall. You can either use the gap to store pots, pans, or food containers.
Another option is to use the space as an oven rack by placing a baking sheet on top of it. This way, you don’t have to worry about your food burning in the oven.
You can also put something on top of the gap like this towel so that it doesn’t get damaged from heat from the stovetop.
Should Range Be Flush Against Wall?
One way to make your kitchen design more modern is to consider range as an integral part of the design and then ask whether it’s better to have the range flush against the wall or not. If you’re looking for a more modern look, then having it flush with the wall will make your kitchen appear more contemporary. However, if you want a traditional feel that doesn’t clash with other elements in your kitchen, then having it stick out will be better for your design.
How Far Should a Oven Be from The Wall?
An oven should be placed at least 1 foot away from the wall. A lot of factors need to be taken into consideration when determining how far a wall should be from an oven.
How Much Space Do You Need on Each Side of A Stove?
The standard size of a stove is 30″ x 18″. The width and length are the dimensions of the surface area that you need to prepare food on.
For example, if you want to cook for four people, then you will need a stove with a surface area of 60 square inches.
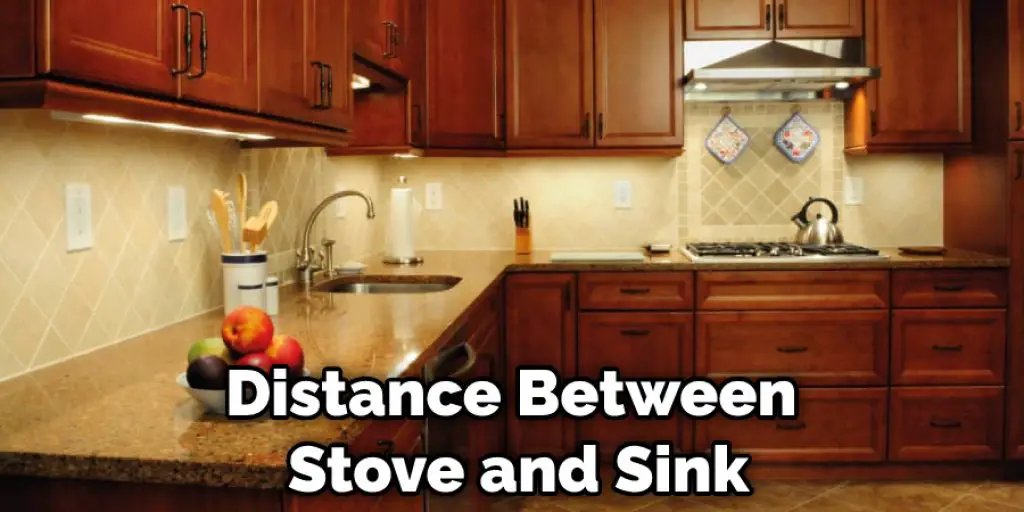
Can Stove Be Next to Sink?
The stove can be next to the sink, but it should not be installed on top of the sink. The distance between the two is important because if they are too close, then there will be a risk of fire and water damage.
Conclusion
In order to make a stove flush with the wall, you will need to install an 18″ wide opening that is 36″ high. This way, there would be more room on top and below for storage or work surfaces if needed.
You should also confirm whether or not any plumbing lines are located in the area where the new opening will go before continuing with construction plans. Once all these steps have been completed satisfactorily, it’s time to start measuring and cutting! After reading this blog, you should know how to make stove flush with wall.
You may also like – How to remove cloudiness from glass top stove.


