A deck railing is designed to protect people from falling off the edge of a deck. They are usually made of wood or metal and come in many different styles. A common problem with decks is that they can become unstable over time or when exposed to moisture. Learn how to stiffen a deck railing with this blog post!
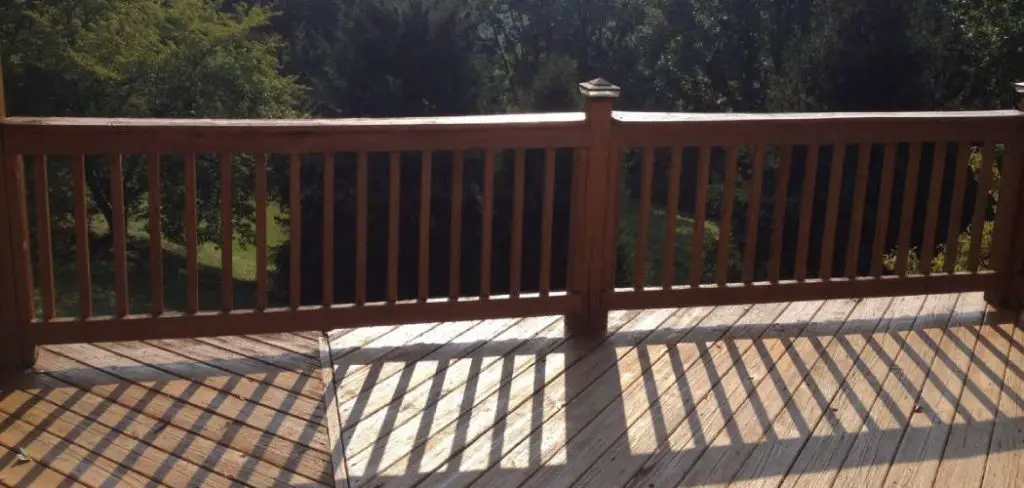
One way to fix this is by installing a post sleeve at the bottom of each column on your deck, then inserting steel posts into them, which will provide more stability for your railing system. This blog post will go over some tips on how you can stiffen up your deck railings so that they are safer for everyone who uses them!
7 Steps to Follow on How to Stiffen a Deck Railing
Step One: Remove the Railing
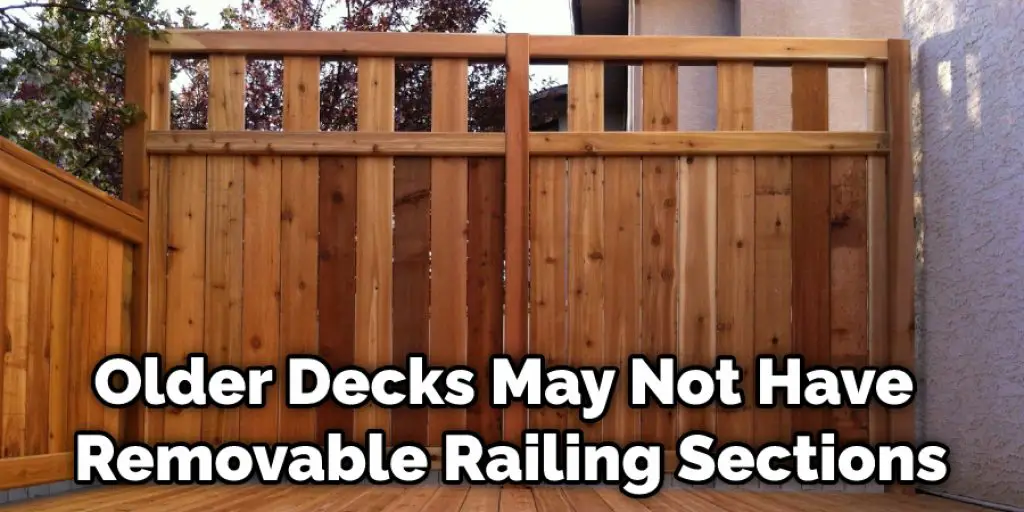
The railings of the deck must be removed before you can begin to stiffen them. The best time to do this is when you are installing a new railing system. Because older decks may not have removable railing sections, it will be necessary to cut away portions of the handrails and top rails to get them out of the way.
Wear safety glasses when cutting the railings to protect your eyes from pieces of wood and metal that the saw blade might eject.
Step Two: Cutaway Bad Sections
Bad sections of the railings must be cut out and removed before new railing components can be installed. This is more important on older decks where the wood has rotted over time, but it is good to remove any bad sections on newer decks.
Begin at one end of the railing and mark lines on the top and bottom rails that extend out from the base of these rails at a 45-degree angle. Next, use a circular saw to cut along these angled lines until they meet in the middle. Repeat this step on each rail, moving toward the opposite end of the deck. You can also use a reciprocating saw if you do not have access to a circular saw.
Step Three: Secure the Rails
After you section off or remove bad sections of the railing, secure the remainder of the rails to the deck frame using metal brackets. The angles at which these brackets are installed should be similar to those used when installing decking. The installation angle increases as it moves down the rail.
Drill holes in the rails and screw them into place with a drill driver and screws that are 3 inches long. A power miter saw can also be used to cut the angles of the brackets before they are screwed into place.
Step Four: Add Guard Rails
Run guard rail pieces along each side of the deck between the exterior wall and the new railing system. This will prevent people from accidentally falling off of the edge of the deck. The guard rail pieces should be made of pressure-treated lumber, although cedar can also be used if you want a more decorative look.
Secure the guard rail pieces to the deck frame and to the railing sections with screws that are every six inches. You can also cut 45-degree angles into each piece and secure them using brackets as you did with the rails.
Step Five: Install Baluster Spindles
Continue adding new sections of railing by installing baluster spindles between the rails. Use metal brackets to attach these spindles to the outer ends of the bottom rail and secure them at intervals of six inches using 3-inch screws. Make sure that you install both sections on each side of the railing for it to be even.
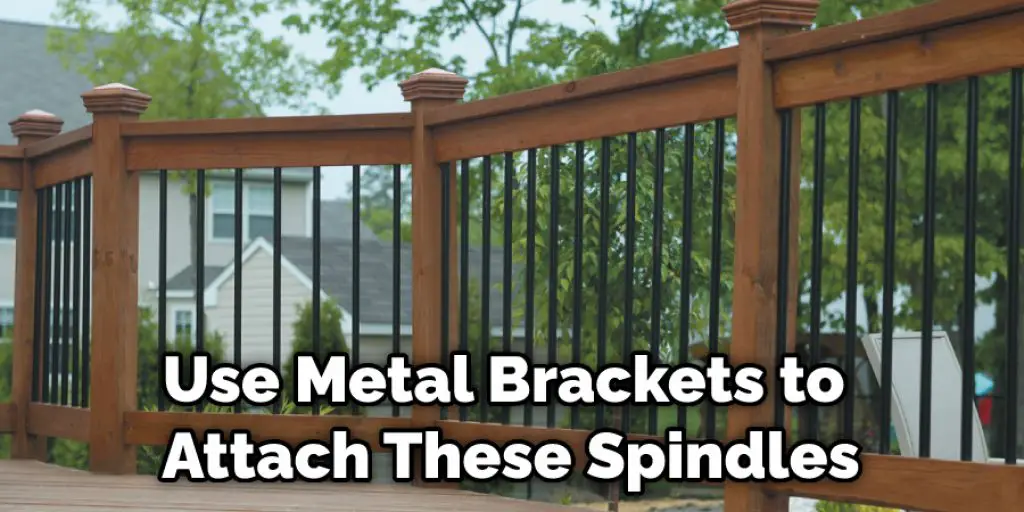
The baluster spacers will run perpendicular to the attachment angle to the bottom rail, creating a diagonal pattern in the railing that will add a decorative flair to your deck.
Step Six: Install the New Railing System
Install the railing sections by attaching them to the metal brackets with 3-inch screws. You want to tightly secure the railing sections together so that they are rigid enough to hold up to wind, snow, and ice without breaking.
The sections should also be tight against one another to ensure that no space exists where a child could accidentally fit through and fall off the deck. Finally, secure the sections in place with screws every 6 inches.
Step Seven: Add Railing Caps
Finally, use railing caps to cover the tops of the spindles and brackets. These caps are used for decoration, but they also help keep people safe when they bump their heads against them while standing up after bending over to pick something up. Cut the caps to fit and use a drill driver to screw them in place with 3-inch screws.
Again, make sure that you install both sections on each side of the railing for it to be even. The baluster spacers will run perpendicular to the attachment angle to the bottom rail, creating a diagonal pattern in the railing that will add a decorative flair to your deck. These steps should help you in learning how to stiffen a deck railing.
Step Seven: Enjoy Your Railing System
Enjoy your new railing system for years to come. Make sure that you install both sections on each side of the railing for it to be even. The baluster spacers will run perpendicular to the attachment angle to the bottom rail, creating a diagonal pattern in the railing that will add a decorative flair to your deck.
You Can Check It Out to: Fix Sagging Deck Railing
Frequently Asked Questions
Why Is My Deck Railing Wobbly?
The most common cause of wobbly deck railing is a lack of support. To Prevent This, It Is Important to Consider the Following :
1. Whether or not the concrete underneath your deck has been properly poured.
2. The type of supports you have installed for your deck rails and whether they are in the correct place and level.
3. The weight capacity of your deck railing and supports before installing them on your structure.
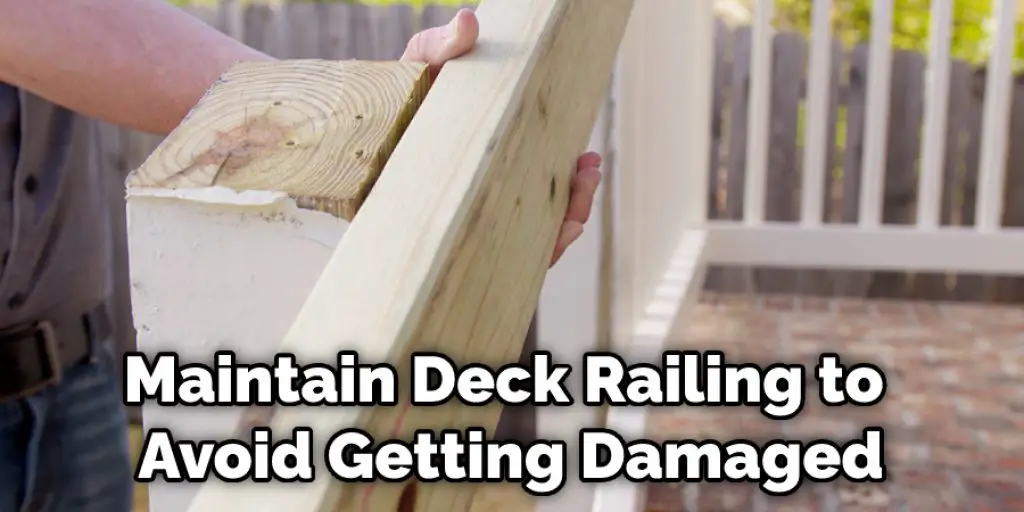
Can You Stiffen Deck Railings?
Yes, you can. It is very important to maintain your deck railing to avoid getting damaged and becoming unsafe for the people on the deck.
To make sure your railing stays in good condition, take some sandpaper and sand down the edges of the railings to remove any rough or sharp spots. Afterward, use a mixture of paint and water (1 part paint to 2 parts water) to apply a new coat over all surfaces of the railing including the ends where they meet with the posts.
If you have been using wood stain on your railing before, then use a high-quality primer first and then finish it off with one coat of top-grade exterior paint for best results.
Are Stiffened Deck Railings Safe?
There are many factors that should be considered before installing a deck railing. One of the most important factors is whether or not the railing can support the weight of people using it and how long they will be able to stand on it.
Stiffened deck railings are safe, but they are not recommended for people who have balance issues, health conditions such as arthritis, or injury history.
How Do I Stop My Deck Railing from Sagging?
To stop your deck railing from sagging, you can use either a wood wedge or metal strap to raise the height of the rails.
If you are using a wood wedge, place it between the bottom rail and the joist below. If you are using a metal strap, place it under one of the top rails and slide it down over the other top rail so that they are touching.
Conclusion
We recommend using a product like Deck Armor, which is specifically made for this purpose and tested to meet the American Wood Preservers Association (AWPA). The product can be applied with a brush or roller; we recommend only applying it in one direction.
For best results, use two coats of paint on both sides of the railing before applying DeckArmor. This will ensure that all surfaces are covered, and there won’t be any exposed wood left after adding the coating. The article has been a good guide on how to stiffen a deck railing.


