How to Connect AC Drain to Sink
Introduction
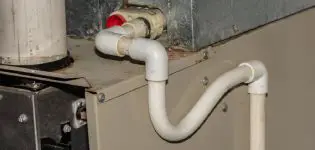
Have you ever been in a hot environment and felt the need to take off your clothes? That’s because heat rises. For air conditioners to work correctly, they have to remove warm air from a room or building. The way to do this is by using an AC drain system. Air conditioners expel the warm air from the unit through a hole at the bottom of the appliance called an “evaporator.”
This causes coolant fluid circulating inside it, which is usually water-based but can also be other fluids like ammonia or refrigerated Freon gas, to evaporate into gas form and rise into another part of the unit that contains coils cooled by cold outside air blown across them. In this article, I will discuss elaborately how to connect AC drain to sink. So let us get started.
A Detailed Stepwsie Guide on How to Connect AC Drain to Sink
Step One: Apply Plumbers Putty on Sink Drain
Apply a layer of plumber’s putty to the bottom of the drain flange. Press it into place around the flange’s outer edge. This will create a seal that keeps water leaking out between your sink and drain assembly. The finished product should look like the image below, with an even bead of putty evenly covering the area beneath your sink flange.
Step Two: Place Drain Body in Flange Ring
Place the rubber gasket that accompanies your new kitchen sink drain body over top of the plumber’s putty base you just laid down within each side of your sink flange ring. It would help if you made sure that both sides are pushed down to ensure a tight seal when the drain body is placed over the top of them.
Step Three: Fit Drain Body Into Flange
Place the kitchen sink drain body down firmly into place over your sink flange, making sure that it fits snugly within both sides of your flange ring. Line up any exposed plumber’s putty on the underside of the drain with exposed grooves in your flange ring, and shift it back and forth until they come together.
This will ensure an even excellent distribution of pressure during installation. Ensure that no portion of the rubber gasket protrudes from under the threaded lip of your new kitchen sink strainer assembly. You should have a good seal between all the parts if you have done this correctly.
Step Four: Screw on Strainer Assembly
Once the drain body is in place, screw on the strainer assembly until tight. It’s a good idea to use a wrench to ensure that it’s good and secure. Test your installation by running water into the sink. If everything has been done correctly, there should be no leaks.

Step Five: Attach P-Trap to Strainer
Thread your new flexible metal p-trap onto the bottom of your sink’s drain assembly. Ensure that you tighten it as much as possible before attaching a coupling nut from your flexible metal p-trap tubing to each open end of the p-trap and securing them with a pair of adjustable pliers. If you have more than one section of flexible metal p-trap tubing, cut or bend them so that they fit inside of each other without any gap between teams. It should be a tight fit, so there is no chance of water leaking out around the joints.
Once all three pieces are securely attached, use an adjustable wrench to turn the coupling nuts clockwise until they are hand tight. Once you have done this, tighten them an additional quarter turn with a pair of adjustable pliers to ensure that everything is securely fastened together.
Step Six: Attach Flexible Metal P-Trap to Drain Body
Connect one end of your flexible metal p-trap tubing to the bottom outlet of your drain assembly. Use a wrench and a pair of pliers to ensure it’s friendly and secure. Clean up any excess water from where you have been working using rags or paper towels, and allow it to air dry completely before putting anything back underneath your kitchen sink cabinet.
If possible, avoid, if at all possible, cutting the calk to assemble these parts as it is not very strong. Instead, I suggest using 2 part epoxy/adhesive, which are much more robust, easy to apply, and can be used on all types of surfaces. You should have a standard set at your local hardware store.
Precautions While Connecting AC Drain to Sink
- To avoid any water leakage, it is essential to use a sealant while connecting the AC drain pipe to the sink.
- Always make sure that the connection is tight and secure so that there is no water leakage.
- The AC drain pipe should be properly aligned with the sink drain hole before connecting.
- If needed, use a plumber’s helper to connect the AC drain pipe and the sink drain hole. This will prevent any unnecessary wastage of water.
- Use a hammer while making the connection to ensure that the AC drain pipe is tightly fixed with the sink drain hole.
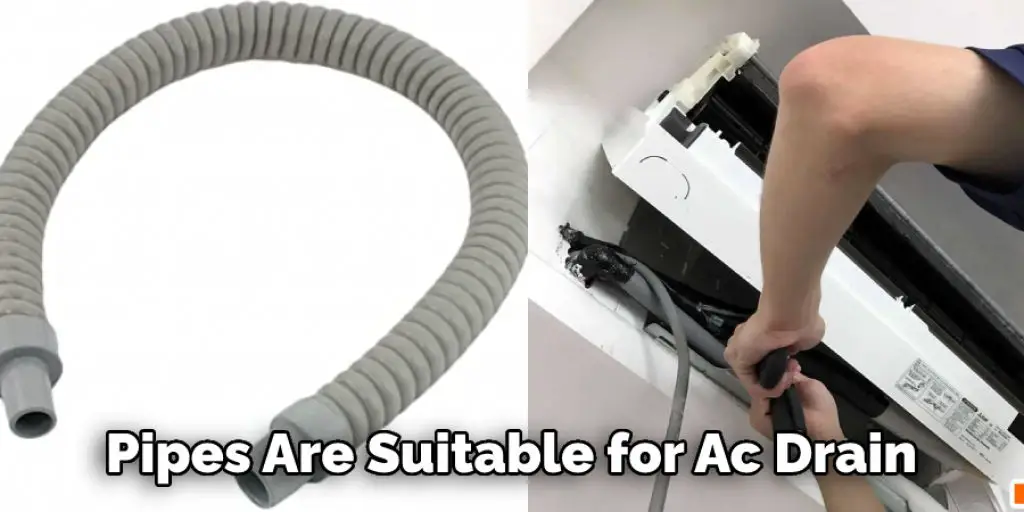
Which Pipes are Suitable for AC Drain?
- ABS or PVC plastic pipe is usually used since the pump outlet is designed for this type of pipe.
- Cast Iron (usually galvanized inside), Copper and Steel pipes cannot be used with a sump pump. The material of these types of piping may deteriorate when exposed to sewage conditions in the sump pit or soil conditions outside, causing leakage and property damage. This is why it’s essential to use only ABS and PVC plastic pipe for the AC drain line so you won’t damage any valuable property. Although iron pipes can be used with some pedestal pumps, we recommend avoiding them due to rust issues that cause deterioration of the system. It’s easier just to include all kinds of materials out of your list to avoid problems in the future.
- Galvanized steel or copper coated with a material such as “Yellow Seal” should not be used because these coatings may deteriorate when exposed to sewage conditions in a sump pit. This will cause increased leakage and property damage.
- Rubber hose must never be used for an AC drain line because it does not have any kink resistance. It may collapse on itself, possibly causing severe backflow problems, damage to your water pump motor, and personal injury.
How to Clean an Air Conditioner
- Turn off the power, remove the cover of the outside unit, and disconnect the cable. Next, loosen both screws on each side holding the safety switch/limit sensor to ensure no electricity flows into it after reconnection.
- Remove any debris (leaves or other objects) found around the condenser unit using a broom or blower.
- Put on rubber gloves, follow all safety precautions taken in previous steps, take out the filter from its compartment, clean it thoroughly with water, and mild dishwashing liquid soap solution followed by thorough rinsing. Allow them to dry before putting them back into place. Keeping your AC filter clean to reduce strain on your system’s inside components is essential.
- Check the tightness of all screws and fittings, making sure there’s no contact with electrical wiring. Then, reconnect the cable, cover the unit, and turn on the power.
- If you have an indoor unit, remove the front panel by unscrewing or prying off retaining clips. Be careful not to break them – replacements are available at most hardware stores. Once the board is off, check for any blockages in either the air filter or evaporator coils and clean as necessary. Also, check to make sure that condensation is draining away correctly through the hose connected to the back of the unit. If it’s not, you may need to install a drainage pan below the indoor unit (consult your HVAC technician).
- Replace the front panel, and you’re done.
- Repeat these steps at least once a year – more often if you have pets or your AC is in constant use.
Frequently Asked Questions
Where Do I Drain My Ac Condensate?
AC condensate is a byproduct of air conditioning and cooling systems. It’s usually composed of water, nitrogen, and other chemicals that are harmful to the environment. To prevent these pollutants from leaking into the environment, you should drain ac condensates at an approved disposal facility.
Can You Drain Ac Condensate Into Sewer?
Generally, no – Ac condensate does not belong in the sewer system. Ac condensate is a byproduct of air conditioning and should only be disposed of through a special exemption process. If you are unsure whether or not your ac unit produces ac condensate, you can contact your local municipality to inquire.
What Is Code for Ac Drain Line?
Code for AC Drain Line is a website that provides plumbing installation and repair services across the United States. They offer various services, including drain line repairs, installation upgrades, and new construction projects.
They also have an extensive knowledge base with detailed instructions on how to complete various plumbing tasks. So if you’re ever in need of help with your plumbing setup or repairs, be sure to check out Code for Ac Drain Line!
Does an Ac Drain Line Need Ap Trap?
An Ac Drain Line Needs A Trap If the Lines Are Directly Connected To The Sump Ponds Or Fish Tanks. Otherwise, An Ac Drain Line Only Requires A Tight No-Sink Valve At The Outlet Of Your Drains.
Conclusion
I hope this article has offered you all the necessary instructions on how to connect AC drain to sink. Ensure all the precautions are adequately followed while performing the process. Thank you and have a nice day!


