How to Paint Engraved Letters on Metal
Engraved letters on metal can be a beautiful addition to your home or office. This technique is a great way to add a touch of personality to any piece. They can also be a challenge to paint correctly. However, you can easily create an attractive finished product with the right tools and techniques.
This blog post will discuss the steps necessary how to paint engraved letters on metal. We will also provide tips for avoiding common painting mistakes. Let’s get started!
To paint engraved letters on metal, you must prepare the surface first. First, sand the metal until it is smooth, then degrease and clean it thoroughly. Next, apply a primer specifically designed for metal, then paint the letters in your desired color. Finally, seal the paint with a clear coat of lacquer or varnish. Read on for more information.
What is an Engraving?
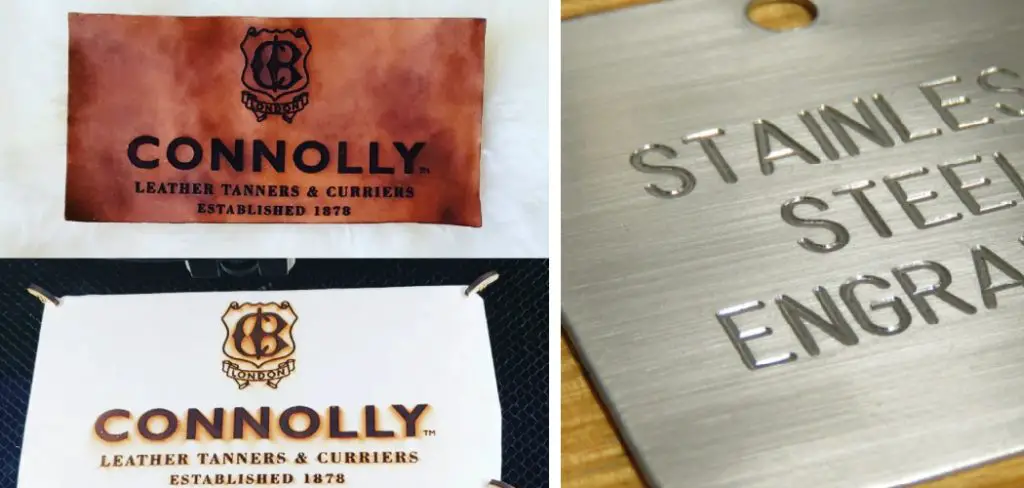
Engraving is the process of carving a design into a hard surface. This can be done with a variety of tools, including a chisel, lasers, or rotary bits. Engraving is often used for decorative purposes, such as on jewelry or art pieces. It can also be used to create functional items, like nameplates or ID tags. In addition, this is a common method for permanently marking metal surfaces.
Why Would You Want to Paint Engraved Letters?
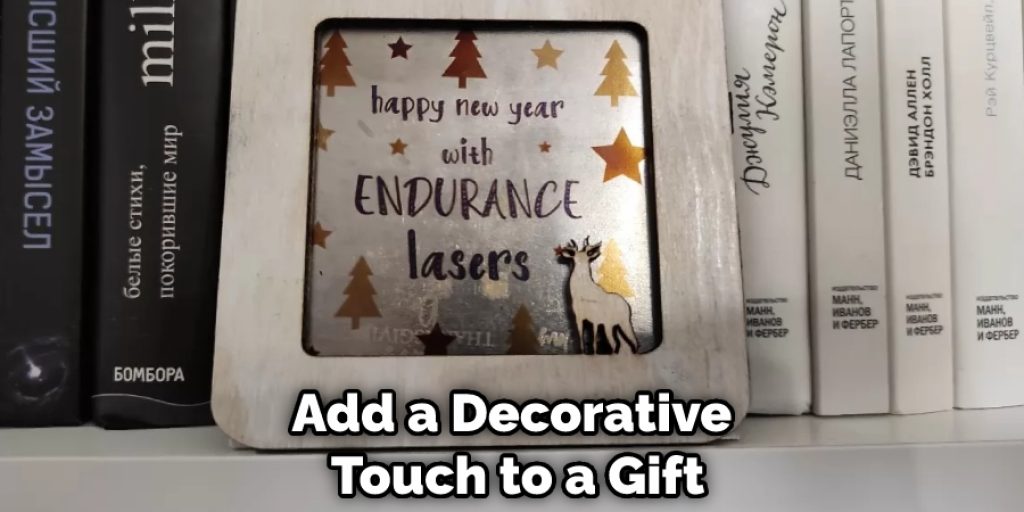
You might want to paint engraved letters on metal for many reasons. Perhaps you have a piece of jewelry that you would like to personalize. Or, maybe, you want to add a decorative touch to a gift. Whatever the reason, painting engraved letters can be a fun and easy project. It also helps you to create a unique and customized look.
Painting Engraved letters can also be a great way to add some extra flair to your work. If you are an artist or crafter, painting letters on your products can make them stand out. It can also help you to create a signature style for yourself.
What You Will Need
To paint engraved letters on metal, you will need the following supplies:
- Paintbrush
- Acrylic paint in the color of your choice
- A piece of metal with engraved letters
Step by Step Process: How to Paint Engraved Letters on Metal
Step One: Prepare the Surface.
Before you start painting, it is important to prepare the surface of the metal. This will help the paint adhere properly and prevent any later peeling or flaking. You can do this by using a metal primer or sandpaper. Using sandpaper, use an excellent grit not to damage the metal surface.
Step Two: Prime the Metal Surface.
Once the surface is prepared, you will need to prime it. This will help the paint to adhere better to the metal and provide a more even overall appearance. You can use a special metal primer or use a general-purpose primer. If using a general-purpose primer, follow the manufacturer’s instructions carefully.
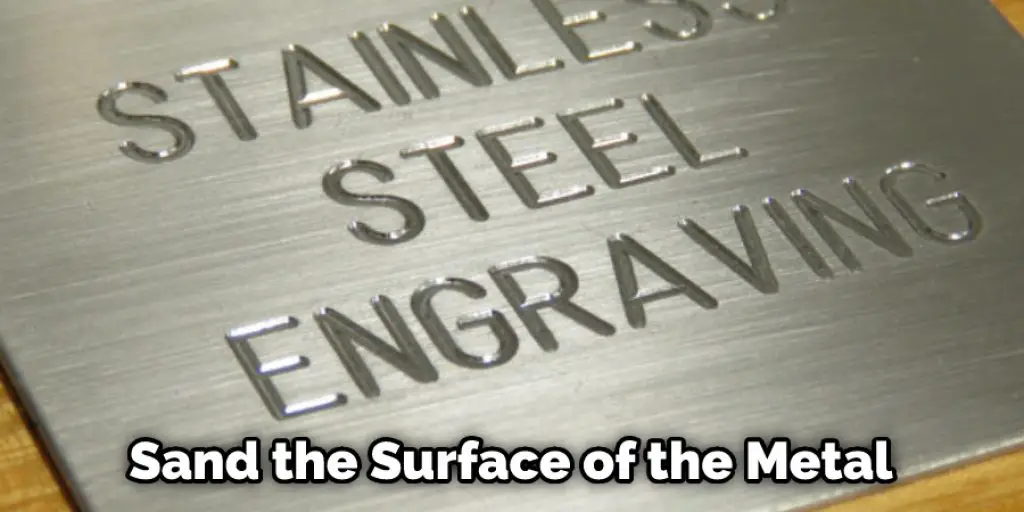
Step Three: Sand the Metal.
Once the primer is dry, you will need to sand the surface of the metal. This will help the paint adhere better and create a smooth surface. Use fine-grit sandpaper and sand the entire surface evenly. Be sure to wipe away any dust created by the sanding process before moving on. If you are working with a large area, you may want to use a power sander to speed up the process.
Step Four: Choose Your Paint.
The paint you use will depend on the look you are going for and the type of metal you are working with. For a more durable finish, consider using an enamel paint designed for use on metals. These paints are available in many colors, so you can find the perfect shade to match your project. Oil-based paints are also an option if you want a more traditional look. However, these paints can be more difficult to work with, so it is important to read the label’s instructions carefully before getting started.
Step Five: Paint the Letters.
Once you have chosen the right paint, it is time to start painting the letters. Start by painting the edges of the letters first. This will help you create clean lines and prevent any paint from bleeding under the stencils. Next, use a small brush or toothpick to fill each letter’s center. Be sure to work slowly and carefully to avoid any mistakes.
Step Six: Remove the Stencils.
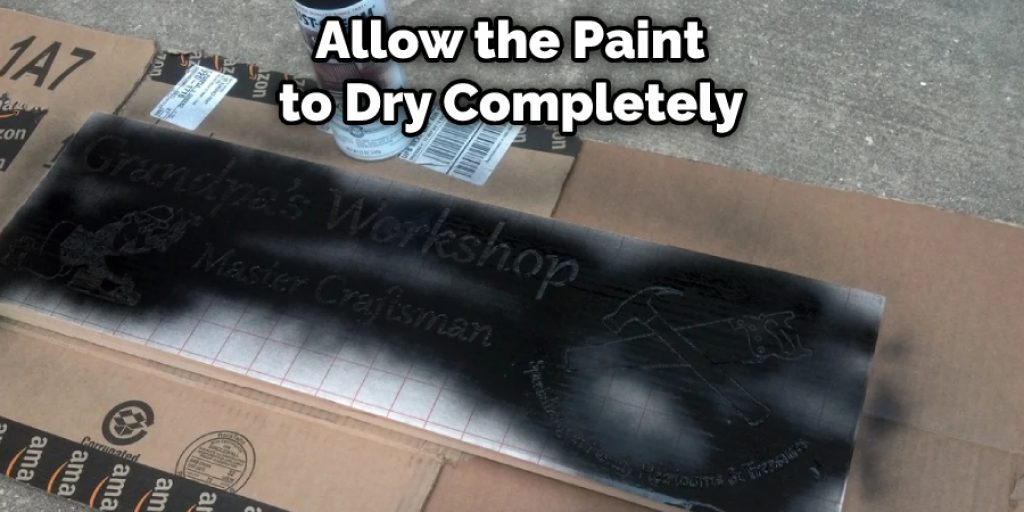
Once the paint is dry, you can remove the stencils. Be careful not to peel or scratch the paint as you remove them. If everything looks good, you are finished! Allow the paint to dry completely before moving on to the next step.
Step Seven: Add a Protective Coat.
To help the paint last longer, you can add a clear protective coat. This will also give the letters a nice shine. Be sure to follow the manufacturer’s instructions when applying the protective coat. Allow it to dry completely before using or displaying your project.
With these simple steps, you can easily paint beautiful, engraved letters on metal surfaces. Be sure to practice on a scrap piece of metal first to get the hang of the process. Once you are confident in your skills, you can move on to your final project. Have fun and be creative!
Some Tips to Enhance the Engraved Letters With Colors:
1. After you have engraved the letters onto the metal surface, use a paintbrush to fill in the letters with one or two coats of white paint. Then, allow the paint to dry completely.
2. You can then go over the top of the white-painted letters with a contrasting color. This will give the letters more definition and make them stand out more.
3. Another option is to use metallic paint for the letters. This will give them a shiny, polished look.
4. If you want to add extra pizzazz to your engraved letters, try using glitter or metallic spray paint. These products can be found at most craft stores.
5. You can use stencils to add color and designs around the letters. This is a great way to personalize your project.
6. Once you have finished adding color to the letters, use a clear sealer to protect the design. This will also help the colors last longer.
Follow these tips, and you will surely have beautiful, colorful letters that will last for years!
How Do You Paint Engraved Letters on Stainless Steel?
There are a few ways to paint engraved letters on stainless steel. You can use a brush, spray paint, or even a sharpie. The best way to get the job done is with a brush. You can use a small paintbrush or a larger one depending on the size of the letters. If you’re using a brush, start by first painting the letters’ edges. Then fill in the rest of the letter. Use even strokes, and don’t glue the paint on. Once the paint is dry, you can add a second coat if needed.
If you don’t have much time or patience, spray paint may be the way. Just be sure to use light coats, so the paint doesn’t run. Another option is to use a sharpie. This is probably the quickest and easiest method, but it won’t look as nice as if you’d used paint. So be sure to take your time and have fun with whatever method you choose!
Conclusion
To paint engraved letters on metal, you must start with a good primer. The type of primer you choose will depend on the metal and paint you are using. You may also need a sealant to protect your lettering from weathering and corrosion.
This is a process that can be completed at home with the right supplies and some patience. By following these simple steps on how to paint engraved letters on metal, you can create beautiful lettering that will add personality to any piece of metal. Have you ever tried this method of lettering? What results did you achieve? Share your thoughts in the comments below!


