When you see a beautiful door, cabinet, table, chair among others you tend to mostly just appreciate the beauty of the craftsmanship and that is all. However, the crafting of wood works from a mere cut down tree to a beautiful master piece does not only entail the making of a beautiful design or the skills of the carpenter in making it. What most people fail to appreciate are the tools and machinery used in crafting such master pieces. One of such tools used in the making of beautiful carpentry products is the use of a black and decker sander.

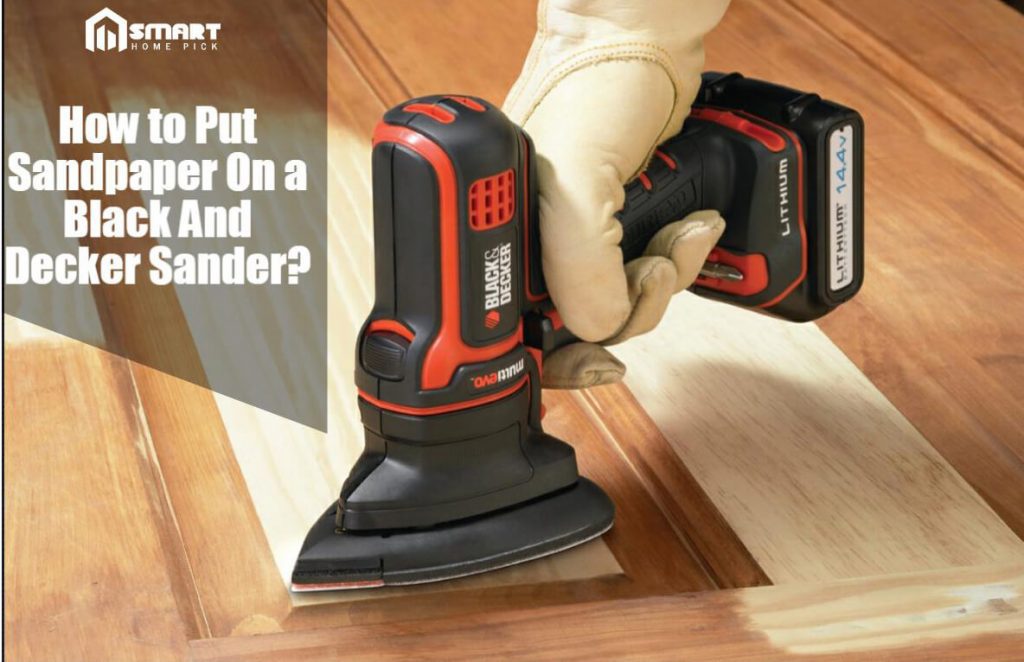
A black and decker sander as you might already know is a hardworking, light duty finishing sander that can enhance the workshop capability of any do it yourself homeowner. Mostly used in the smoothing of wood for a perfect touch or feel as it has a standard 4 by 5 inch sanding pad that uses precut sandpaper sheets, making it an effective tool for any size project. However, the question newest users and beginners ask is how to put sandpaper on a black and decker sander? Well here are some accurate steps on how to achieve that:
Step 1:
The black and decker sander should be disconnected from the power source before using it. This is to prevent any accidents from happening.
Step 2:
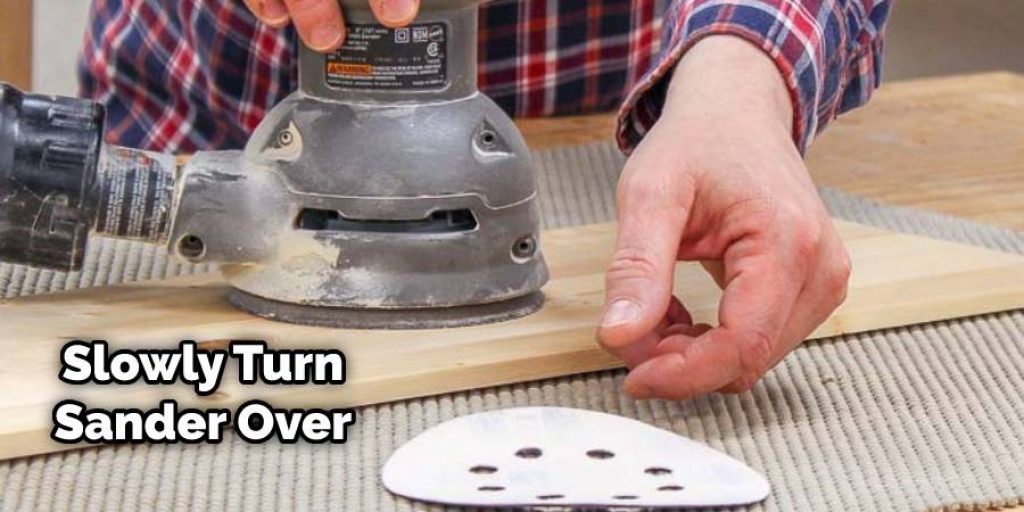
Slowly turn the sander over and let it rest on the handles with the sanding pad upward.

Step 3:
To remove the sandpaper from a sanding block, first locate the small slot in the tensioned end clip securing the sandpaper at both ends. Insert the tip of a standard screwdriver into the slot at either side and lift the screwdriver upward to bind the clip and release the end of the sandpaper piece. Do the same procedure to the opposite end so as to detach the existing sandpaper there too.
Step 4:
To change the sandpaper on a sanding pad, first insert a screwdriver into the tensioned end clip. Then, gently lift the screwdriver upward to bind the clip and spread the sandpaper opening. Next, slip the end of the new sandpaper piece into the clip and flush with each side of the sanding pad. Finally, let go of pressure on the screwdriver to secure the end of the sandpaper in place.
Step 5:
Fold the sandpaper piece flat and smoothly over the sanding pad and gently slightly curl the end downward to align it with the other tensioned clip. The safety wire can then be threaded through the holes in both the pad and sandpaper, but not yet tied. Test fit the paper to ensure that it is snug against the pad and that the hole aligns.
Step 6:
To replace the sandpaper on a sanding pad, first insert the screwdriver tip into the tensioned end clip and lift the screwdriver upward to bind the clip. Then spread the sandpaper open and slip the end of the new sandpaper piece fully into the clip and flush with each side of the sanding pad. Make sure the sandpaper is lying flat on the sanding pad, and then release the pressure on the screwdriver to secure the sandpaper in place.

Knowing how to put sandpaper on a sander the correct and proper way gives you the ability to easily execute your work to the kind of perfection you did want without any problems. There are also many types of sizes for a black and decker sander so it’s advisable to check that you have the right size and also check that the return springs of your sander’s belt tensioner are popping out fully. There might be some differences on how to put sandpaper on a palm sander and putting a sand paper on a black and deck sander even though they both do the same job. Achieving a smooth, blemish free surface involves a standard method of beginning with a coarser sandpaper and working on the surface with progressively finer sandpapers until the desired finish is reached. The black and decker sander makes necessary sand paper changes for a standard finishing.


