A braided blanket can be a great gift idea for a new mom. It is a handmade, thoughtful gift that will keep her warm and cozy during sleepless nights with the baby. You can make one from an old wool sweater or any other type of fabric you have on hand.
The supplies needed are yarn, scissors, needles, and some ribbon to tie off the ends of the strands as they braid together. Follow these instructions to learn how to create your beautiful braided blanket! This blog post is about making a braided blanket.
This tutorial includes pictures, so it’s easy to follow and each step taken in the process. So, this article is for you. You will learn how to make a braided blanket with just one simple trick!
Step to Follow on How to Make a Braided Blanket
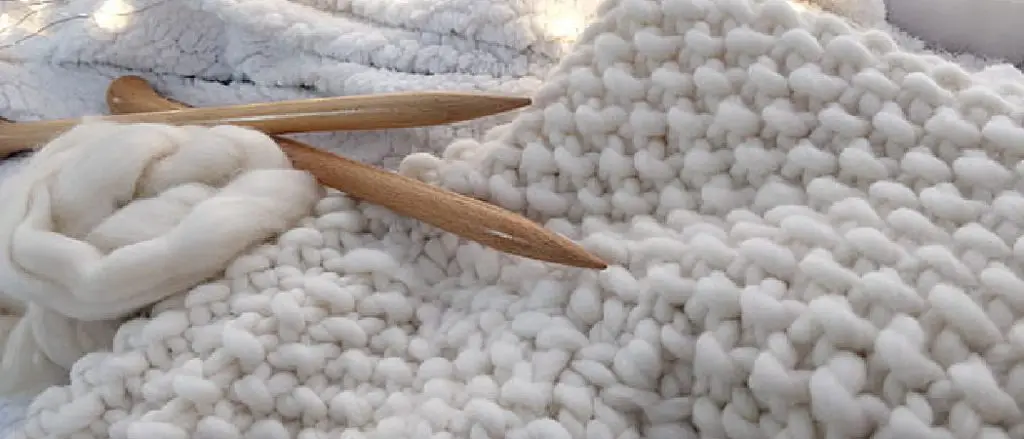
Step One: Gather Fabric
Gather together three different types of fabrics in colors that you like. The fabric should be the same length and width, not the hem. Fold them in half lengthwise and cut both pieces to make one long piece. If you have a fabric with a design along the selvages, cut off the selvage and discard.
Sew the fabrics together end to end to make one long piece of fabric three times longer than wide. Taper it slightly at one end so that you can easily feed the fabric through the sewing machine. Sew a zigzag stitch down the length of the fabric to prevent fraying.
Step Two: Fold and Braid
Fold the fabric in half across the width so that you have three even strips of fabric. Line up all three colors next to each other so that there are no gaps. Then, fold them vertically, with one color on top of the other two. Make sure that you match up all of the raw edges to maintain a smooth finish.
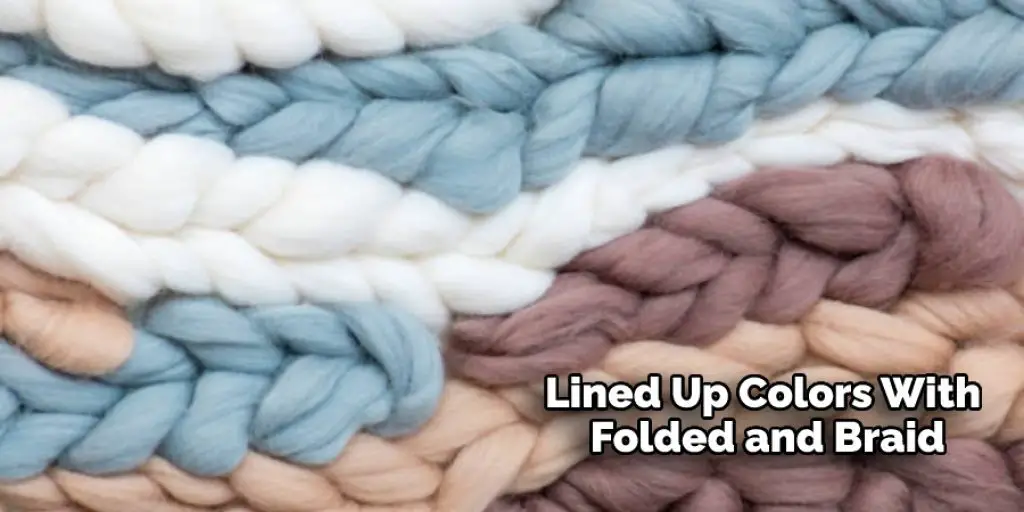
This is what your fabric should look like with everything folded up. You can now begin braiding the braid down the length of the fabric, starting at the bottom of all three colors. Sew a zigzag stitch across the top to prevent the braided strip from coming undone when you are done.
Step Three: Attach Braided Strip to Blanket
Take the braided strip that you have just finished making and fold it in half lengthwise. Feed it through your sewing machine, keeping all of the raw edges even. This will be the center of your blanket, with two ends sticking out on either side of the fabric. Sew a zigzag stitch down the length of the fabric to prevent fraying.
Make sure to leave about four inches at either end so that you can attach them easily to the corners of your blanket. When you’re finished stitching it down, turn the braid inside out and pin the edges of the blanket together. Match up all of the raw edges and sew a zigzag stitch around them to attach both ends of your braid to one side of your blanket. Repeat with the other side.
Step Four: Add Fringe
Once your braided blanket is attached to both corners of your throw, you can begin adding the fringe. Flip the blanket over so that it looks like a braid on the backside. Next, fold the braided part down towards the wrong side of your fabric. It would help if you had about an inch of fabric hanging out at either end.
Cut four-inch wide strips of fabric that are the same length as the blanket. You can use any scrap or solid color fabric that you like for this step. Sew a zigzag stitch down the length of the fabric along one side to prevent fraying, and then cut it into four-inch pieces.
Step Five: Knot the Fringe
You can now begin knotting the fringe onto your blanket. Start at one corner of the braid, push it through into the right side of your fabric until just a little bit is sticking out on the back. Make sure that you are using enough strands to get an equal fringe length around all four corners.
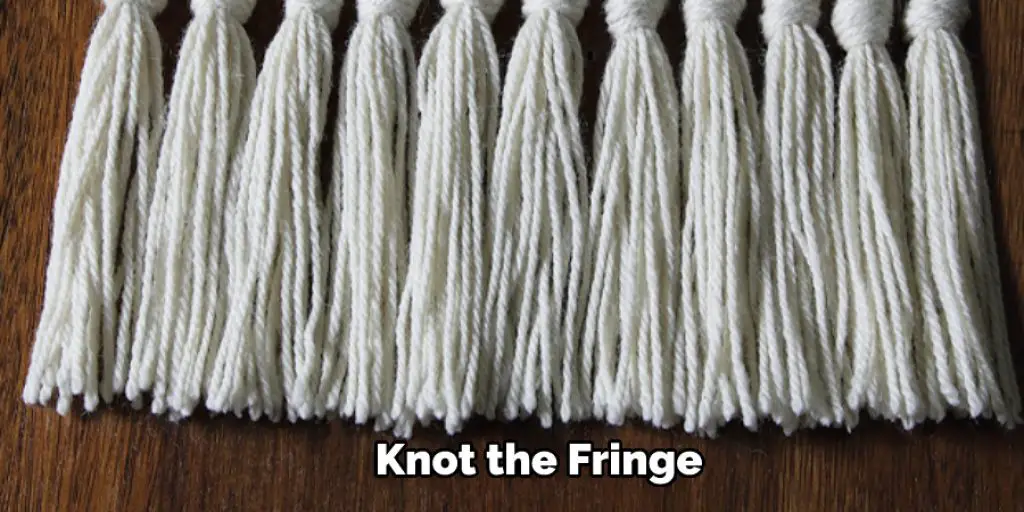
Secure this with a double knot and put a small safety pin on the loose end. Hold onto this end and slide it down until it is even with the braided fabric. Fold the fringe in half so that the knotted part stays inside your throw, and then cut off any excess fabric. Make sure to leave about an inch of fringe under the braid.
Step Six: Repeat for Other Three Corners
Repeat this step on all four corners. Next, knot the fringe at one corner and pin it so that the loose end sticks out even with the braid. Continue to slide down, fold in half until you reach the braided fabric, and then cut any excess fabric off.
Make sure that there is about an inch of loose fabric sticking out at the other end. Tuck this end underneath the braid and sew it down to secure it. Repeat all four corners of your blanket with fringe until it is fully finished. Tuck any excess fabric underneath the braid. This will help in how to make a braided blanket.
You Can Check It Out to Hang a Photo Blanket
Step Seven: Roll and Tie
Once all of your fringes are in place, you can begin rolling up your blanket for storage. Roll the braid towards the front side of the fabric until it is completely rolled up—Tuck one end underneath to secure it. Fold a small strip of scrap fabric into a two-inch-wide piece and tie it around the braid to hold it together.
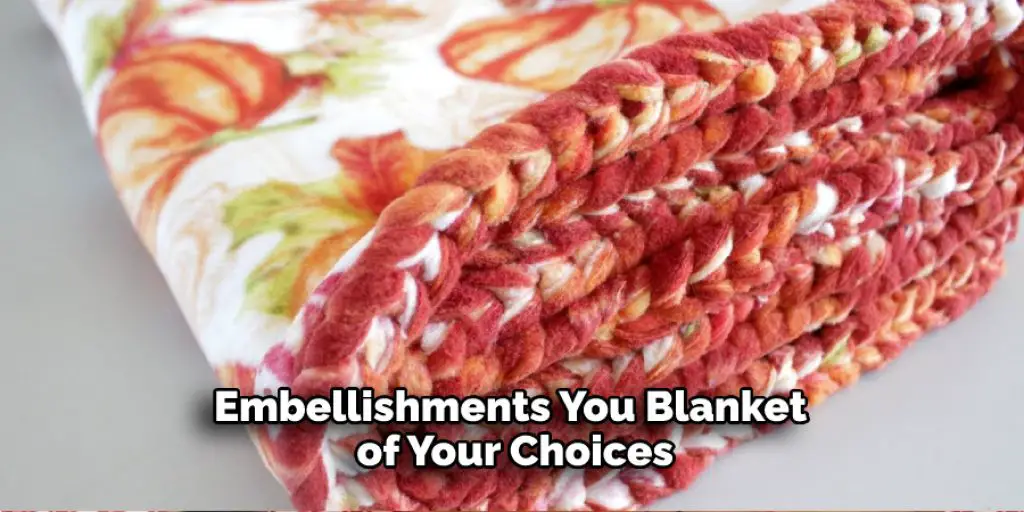
You can now decorate the front of your blanket with buttons, ribbon, or any other embellishments that you like! Be sure to knot them on tightly so that they don’t slip off while rolling up your blanket. Finally, roll the braid back down towards the front of the fabric and tuck in the ends so that you have a braided blanket that is ready to be displayed or used!
Frequently Asked Questions
Can I Braid a Blanket?
It depends on the type of blanket you’re trying to braid. For example, if you’re trying to braid a cotton blanket, you would need to wet the blanket first and then start braiding it. If you’re trying to braid a wool blanket, you would need to soak the wool in water before starting the braiding process. It’s important to consult with a professional if you’re not sure how to braid a specific type of blanket.
What Is the Size of a Prayer Blanket?
A prayer blanket is typically about 18″x24″, but this can vary depending on the design. Some are smaller, and some are larger, so it’s important to measure your desired size before you purchase one. Additionally, if you’re making a prayer blanket for someone else, be sure to include their height and weight in the dimensions of the blanket.
A prayer cloth is also a great option if you want something that will last longer than a typical prayer rug or small Prayer Blanket. They come in different sizes and styles, so choose what suits your needs best. Ideally, they should be large enough to cover your entire body from head to toe when folded into thirds (for ladies), or twice as long (for men).
Does the Bible Say Anything About Prayer Cloths?
Prayer cloths are often used in Christian circles to commemorate specific passages of scripture. They are also thought to be a powerful means of prayer, as they help focus the mind and allow for quiet reflection.
There is no one answer to this question since it can vary depending on individual beliefs and practices. However, many people believe that wearing a prayer cloth can strengthen your bond with God or provide extra guidance during prayers. Whether you choose to wear a specific prayer cloth or not is up to you!
Conclusion
This blog post has provided you with the tools to make your braided blanket. You now have all the necessary knowledge and materials to create a functional, beautiful piece that will last for years! Once you’ve mastered this skill, be sure to share it with others so they can enjoy making their own too.
You are tying it all together and wrapping up any loose ends. Summarize everything you’ve learned in the article. Ending Sentence: This blog post has provided you with the tools to make your braided blanket. In addition, this blog post has given helpful advice on how to make a braided blanket.
Check it out to learn- How to Make a Cooling Weighted Blanket


