A chimney is an essential part of any home, providing a vent for heat and smoke. Chimneys are also often used as decorative features on the outside of homes. But all this comes at a price-chimneys can be challenging to clean, expensive to maintain, and prone to leaking or cracking over time. One solution for these problems is to cap your chimney with concrete!
This blog post will cover how you can install a concrete cap on your chimney using three common methods: forming the desired shape with wood forms before pouring in the cement; using copper flashing tape around the top edge of each side, and then pouring in wet cement; or by installing pre-cast concrete caps that come shaped like bricks. This post is about how to cap a chimney with concrete.
Step to Follow on How to Cap a Chimney With Concrete
Step One: Dig a Hole
Dig a hole around the chimney that is about 2 feet deep. Could you put all of the soil in one pile near it? Next, dig out another hole, this time about 4 feet deep. This will be your form to pour the concrete into to surround the chimney like a giant donut.
To ensure that you get the right size, put the chimney inside of the hole so it sits in the center and there are a few inches around it in every direction. Use a string and a marker if you do not want to risk getting your chimney dirty by putting it in there.
Step Two: Pour the Concrete
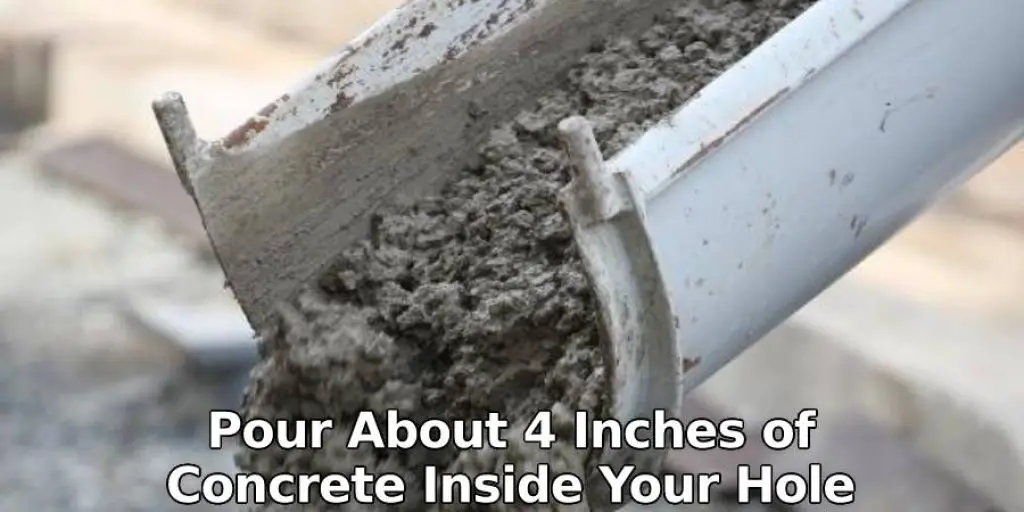
Put down some boards, so you have a place to walk. Ensure that they are sturdy enough because you will be walking on them when the cement is wet. Next, pour about 4 inches of concrete inside your hole. Then, put your chimney inside and fasten it in with stakes around it.
This will keep it straight while the concrete is hardening. Next, fill in the gap around it with more concrete, so there are no openings of any kind. Finally, make that you get all the cracks and crevices, so there are no weak spots to break.
Step Three: Remove the Chimney
After about a day, you will be able to remove your old chimney. Now you have a concrete shell of your old chimney. Fill in the hole with soil and pack it down real tight, so there are no air pockets or weak spots. You can use any concrete mix to cap your chimney. The type that you choose is completely up to you.
Just make sure that you get the right amount of water mixed in, so it’s easy to pour but not soupy. If you have a friend or two helpings, it will go a lot faster. If not, take your time and do it in steps so the concrete doesn’t set in your forms before you’re ready.
Step Four: Build a Brick Enclosure
Build brick enclosure around chimney to give the finished look that you desire. You can even make the inside back wall of your chimney stack out of bricks to give it a natural look. Then, you can just put the sheet metal of your roof on top and attach it with screws or rivets.
That way, your roof won’t leak, and you don’t have to worry about the wind blowing it away. Also, you can paint the sheet metal with a color to match your house to make it look better. After that, you will be ready to pack your tools and head home. Finally, you can attach the sheet metal to your brick enclosure using screws or rivets.
Step Five: Finishing Touches
If you want to add a cap made of bricks, go ahead and do so. You can mix some mortar and slap it on top so the bricks will stay in place. Just use whatever looks good to you. You can even add a little chimney sweep figurine or a cute birdhouse if you’re talented.
Then, you can start decorating it with flowers, so it looks better. As long as your chimney doesn’t have any openings, you don’t have to do anything to maintain it. You can put soot in there or whatever you want because nothing will leak out of the concrete layer that surrounds your old stack.
Step Six: Clean Up
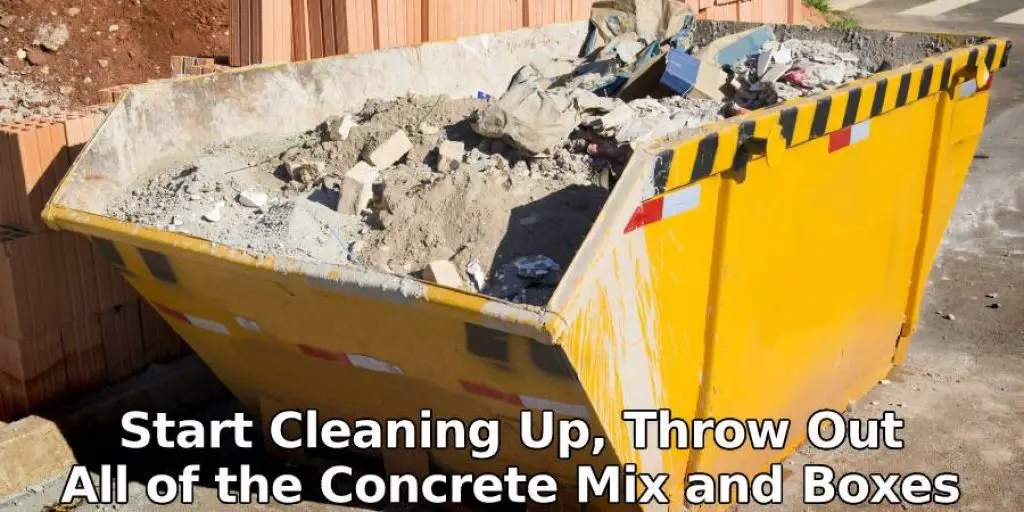
Your work is done, so you can start cleaning up. Throw out all of the concrete mix and boxes that your chimney came in. Put your tools away and wash your hands. Make sure everything is picked up before nightfall, so you don’t have to worry about bugs or critters in your garden when you’re sleeping.
Then, you can start admiring your hard work and pat yourself on the back. Now you know how to cap a chimney with concrete. All you have to do is follow these steps, and you will be finished in no time. Just remember that your first project may take a little longer than expected, so just plan and have fun learning!
Step Seven: Maintenance
If you built your chimney stack out of bricks, you would need to do some routine maintenance. Just make sure that you don’t leave it open when no one uses it because critters or children could get hurt. This is why most people prefer to cap their stacks with sheet metal.
You have to attach the screws or rivets, and you are finished. If you cap your chimney with bricks, the best way to maintain it is by putting mortar in between them when they start to get a little loose or letting moss grow there. If you want to find out more about how to cap a chimney with concrete, keep reading.
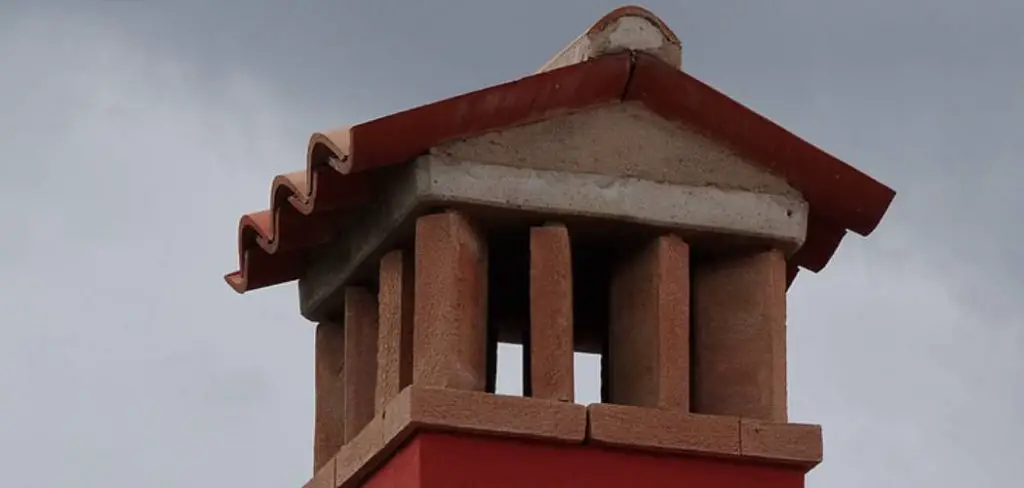
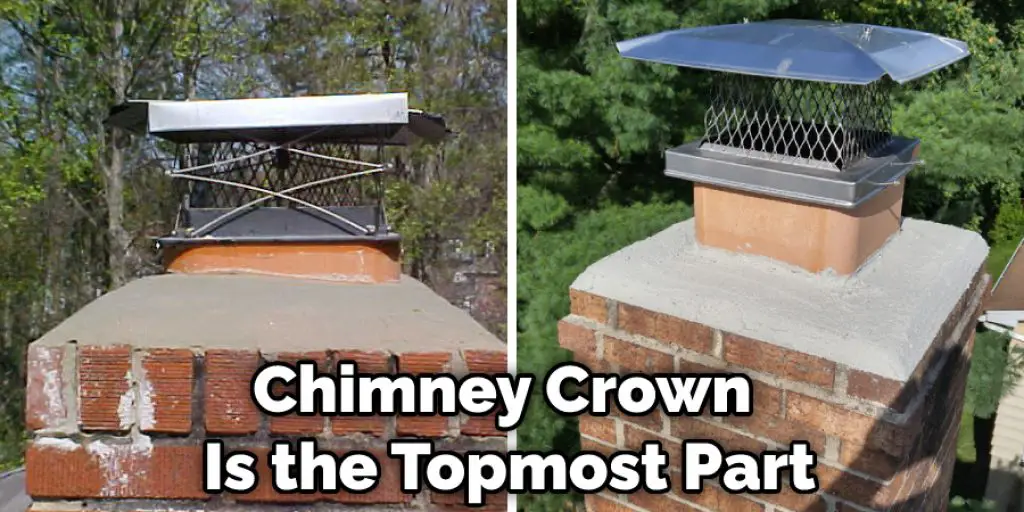
What Is the Difference Between a Chimney Crown and a Chimney Cap?
There are two main differences between a chimney crown and a chimney cap. First, a chimney crown is the topmost part of the chimney, whereas a chimney cap is just below it. The second difference is that a crown helps strengthen the fireplace’s masonry while protecting it from water damage, snow, or ice.
A chimney cap only covers the chimney opening and protects it from physical debris, such as leaves or branches. It does not help prevent water from entering the chimney. Since a cap does not help strengthen the fireplace’s masonry, it is often made of metal or tile. For example, a chimney crown can be made out of concrete or clay tiles.
It is also common for the crown to be made of metal to help reinforce the structure. Most people install a chimney cap at the top of their chimneys for protection from leaves, twigs, and other small bits of debris that can cause blockages or even prevent airflow from coming into the building. Chimney caps are installed to keep out animals as well.
Frequently Asked Questions
What Kind of Concrete Do You Use for a Chimney Cap?
There are many types of concrete available in the market that you can use for your chimney cap.
Some Common Types of Concrete Used for Chimney Caps Are :
1. Casting Concrete – This is made by pouring a mixture of Portland cement, sand, and water into molds to create blocks or slabs that are then allowed to dry before being removed from the mold.
2. Epoxy-based Concrete – The first step in this process is mixing an epoxy resin with silica fume and pigments to form a binder and hardener mix. Then the mix is poured into molds, which are left to set before they are removed from the mold.
3. Precast Concrete – This type of concrete consists of preformed forms placed on site where they will be assembled together into walls or other structures using various methods such as bolt-on connectors or by injecting molten plastic under pressure through connecting tubes.
How Much Does a Concrete Chimney Cap Cost?
A concrete chimney cap can cost anywhere from $800 to $1,200. As for the type of material that is used in making a chimney cap, it can be made out of steel or aluminum.

Can I Use Quikrete for Chimney Crown?
Quikrete is a brand of ready-mix concrete that has a smooth and even texture. It is often used in masonry work like chimney crowns, and fireplace surrounds. No, you cannot use quikrete for chimney crowns because it has too much water content which will result in shrinking or cracking of the chimney crown.
How Long Do Concrete Chimney Caps Last?
Depending on the type of chimney cap you are using, concrete chimney caps can last for a few years.
The material that is used to make these chimney caps can vary depending on what is needed for the job. For example, clay chimney caps have a long lifespan because they’re made with durable materials like clay and are also fireproof. On the other hand, fiberglass has a shorter lifespan due to its lower durability.
Conclusion
If you are in need of a new chimney cap, the best way to ensure that your investment is protected for years to come is with concrete. Concrete can be poured over existing brick or mortar caps and provide an added layer of protection against water damage.
The more expensive option would be installing a stainless steel mesh cap on top of the old one, but this may not offer as much protection from rainwater seeping through cracks. So in this blog, we’ve laid out a few tips on how to cap a chimney with concrete.
You may also read – How to clean a concrete tile roof


