Introduction
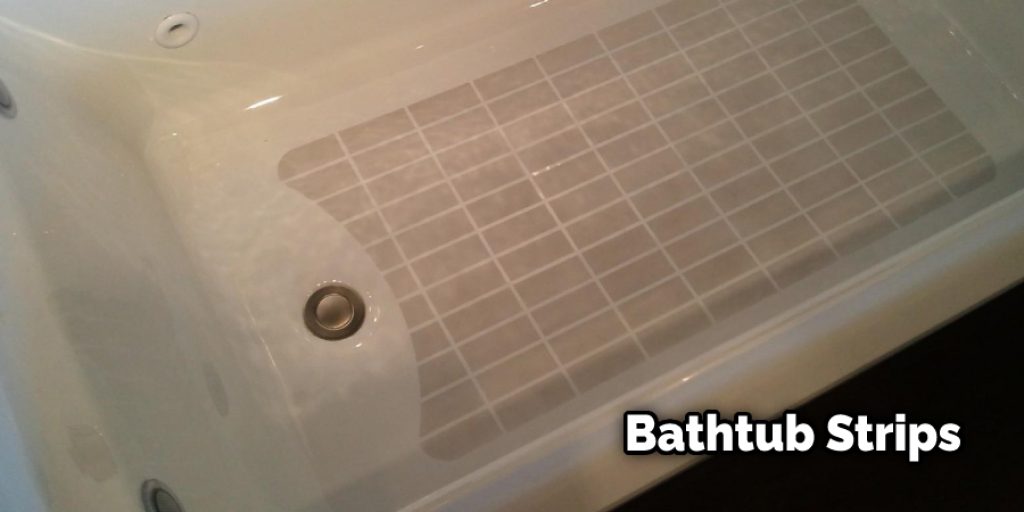
Bathtub Strips are a great way to prevent slips and fall in the bathroom. They adhere to the bottom of the bathtub and create a textured surface that helps to keep your footing secure. Over time, however, they can become stained and dirty. This article will show you how to clean non-slip bathtub strips. So let us get started.
A Detailed Stepwise Guide on How to Clean Non-slip Bathtub Strips
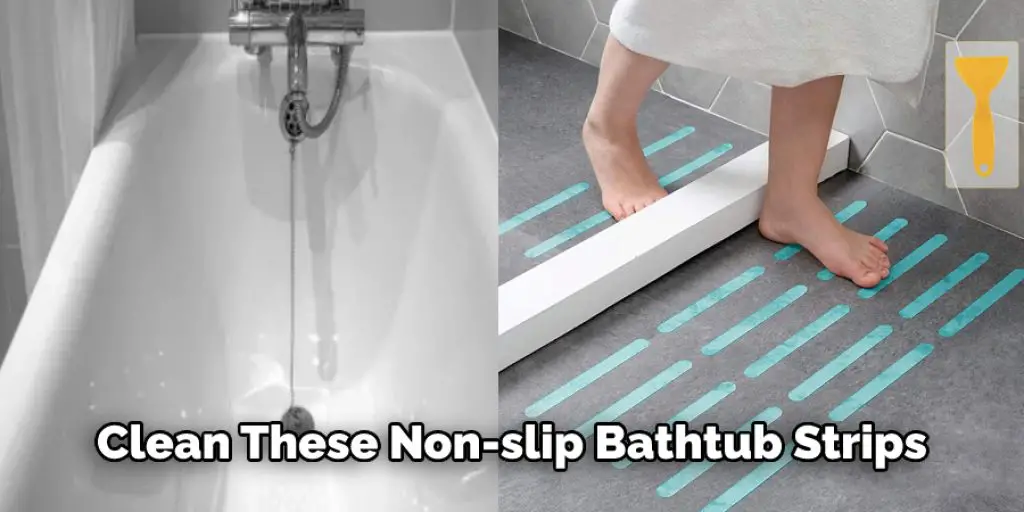
Non-slip bathtub strips are thin meshy strips that provide an excellent slip-resistant effect on your bathtub. This allows you to avoid slipping and falling when in the tub. Unfortunately, these light strips can collect dirt over time, making them unusable. Therefore, it is essential to clean these non-slip tub strips not to pose any more danger than they already have. So what exactly is the best way of doing this? Here are some great tips on how to clean non-slip bathtub strips:
1. The first thing you should do is inspect the non-slip strip thoroughly to determine what has gone wrong with it. If it is just some dirt buildup, then there are no extra steps needed to clean it.
2. If, however, you find that the non-slip bathtub strips have developed holes or tears in them, then they need to be replaced immediately before any slips and falls occur. Replacing these strips is very simple and can be done by yourself without much effort. Peel off the old ribbon and stick on a new one in its place!
3. There are times when your non-slip bathtub strips may not look dirty, but they could still be dangerous. This is because, over time, soap scum and other dirt particles settle into the little grip nubs on the strips, making them much less non-slip than they originally were! To clean these strips, you need to use an old toothbrush to scrub them clean. You can even try using dishwashing liquid or any general kitchen cleaner for this task, as it should work well.
4. It is essential to keep your bathroom dry to prevent your bathtub strips from rusting and deteriorating due to moisture exposure. The best way of doing this is by wiping down your tub after every shower with a towel that has not been used for drying off the floor, thus preventing the transfer of water droplets onto the non-slip strips.
5.
6. Finally, if, despite following all these precautions, your non-slip strip is still not working well enough for you, then there is only one option left – to replace them with a brand new set of non-slip bathtub strips! Replacing these will ensure that you have complete peace of mind regarding safety in the shower!
Precautions While Cleaning Non-slip Bathtub Strips
Here are the precautions you need to take while cleaning non-slip bathtub strips to keep them durable and efficient:
- Do not use abrasive or caustic chemicals to clean these strips as it can damage their coating
- Clean these non-slip bathtub strips at least twice a year for best results
- Remove stubborn stains using an eraser or steel wool pads but never use metal scrubbers since it might cause scratches
- When using latex gloves during your cleaning routine, make sure that you do not leave behind any residue on the surface of the non-slip bathtub strips, as this might reduce their effectiveness
- Make sure that you use a fresh blade to scrape off any dirt or stains from the surface of these strips.
A Detailed Stepwise Guide on How to Repair Cracks in Bathtub
If your bathtub has a few minor cracks, you can fix them quickly with the help of some essential tools and materials. The following is a detailed stepwise guide on how to repair cracks in a bathtub:
Step 1: Clean the Area Around the Crack
It is important to clean the area around a crack before trying to fix it. Use a mild detergent and a damp cloth to remove all the dirt, dust, and soap scum from the surface. Make sure that the area is dry before moving on to the next step.
Step 2: Apply a Vinyl Patch over the Crack
Next, cut a vinyl patch that is slightly larger than the crack. Peel off the adhesive backing and place it over the break. Make sure that it is properly aligned, and then press down firmly to secure it in place. Finally, use a heat gun to apply heat to the patch and press it into place. The heat will also help to bond the repair to the surrounding surface.
Step 3: Apply a Second Patch over the First One
Once the first patch has been attached, you need to apply a second one on top of it. Make sure that both patches overlap each other, and then press down firmly with your palms to secure the vinyl into place.

Step 4: Smooth Out Any Wrinkles or Bumps
As mentioned earlier, it is essential to clean the crack area before starting this process thoroughly. This will help remove any loose pieces of dirt and dust that can get trapped under the vinyl patch and cause unwanted bumps or ripples. You can use a moist sponge or corner of a towel for smoothening out these wrinkles. However, make sure not to apply too much pressure as doing so may damage the bathtub’s surface.
Step 5: Use a Hair Dryer to Warm the Vinyl Patch
Use a hairdryer on the patched area once you are done smoothening out the wrinkles. This will help warm up the vinyl patch and further secure it into place. However, make sure that you do not hold the hairdryer too close to the surface, for this may cause damage to its original finish or color.

Step 6: Sand Down Any Wrinkles or Air Bubbles
If you notice any air bubbles or slight bumps after warming up the vinyl patch with the hairdryer, then remove them by sanding down these areas. Make sure that your sandpaper is not too coarse as it can cause damage to the surface of the bathtub.
Conclusion
I hope you have obtained a clear conception of “How to Clean Non-slip Bathtub Strips.” Ensure all the steps are correctly followed. Thank you and have a nice day!


