How to Connect Sink to Floor Drain
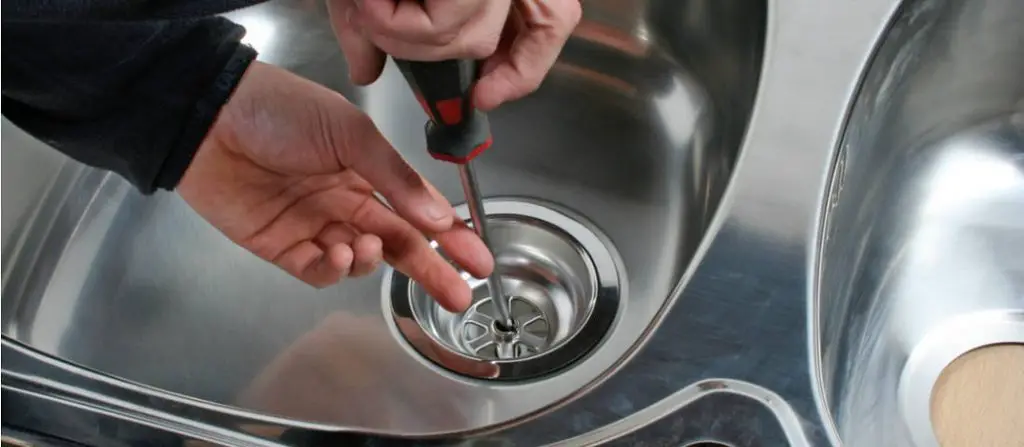
The first thing you’ll need to do is shut off the water supply. Then, use a pair of channel locks or pliers to remove the slip nut that secures the p-trap to your sink tailpiece. You can then pull out the p-trap and clean it with a chemical drain cleaner and hot water before putting it back in place.
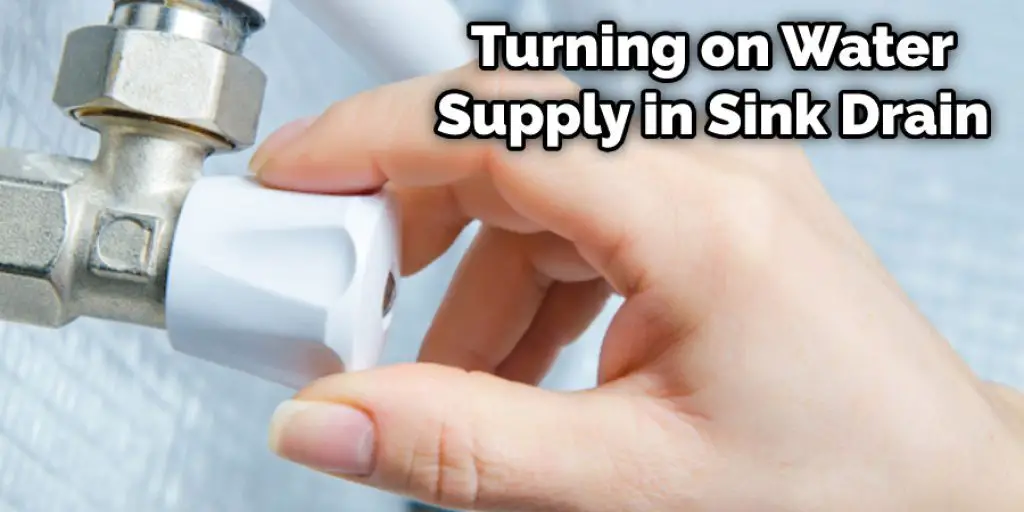
After you’ve installed your new drain system, turn on the water supply and check for leaks. If everything’s working correctly, you can re-secure the tailpiece to your trap using a wrench or slip joint pliers. But, again, make sure there are no leaks before putting back the p-trap arm and basin.
In this case, when you attach hooking something up to an existing drain line, you have to do so in a way that is code compliant. So, this article is for you. You will learn how to connect sink to floor drain with just one simple trick!
8 Steps to Follow on How to Connect Sink to Floor Drain
Step One: Determine
First, determine the height of your drain about your sink. Your new piping should never be completely submerged in water. If it is, you’ll need to install an acceptable P-trap arm under the floor connection just like you would under any sink drain connection.
This is because sewer gases can come up through the drain and enter the living space without water to block their path. It would help if you also determined the distance from the center of your sink’s drain hole to the wall. This will be how long your elbow P-shaped pipe needs to be so that it is attached to the drain straightly with no stress put on either part.
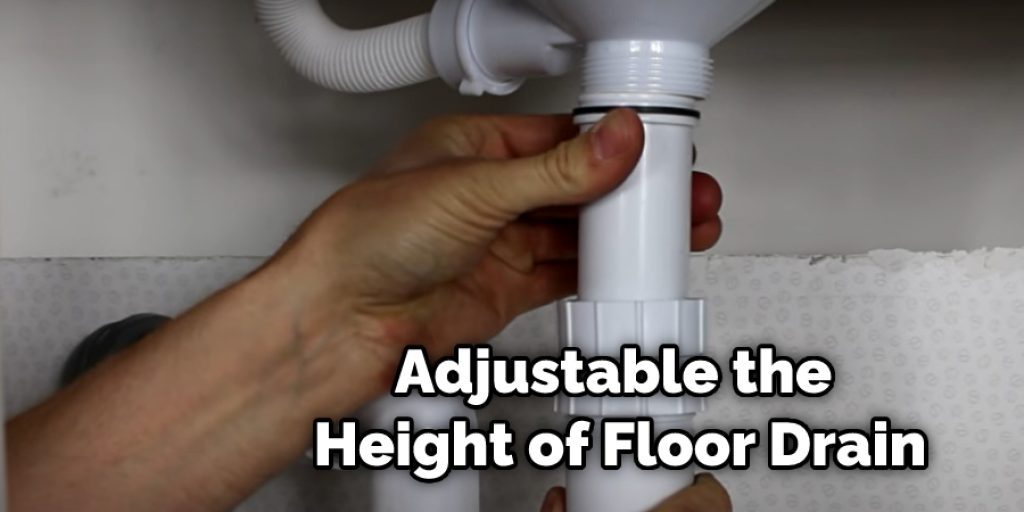
If you can adjust the height of your drain, try to lower it so that there won’t be so much stress on the connection. On the other hand, don’t worry about it too much; make sure it is as level as possible and doesn’t wobble when you attach the new piping.
Step Two: Preparing Pipe
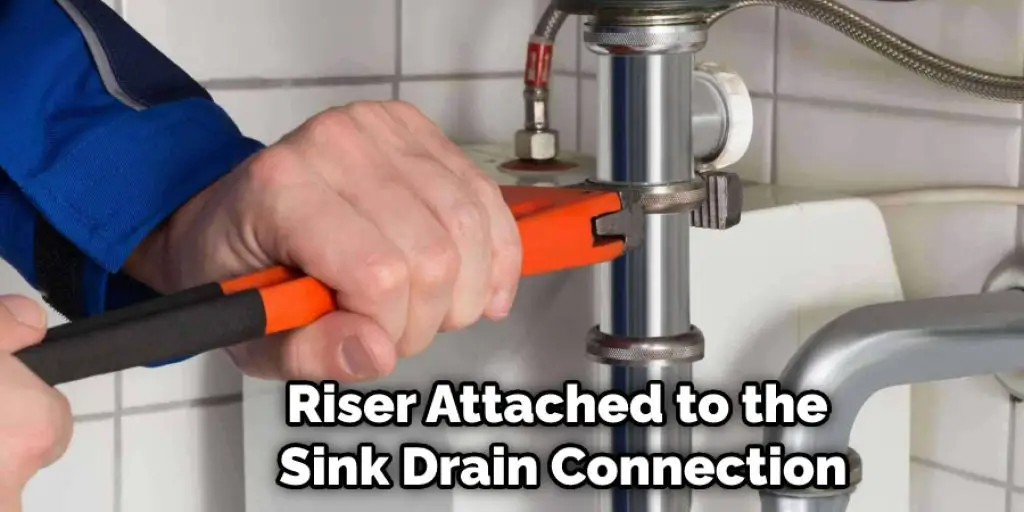
The first step in attaching your new piping is to secure a vertical piece of pipe, known as a riser. This will be what you connect to the floor drain. Its length will depend on how high or low your floor drain connection is and how far your sink’s drain hole is from the wall.
In most cases, you’ll need a piece of pipe that is at least three inches long, but the more length you have, the better. Begin by measuring from just under your sink drain hole to where it hits the wall. Then, measure out six inches more for this piece of pipe. Mark a point on the pipe six inches from the bottom.
Using a pencil, mark a perpendicular line across the riser at this point so that it looks like an upside-down T. Cut along this line with a hacksaw or other fine-edged metal saw. Next, turn your saw blade so that it is vertical and cut out little notches at the top, pointing straight up. Then, attach the riser to your sink drain connection with a threaded adapter see Resources.
Step Three: Attaching Pipe
Now that you have your riser attached to your sink drain connection, it’s time to attach another piece of pipe that will lead out from under your sink and eventually bend 90 degrees to connect with the floor drain. This piece of pipe will be attached to the elbow fitting of your original sink connection after you’ve added a threaded adapter onto it.
Attach at least two 90-degree fittings to this new 45-degree riser so that there is no stress on any one part when you tighten them later. If you need to, you can also attach four 90-degree fittings instead of two so that there is no stress on the riser at any point.If there is a gap between your sink and the wall, you can fit a 45-degree riser over the gap.
This will make a smooth flow of water from the sink to the floor drain connection, eliminating any stress on either part. These steps should help you in learning how to connect sink to floor drain.
Step Four: Connecting Drain
Attach the 45-degree riser to the elbow on your sink drain connection by screwing in a threaded adapter. Pass your new pipe through its coupling and attach it tightly with two wrenches. Place another coupling on the other side of this section, then tighten it down as well.
Now, connect the rest of the piping by attaching another 90-degree elbow to the other end of your pipe, connecting it to the original drain connection coupling. Do this by screwing in a threaded adapter into each piece of piping. Finally, tighten both pieces down with two wrenches.
Now plaster over all joints with epoxy or cement adhesive and dry for 24 hours before use. Your newly attached sink drain should be working just fine. Enjoy the smooth flow of water down to your floor drain while overworking it with dirty dishes.
Step Five: Adding Trap
Your sink drain is working great now, but you’re not out of the forest yet. A floor drain trap must be added for your new piping to prevent sewer gas from entering your house’s water supply system. Floor drain traps are U-shaped pieces of pipe that attach to the vertical riser near the floor drain connection. They keep sewage fluid from entering the water supply pipe while allowing water to pass through.
You can find floor drain trap in most home improvement or plumbing fixtures supply stores. They are fairly inexpensive and come pre-attached to piping just about the same size as your original riser. Connect this new floor drain trap section by screwing in a threaded adapter into each piece of piping, then tighten them down with two wrenches.
After the fittings are dry, please turn on your water supply and test it out to ensure everything is working properly. Please turn off the main valve when you’re done testing, then plaster over all joints in your piping with epoxy or cement adhesive so that they remain leak-free. This will help in how to connect sink to floor drain.
Step Six: Checking Drainage
Now that you’ve hooked up a new floor drain incorporating the use of a sink, it’s time to check on your sanitary drainage system and how well it is draining. To do this, place a small bucket under the riser connection on your floor drain and start filling it with water.
Make sure that everything is on and not leaking before you add the water. If it is, your sink will overflow onto your floor instead of draining out to the main sewer line. Once everything is working properly, and you’ve added all necessary pieces, fill it with water until it’s about 2/3 full.
You can now pat yourself on the back for a job well done. You’ve successfully installed a new, functional floor drain with the help of this article. Now you can fill up a bucket with water to test your sanitary drainage system. If everything works properly, all the water should pour out into the sewer system without any problems.
Step Seven: Replacing Drain Cover
Now that your new drainage system is functional, you can replace the floor drain cover and pile on some dirt. Dig a hole around the riser connection that’s big enough to fit the height of your old cover. Remove any screws on top of it and pull out your old cover, taking care not to damage it as you pull it up.
Pull out any dirt that may have gathered in the pipe before you replace the new cover. Then, place your new drain cover on top of it so you can see where to dig. Next, dig a small hole about 6 inches deep around the base of your floor drain riser connection so you can insert it into your new drainage system correctly.
Take care not to damage any necessary piping, fittings, or connections when digging the hole. Once you’ve dug the correct sized hole for your floor drain, insert it into the ground by lining up all of its screw holes with your new drainage system’s plumbing connections below. Thanks for reading about how to connect sink to floor drain.
Step Eight: Replacing Dirt
After you’ve inserted your new floor drain correctly, replace the dirt in the hole and tamp it down so that everything is firm and solid. You may need to add some water to pack the dirt well enough. If necessary, replace any grass in your yard and cover up your new building drainage system with a small shrub or flower for decoration.
You can now rest well knowing that your new floor drain is fully functional and your entire building drainage system is working as it’s supposed to. As a final step, you can remove the temporary red cap from the top of your riser connection if there is one and replace any other floor drain caps or drainage pipes that may have been removed during installation.
You’ve successfully installed a new floor drain with the help of this article. The next time you need to take out your old riser connection, you can do it in half the time and save yourself the headache. If you’re having any problems with building drainage or want to keep your system as safe as possible, always consult a professional plumber to do the job for you.
You can check it to Move Furniture Into a Second Floor Apartment.
Conclusion
After you’ve cut all of your drain pipes, it’s time to connect the sink and floor drain. Again, you can use coupling for this purpose, or if you have the right tools, like an adjustable wrench, then go ahead and tighten them together without using any couplings.
The important thing is that they are tight enough to prevent leaks but not too tight where water won’t flow through anymore. If everything fits well with no leaking when turned on, congratulations! The conclusion paragraph is informative and provides information on how to connect sink to floor drain.
Check it out also – How to Clean Bathroom Sink Overflow Drain.


