The simplest way to create a stage backdrop curtain is to use fabric. Many different types of material can be used for this purpose, but the most accessible and most versatile choice would be cloth or sheeting.

You must take into account what type of curtain you want before purchasing it, as well as how much money you’re willing to spend on it. Read on for some easy steps on creating your backdrops!
The simple method for making a stage backdrop curtain is using fabric; many different types of materials can accomplish this goal, but the easiest and most economical choice would be sheets or other cloth-like fabrics. So, this article is for you. You will learn how to make a stage backdrop curtain with just one simple trick!
Step to Follow on How to Make a Stage Backdrop Curtain
Step One: Mark your stage
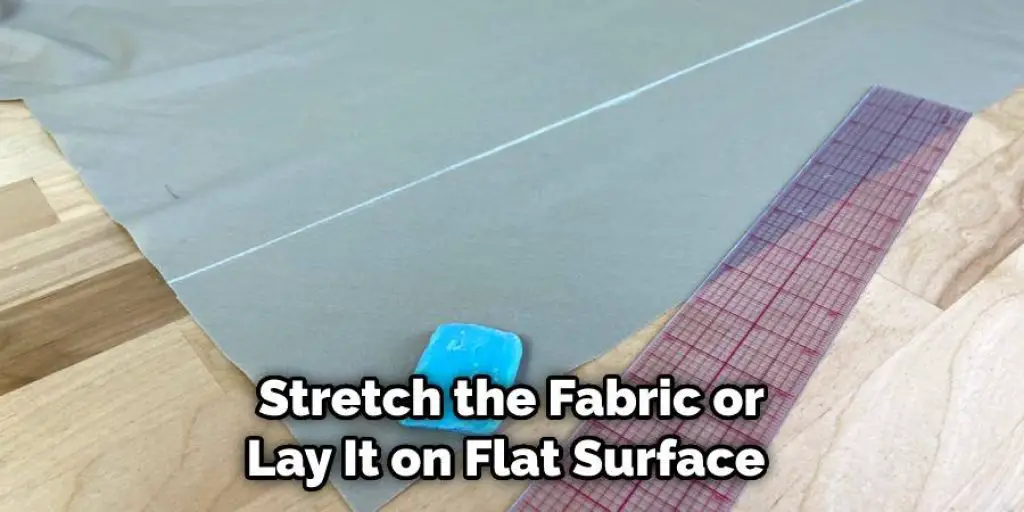
First, take your fabric and fold it in half lengthwise to end up with two long rectangular pieces of fabric. Next, stretch the fabric or lay it on a flat surface and find the midpoint of one side. Mark, this point, then measure out ten feet along your line in either direction.
Fold your curtain back in half widthwise, then find the midpoint of the other side. Measure out a total of six feet in either direction from your mark, then mark it. From here, you should have a total of three marks that are six feet apart from each other.
Step Two: Preparation
Now, you will need to prepare for measuring. First, take a long string length and hold it up with one hand, perpendicular to the curtain. Then, take your marking utensil that is not a pen or pencil in your other hand and line yourself up with the short end of your fabric so that it is six inches from the edge of the curtain.
It would help if you now had a slight overhang of two inches. Pull the string taut and mark your curtain with your marking utensil. You will need to repeat this process with all three marks you created earlier, making an excellent even distance between them. You can now take those pieces of string and use them as a guide for measuring off the rest of your curtain.
Step Three: Cutting and Hemming
It would help if you now had an excellent guide for where to cut your fabric. If you do not, fold the fabric once more widthwise and take a ruler and measure down two inches from the edge of the fabric, then mark it every six inches until you reach the end of your fabric.
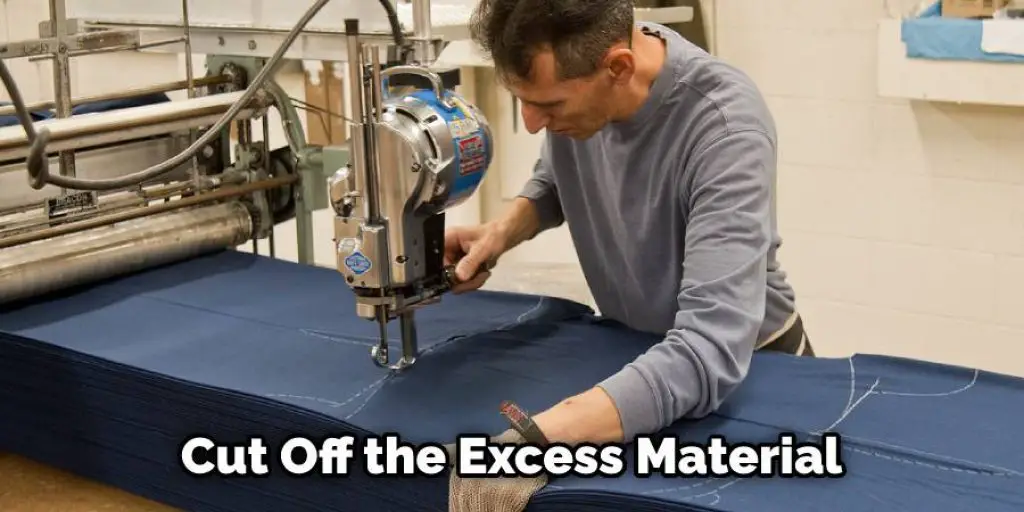
Cut off the excess material and take it to your sewing machine, where you will need to hem each side by folding them down one inch and stitching across the edge. You will then need to do this for each length of material that makes up your curtain, which is the two pieces that are twelve feet long and the three pieces that are six feet long.
Step Four: Putting it Together
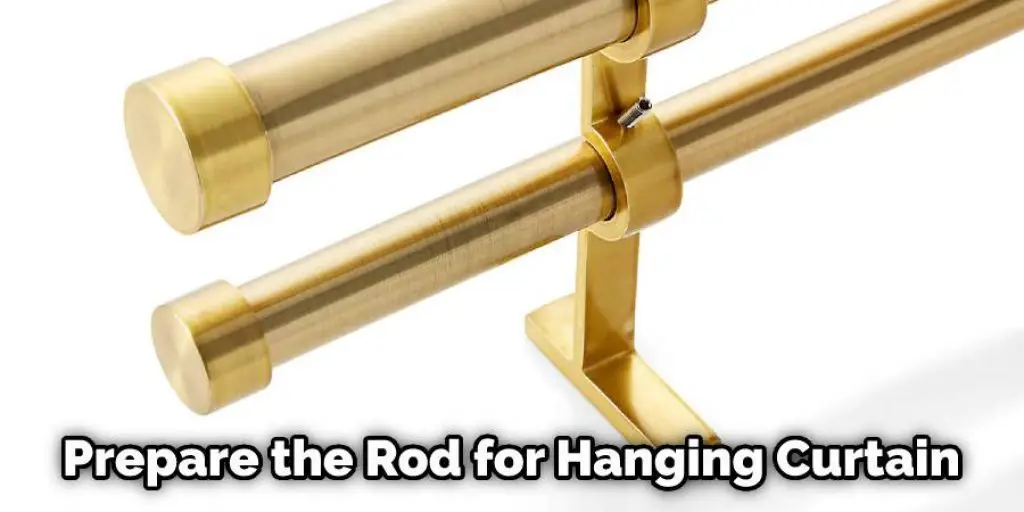
Once you have finished hemming all of your curtain pieces, set them aside until you have prepared the rod for hanging. You will need to take the leftover material from Step Three and cut it into three equal lengths, six feet long. Then, fold each of them widthwise again so that they are half an inch shorter than your curtain is wide, and hem each side.
Next, you will need to measure down from the overhead support beam and mark it every foot using your string measurements as a guide. After this, please take one of your pieces of material that should now be six feet long, and fold it in half widthwise so that you end up with two lengths of three feet long fabric.
Step Five: Attaching the Curtain
Once you have finished hemming all of your curtain pieces, set them aside until you have prepared the rod for hanging. You will need to take the leftover material from Step Three and cut it into three equal lengths, six feet. Then, fold. Fold each of them widthwise again so that they are half an inch shorter than your curtain is wide, and hem each side.
Next, you will need to measure down from the overhead support beam and mark it every foot using your string measurements as a guide. After this, please take one of your pieces of material that should now be six feet long, and fold it in half widthwise so that you end up with two lengths of three feet long fabric.
Attach a hook to the end of each curtain, and connect them onto the rod in between your marks. To ensure a sturdy hold, ensure that you leave an equal amount of material on either side of the hook when attaching it to the rod. This will help in how to make a stage backdrop curtain.
You Can Check It Out to Attach Finials to Curtain Rods
Step Six: Finishing Touches
To ensure that the curtain will not slip off of the rod, you will need to take two pieces of string and tie them around each end. You can then use these as a guide for attaching another piece of material about eighteen inches long. This ensures that your curtain is now safely attached to the rod and will not fall.
Once you have finished these steps, take two more pieces of string with hooks on the ends and attach them to the top of your curtain so that they hang down in front. You can now use this as a guide for measuring out your second piece of material, which should be about six feet long and follow the same steps in attaching the material to your curtain.
Conclusion
Congratulations, you finished the tutorial on how to make a stage backdrop curtain. Whether for your school play or theater performance, this design can be used in many different settings and make your stage appear more professional and put together.
Replicate this design for a personalized touch to your theater, dance studio, or playhouse. Whatever reason you want to make a backdrop curtain yourself, we hope we have helped you do that right now!
You can check it out – How to hide curtain track


