How to Make Plaster Relief Wall Art
You may have seen plaster relief wall art for sale at a local store and wondered if you could make some on your own. You can! With just a little bit of know-how, you’ll be creating beautiful pieces of art that will look like they were purchased from an expensive boutique.
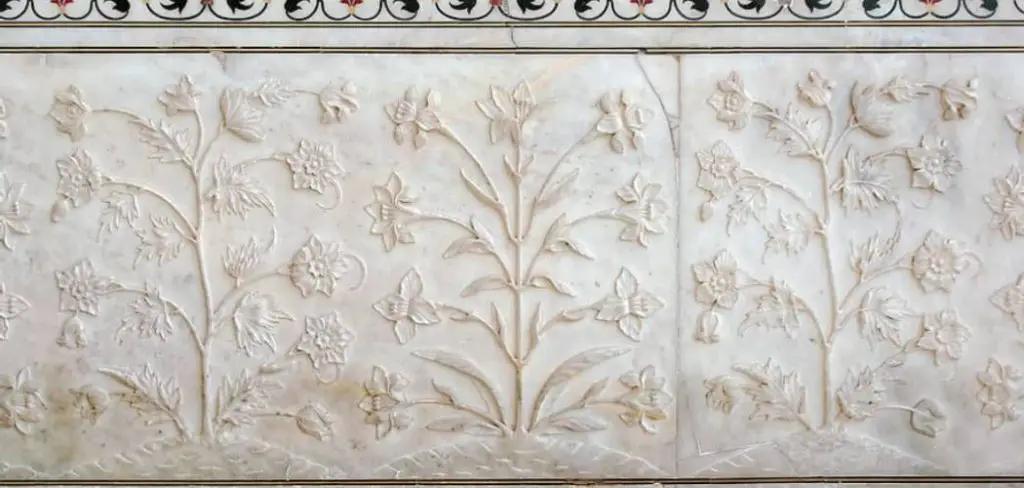
It’s easy to create stunning home decor works with only a few simple supplies and the proper instructions. Read more about how to make plaster relief wall art below! The process is not as complicated as it seems; anyone can do it with patience and practice.
The result will be worth all of your hard work; whether you’re making this for yourself or are looking into selling these in your shop, the finished product will make you proud. Plaster relief wall art is great for home decor, appreciation gifts, or shop items.
Step to Follow on How to Make Plaster Relief Wall Art
Step One: Determine
First, determine where you want to put the wall art and how big it will be. This is because your plaster relief wall art should fit in the space where you plan to place it. In addition, this should be done before any other steps are taken, so you have a starting point for all the rest of the construction.
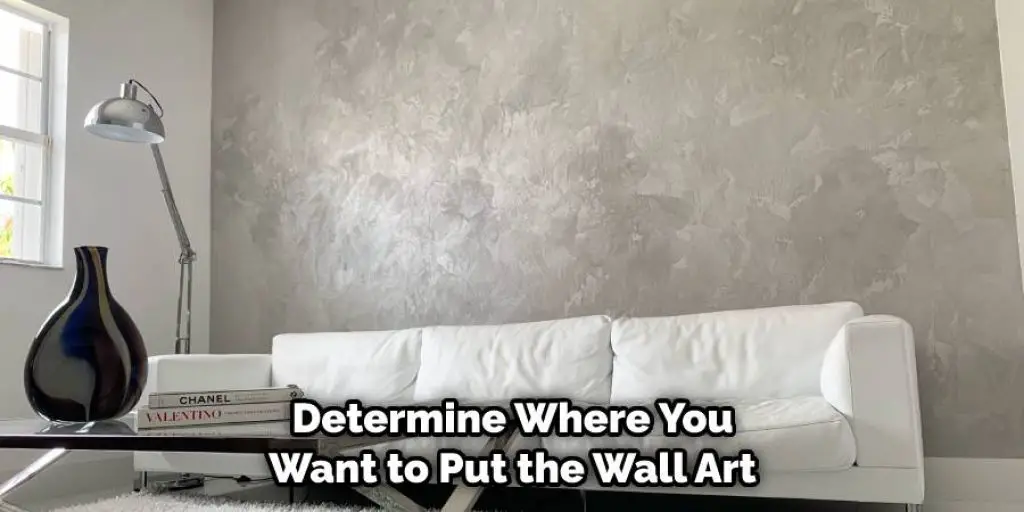
If the wall art is very large or too small for the space, it can easily throw off the balance of your entire room. If this is the case, you will need to repaint your entire room. If this is not feasible, you can make the room smaller or rearrange furniture around the art.
If you plan on making the wall art yourself, you may want to ask someone else what they think would be best placed in that space before doing anything else. You might find out that you had a completely different idea of how it would look and change your design to fit the room.
Step Two: Gather Your Materials
Gather all your materials before beginning any construction. This can be not easy if you don’t know what tools and supplies you will need beforehand. An excellent place to start is by looking at commercially sold relief wall art. Another place to look is Pinterest, where many people have posted pictures of their wall art and what they used to make it.
When gathering the materials, remember that some things may need to be bought at a store before beginning construction. If you are on a tight budget, try not to buy items unless you have to. Instead, ask for these tools and supplies as gifts or loans. This can be not easy if you don’t know what tools and supplies you will need beforehand.
An excellent place to start is by looking at commercially sold relief wall art. Another place to look is Pinterest, where many people have posted pictures of their wall art and what they used to make it. When gathering the materials, remember that some things may need to be bought at a store before beginning construction.
Step Three: Get Ready to Construct
Before you can begin constructing, lay out all your materials and tools. You will want to do this on a flat surface that will not be damaged by the water you are using. If you have put your tools and materials in separate boxes, it may help.
If they are all just scattered together, that is okay, but try to keep them in an organized manner. You will need to find some sturdy tables or benches on which you can work comfortably. A piece of plywood on two sawhorses works well if you don’t have access to carpentry tools for this project.
If you are using commercial wall art to help you, use these pieces as guides. Step four explains how to match up the measurements of the commercial wall art with your plaster relief wall art so everything fits together correctly.
Step Four: Match Up the Measurements
Using your commercial wall art as a measuring guide, figure out how wide the whole piece will be before cutting any of your plywood or wood boards. It may not match up perfectly every time you try this, but it should come close enough that you can use it to cut down on board measurements.
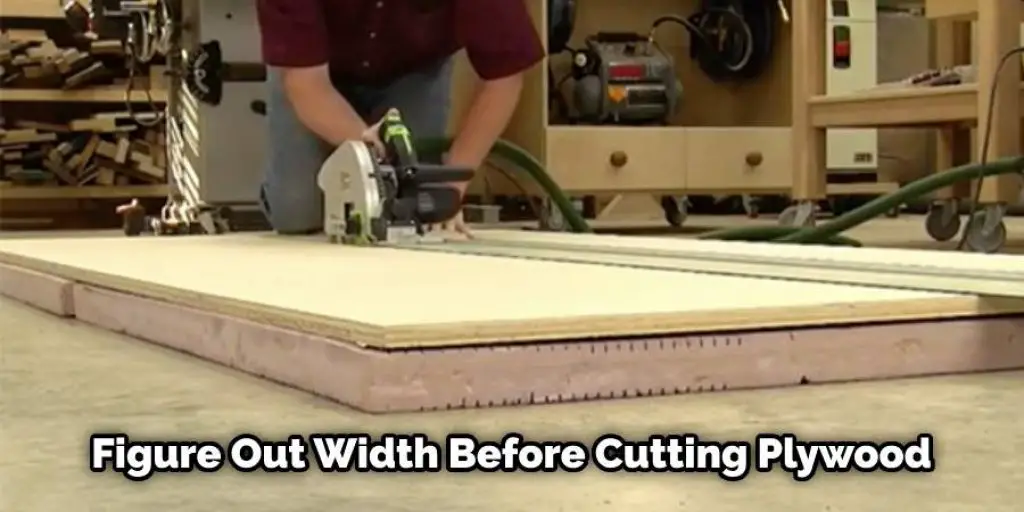
Cut your plywood or wood for the back of your wall art according to these measurements, and place them together, so you know everything fits correctly. If it is too long, cut pieces until it is as short as possible without leaving any extra hanging over the edge.
If it is too wide, add more pieces on the opposite side until the measurements match your commercial wall art. You will want to do this on a flat surface that will not be damaged by the water you are using. These instructions will teach you how to make plaster relief wall art.
Step Five: Get Ready to Mix
If you are using a bucket and hose, put them next to the area you plan to work. If you need to put anything away, for now, do it before mixing begins. You will also want to have your gloves and safety goggles nearby, so they don’t get in the way when construction time comes.

If you are using commercial wall art to help you, use these pieces as guides. Step four explains how to match up the measurements of the commercial wall art with your plaster relief wall art so everything fits together correctly.
Conclusion
The final step is to protect your plaster relief with a coat of sealant. This will help it last longer and keep the colors fresh for years to come. Another great idea would be to use this technique in combination with glass paint or other decorative mediums on top of the finishing coat, allowing you unlimited possibilities when designing your wall art!
We hope that these instructions have been helpful, and we encourage readers who are interested in learning more about how they can make their plaster relief artwork at home to read our blog post on how to make plaster relief wall art.
You may also read – How to build an interior wall in a mobile home


