I just got home from work, and I need to do this project today. It is the last day of my long weekend, and I want to put it behind me so that I can enjoy my time off. But before you get started, make sure you are wearing safety goggles!
Many things could go wrong here if you aren’t careful, like dust everywhere or pieces falling onto your face or, even worse, hitting yourself in the eye with a bit of plaster! But, of course, you don’t want any of these things happening because they will hurt real bad, and nobody wants that.
So do yourself a favor and wear some safety goggles to protect your eyes from dangerous debris! The conclusion paragraph is informative and provides information on how to screw into plaster ceiling.
6 Steps to Follow on How to Screw Into Plaster Ceiling
Step One: Determine
First, you have to determine the location of the screws you want to put into your plaster ceiling. Next, make sure that no wall studs or anything else close by will get in the way of where your screws can go. If they do happen to hit a stud, you’ll have a tough time getting them out.
Then, you want to make sure that the area you’re putting your screws into isn’t too high. If it’s not, fixing it will be much easier than being close to the ceiling. You don’t want to put these in too low either because cracking the plaster below is a chance.
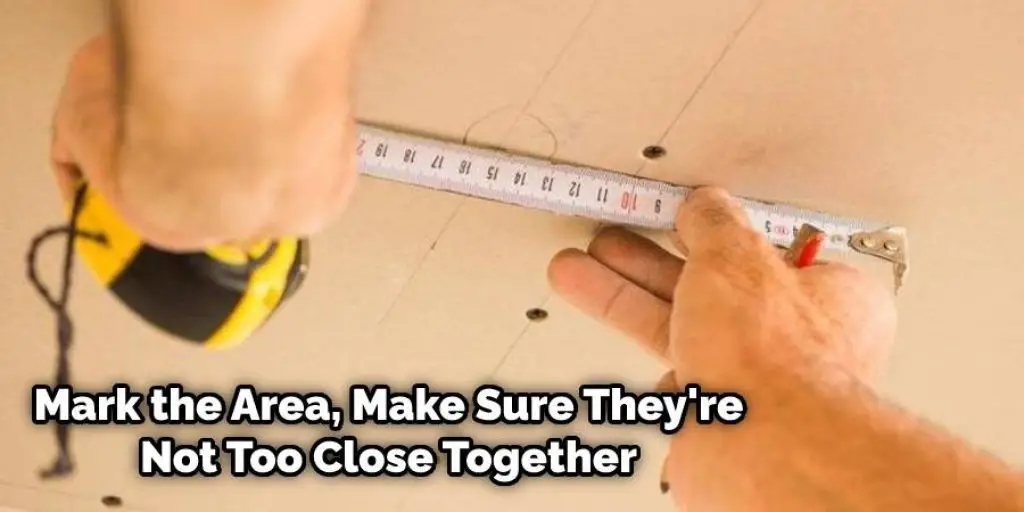
Step Two: Mark
Next, you want to mark the area that you’re going to put your screws into. Make sure they’re not too close together and aren’t in the same place; otherwise, it’ll be a problem when putting them in. Once you have your marks made on where you want to screw in your nails, you can take one of your nails and push it in until it’s below the surface of the plaster.
It doesn’t have to be in there, just a little bit in so that when you go to screw in your screws, it will be able to go in all the way. Then a little bit of plaster should push out. Now, if your head is flat and it isn’t higher than the plaster around it, you can make a divot in the plaster with the nail so that the screw won’t slip when you’re trying to put it in.
Step Three: Drill
Now comes the hard part, if you don’t have a bit for your drill that will fit the size of your nail, buy one. It’ll make putting them in much more accessible, and it won’t take as long. It’s essential to get a good quality bit because there is a lot of strain involved with this project, and if they’re cheap bits, they’ll break easily.
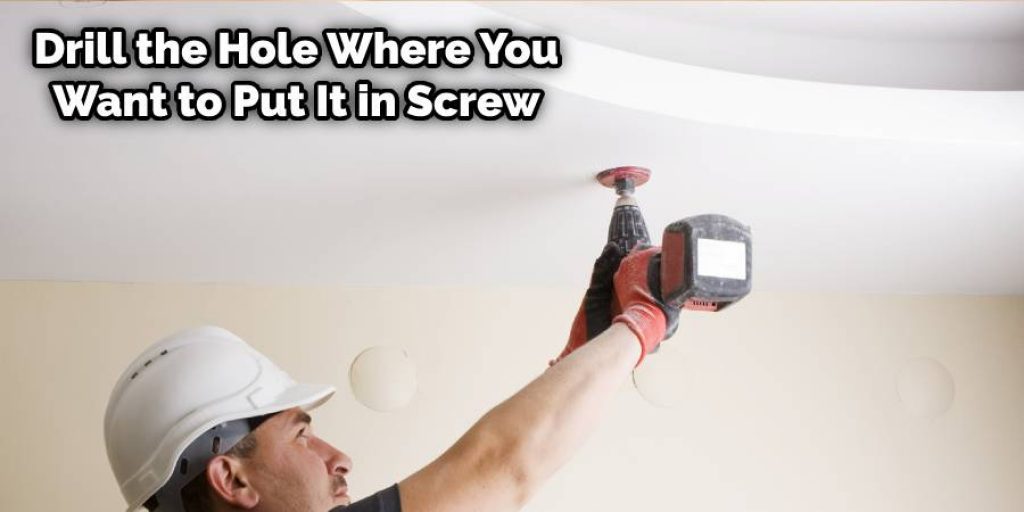
Once your bit is ready, drill the hole where you want to put it in your screw. Make sure not to drill too deep, or it will mess up the plaster below. Instead, drill just enough so that the head of your nail can fit into it, and then any excess can fall out once your screw is in.
Step Four: Screw
Once you have the hole, put your screw in and tighten it. It may take a little longer than usual because plaster is hard to drill into, so make sure to go slowly, don’t rush it, or else you’ll break your bit. Once you know you’ve screwed it all the way, use something round like a pencil eraser or a toothpick to make sure that the screw is there and not going anywhere.
If you find one that’s loose, no problem, you can tighten it back up and then use the eraser to ensure that it’s secure. If you like, you can also use wood putty and fill in the hole before painting over it to blend in with the surface. These steps should help you in learning how to screw into plaster ceiling.
Step Five: Clean Up
Once you’re done, clean up all the mess with your nails. Make sure to remove any excess plaster that may have come out when trying to put them in with your screw. Also, make sure that they aren’t in the way of balls or cars if you have kids or pets.

You don’t want anyone getting hurt, and you want to keep them safe and out of the way. Once you’ve cleaned up, let it dry and paint over it or whatever else you may want to cover it with once your stuff is put back in place again. Just make sure that your screws won’t interfere with getting things fixed.
Step Six: Check
Once you’ve finished, make sure that everything is up to your standards. If it’s not quite right, or you want to take them back out for whatever reason, then go ahead and do so. Once they’re put in, they can be pretty hard to get out again, so make sure you have the time to work with them before you decide to put them in.
That’s all there is to it. Once everything is set and you’ve made sure that everything is as comfortable as possible, then enjoy your brand new nails! If you want, try using a nice clear coat of paint over the entire nail so that the color matches with whatever else you might have going on and so that the nail is less noticeable.
You can check it to Find Joists in Porch Ceiling
Conclusion
It’s important to remember that plaster is quite porous, so the screws will need to be sunk in deep. You want them at least half an inch or more into the surface of the ceiling for maximum durability and security. If you install lights, make sure they are flush against the wall because any gap can lead to water damage down the line.
You may also need to install a baseboard for the same reason. If you’re dealing with a lot of moisture, you might need to take extra precautions like sealing the cracks where the ceiling meets up with your walls which can cause leakage if not maintained. The conclusion paragraph is informative and provides information on how to screw into plaster ceiling.
You may also like – How to fix gap between fan and ceiling


