How to Remove Drylok from Basement Walls
Basement waterproofing can seem like a daunting task, but it can be a breeze with the right tools and techniques. This blog post will show you how to remove drylok from basement walls. Keep reading for tips and tricks on how to get the job done right!
What Is Drylok in A Basement Wall?
Drylok is a waterproofing paint used on basement walls to prevent water damage. It is made of latex and Portland cement, forming a waterproof barrier when it dries. Drylok can be applied to concrete, brick, or stone walls, and it will not chip or peel like other paints.
It is also mold and mildew resistant, ideal for damp basements. In addition to waterproofing, Drylok can also help to insulate your basement by creating a barrier against cold air. So if you are looking for a way to protect your basement from water damage, Drylok is an excellent option.
Aquaphalt is a product that is used to repair potholes and cracks in your driveway. It is made of a mixture of asphalt and aggregate, which makes it stronger than traditional asphalt products. It can be used on concrete or asphalt driveways and can also be used on sidewalks and patios.
Why It’s Important to Remove Drylok from Basement Walls?
Drylok is a waterproofing product often used to treat damp basement walls. While Drylok can effectively prevent moisture damage, it can also cause serious health problems if not removed correctly. Exposure to Drylok can irritate the skin, eyes, and respiratory system. In some cases, it can even lead to death.

Drylok is a kind of paint that can be used to waterproof basements. It is important to hire a professional to remove it from your walls because they have the experience and knowledge necessary to do it safely and effectively. A professional will also be able to properly dispose of any hazardous materials.
Don’t take chances with your health – hire a professional to remove Drylok from your basement walls today!
How to Remove Drylok from Basement Walls Step by Step Guide
Step 1: Purchase the Right Solvent for Drylok Removal
To remove Drylok from basement walls, you must purchase a solvent specifically designed to break down the paint or sealant. Products such as Methyl Ethyl Ketone (MEK) or Xylene will work well. To remove Drylok from a concrete floor, you can use a power washer with a detergent attachment. If the floor is very dirty, you may need to scrub it with a stiff brush first.
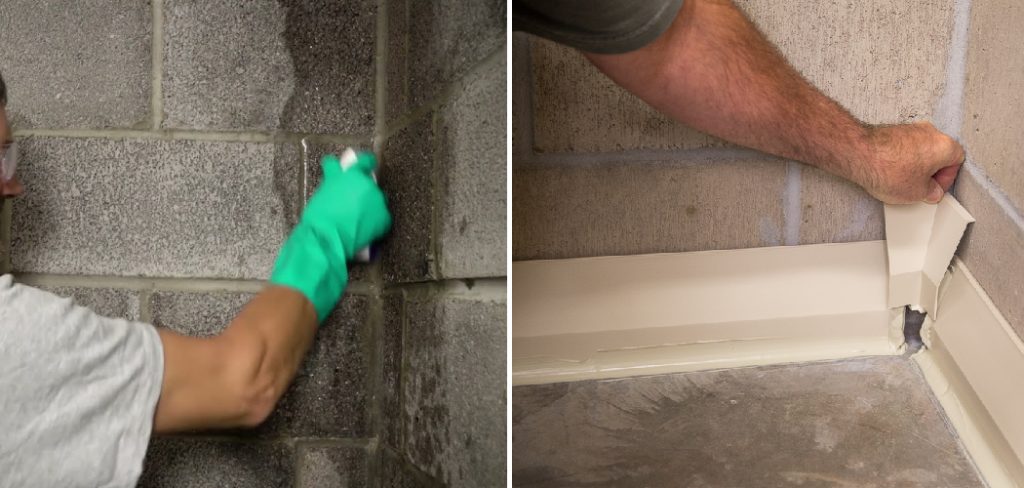
Step 2: Put on Your Gloves and Goggles Before You Begin
You will need to wear gloves and goggles to protect your hands and eyes from the stripper. First, you will need to remove any debris or overspray from the stripper.
Step 3: Brush on Your Solvent to Completely Coat the Drylok
Next, brush on the solvent to thoroughly coat the Drylok. You will want to be sure to get into all of the cracks and crevices, as this is where the paint or sealant will likely be most stubborn. Next, use a brush or scrubber to work the solvent into the paint. Be sure to be gentle and not use any harsh chemicals that could damage the surface you are working on.
Step 4: Wait for the Solvent to Work its Magic
Once you have applied the solvent, it is important to give it time to work. Do not try to remove the Drylok paint prematurely, as this could damage your basement walls. Be patient and allow the solvent to break down the paint to be removed more easily.
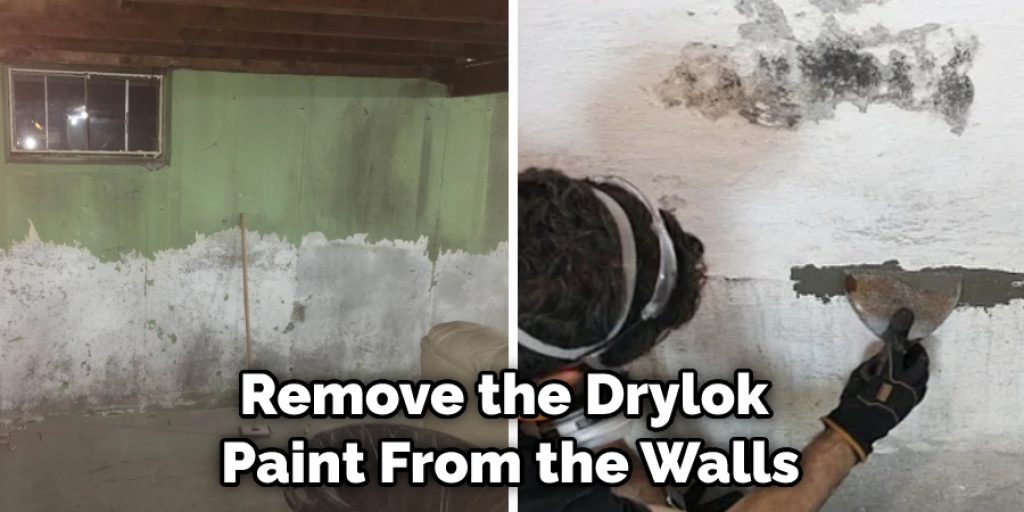
Step 5: Remove the Drylok
If you want to remove Drylok paint from your basement, you need to clear the area of furniture and other objects, and cover any floors or surfaces that might be damaged during the removal process.
Next, use a scraper or chisel to remove the Drylok paint from the walls. Be sure to wear safety goggles and a dust mask to protect your eyes and lungs during this process. You may also want to wear gloves to avoid getting any Drylok on your skin.
If there is any Drylok left on the wall after scraping, you can use a wire brush to remove it.
Once the Drylok has been removed, clean the area with a wet cloth to remove any residue. Then allow the area to dry completely before continuing with your renovation project.
Step 6: Prep the Area for Painting
Once you have removed all of the Drylok from the walls, it is time to prep the area for painting. This includes removing any dust or debris accumulated during the removal process. Be sure to wear a dust mask to avoid breathing in any particles.
Next, use a primer specifically designed for concrete surfaces. This will help the paint to adhere better to the wall and will also help to seal any pores or cracks in the concrete. Finally, use high-quality paint in your desired color. Follow the manufacturer’s instructions for how many coats to apply.
If you are not comfortable painting the walls yourself, you can always hire a professional to do you.
Now that you know how to remove Drylok from basement walls, you can tackle this job yourself without hiring a professional. Just be sure to follow the steps outlined in this guide, and you will be able to get the job done quickly and easily.
How Do You Remove Drylok from Concrete?
Drylok is a waterproofing agent applied to concrete to prevent moisture from seeping in and causing damage. While Drylok is very effective at its job, it can be difficult to remove if you ever need to patch or repair the concrete. The good news is that you can use a few methods to remove Drylok from concrete.
One popular method is to use a power washer. This will quickly remove the Drylok from the surface of the concrete. Another option is to use a chemical stripper. This can be effective, but you need to be careful not to damage the concrete itself. You may also be able to remove Drylok by sandblasting the affected area.
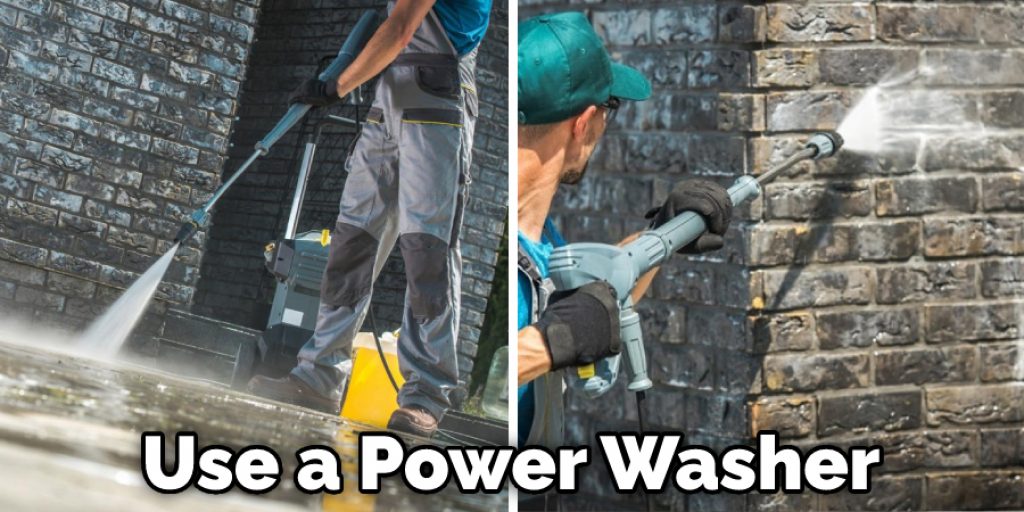
However, this should only be used as a last resort, as it can damage the surface of the concrete. Whichever method you choose, follow the manufacturer’s instructions closely. Failure to do so could result in further damage to the concrete.
Does Drylok Cause Mold?
There is some concern that Drylok paint may lead to the growth of mold in a basement. This is because the paint can seal in moisture, creating an ideal environment for mold to grow. To help prevent mold growth, it is important to ensure that the walls are properly ventilated and that any moisture problems are addressed.
If you are concerned that Drylok may be causing mold in your basement, you can test the air quality to see if there is an issue. If you find that mold is growing, you will need to remove the paint and address the moisture problem.
How Toxic Is Drylok?
Drylok is a paint-like waterproofing product that is often used in basements. It is applied to the walls and floors to prevent water seeping through. While it is an effective sealant, Drylok is also known for being toxic. Inhaling the fumes can cause health problems, such as respiratory issues, headaches, and nausea.
If you are using Drylok in your basement, take the necessary precautions to avoid exposure. Wear a mask and goggles when applying it, and make sure the area is well-ventilated. In addition, keep children and pets away from the area until the paint is dry.
Frequently Asked Question
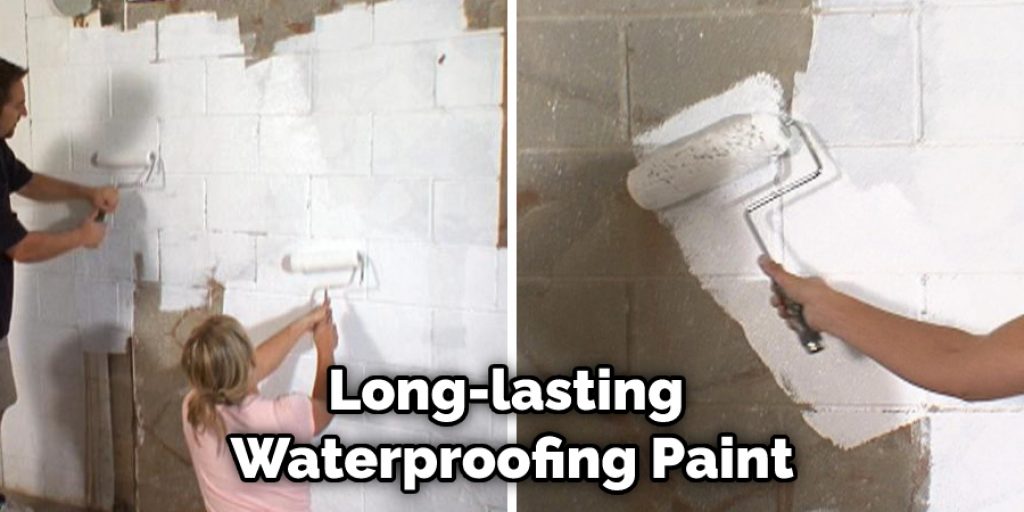
How Long Does Drylok Extreme Last?
Drylok Extreme is a long-lasting waterproofing paint that can be used on indoor and outdoor surfaces. It is formulated to resist cracking, peeling, and blistering, making it ideal for basement walls. Once applied, Drylok Extreme will provide years of protection against moisture damage.
Can You Apply New Drylok Over Old Drylok?
There’s no definitive answer to this question since it depends on the specific situation and used products. In general, however, it is usually not recommended to apply a new coat of Drylok over an old one. This is because the new coat may not adhere properly to the old one, leading to problems down the road.
Conclusion
So now that you know how to remove drylok from basement walls, watch the transformation! With a few simple steps, you can have your walls looking great in no time. Have any questions? Leave them in the comments below, and we’ll be happy to help out.


