The process of removing tile from plaster walls can be a difficult one, but it doesn’t have to be. In this blog post, I will share how to remove tile from plaster walls without damaging the wall or yourself. However, before we get started, some important safety considerations need to be addressed first.
For one thing, don’t use a power saw when cutting tiles because they’re heavy and could easily fall on your feet if the blade slips off the side of the tile or if something goes wrong while you’re cutting up high to cut out sections where needed.
A standard hacksaw is best used instead; make sure you wear goggles during this process since these tools produce lots of dust and debris, which can irritate your eyes. Also, do not use a heat gun on the backs of tiles because this could cause the tiles to fall and break on your feet.
Step to Follow on How to Remove Tile From Plaster Wall
Step One: Determine
First things first, determine the type of tile and plumbing piping you have. If you aren’t sure what kind of tile or what’s behind your plaster wall, you need to test it first. You can do this by taking a hammer or drill and punching some holes into the tiles closest to the edge of the wall.
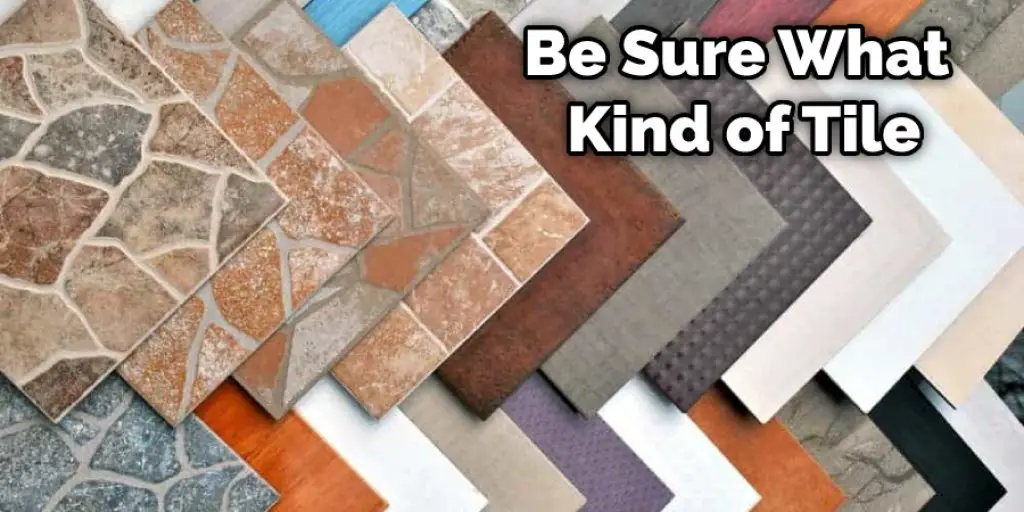
Be sure not to make too many holes, just enough so you can see through them on either side of the tile. If there is anything behind it other than your plaster wall, you’ll be able to see it better if the light is behind you. It would help if you tried to avoid making holes in tiles near pieces of furniture or other decorative objects because this could damage them when your wall starts to fall.
If you can’t decipher through the holes what kind of tile it is, then you need to test the plumbing. If you see a piping line behind the tile, tap it gently with a hammer or screwdriver to test for a hollow sound. This indicates there is probably some air inside the pipe and that you need to be careful when striking it with an object.
Step Two: Determine Tools Needed
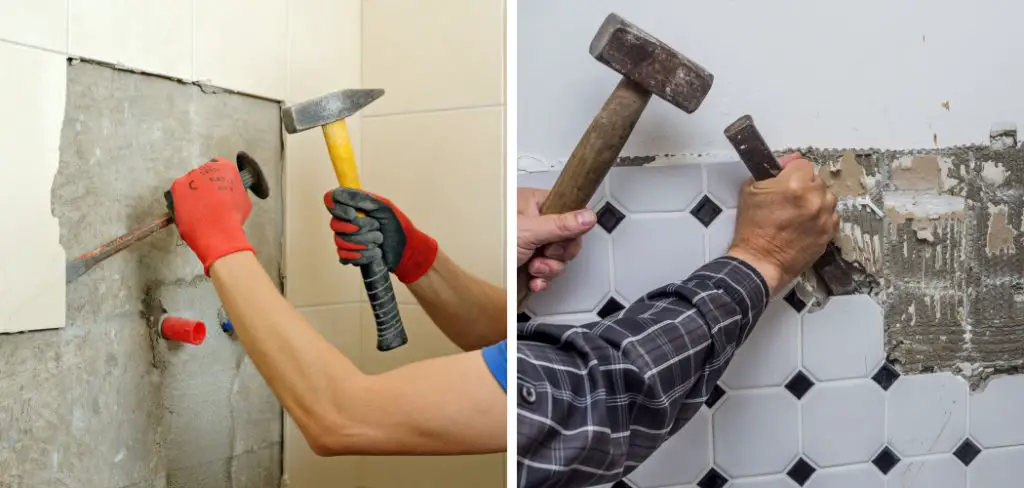
You’ll want to make sure you have the proper tools for removing tile from the plaster wall. You’ll need a chisel, hammer, and screwdriver. The first step is to use the chisel and hammer to remove as much of the tile as you can. This should be done very carefully not to damage your walls or surrounding objects such as furniture.
If pieces won’t budge or are stuck but not firmly in place, use the screwdriver to chip away at the stuck pieces. This is done carefully because you don’t want any tile pieces to break off inside your wall. If this happens, they could cause even more damage when you try to take it down completely.
If you have a lot of tiles behind your plaster wall, you might want to consider using a Sawzall instead of a hammer and screwdriver. This will speed up the process considerably because every tile needs to be chipped away from the wall before coming down. Be sure to wear eye protection when doing this.
Step Three: Remove Tile
When you’ve chipped away at all of the tiles that can come off easily, then it will be time on how to remove tile from plaster wall. Using your hammer and chisel on this part of the process is very frustrating because each piece will cost more work than the last one did.
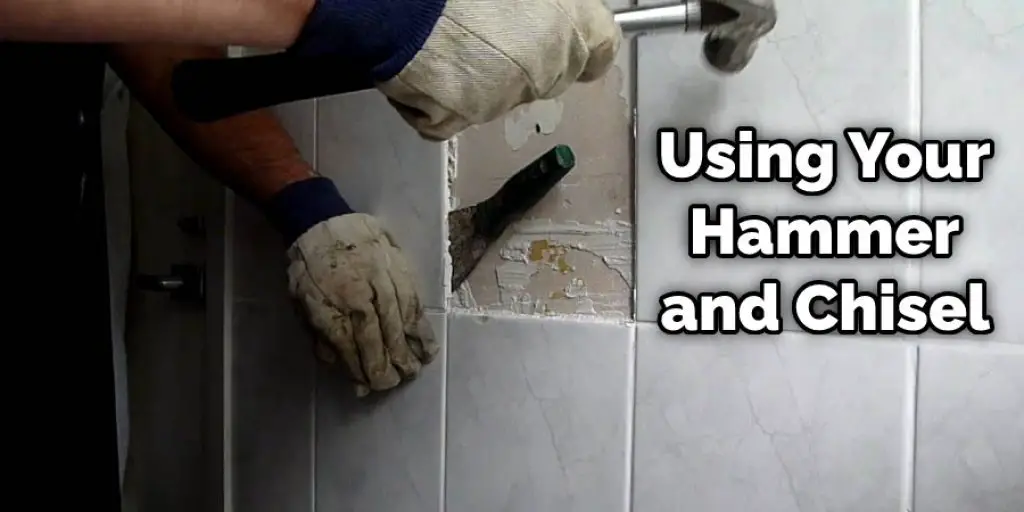
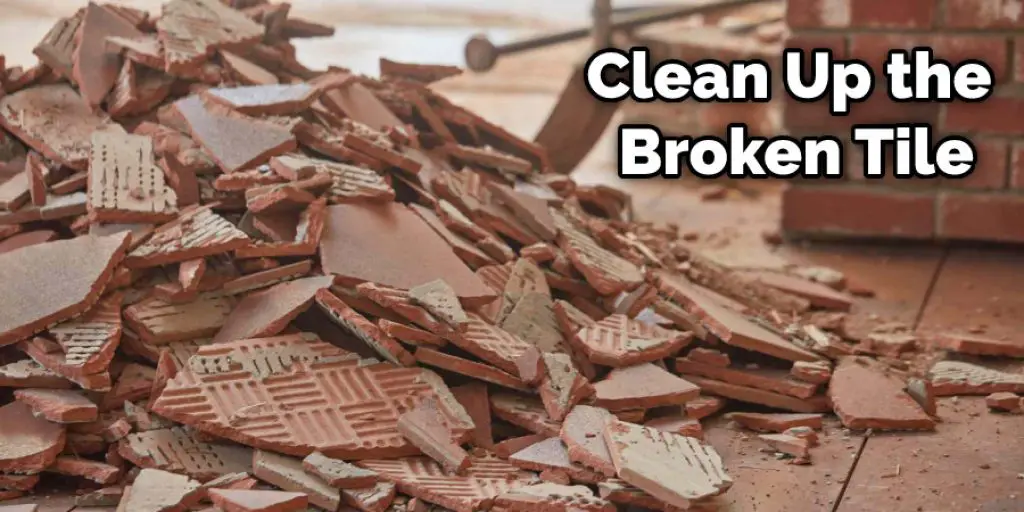
However, it would help if you tried not to get frustrated or give up. This step can be very time-consuming, but you ultimately want to be left with a finished product that looks great and is free of tile residue behind your wall. After all the chiseling is done, you’ll need to remove the broken bits from the backside.
You can do this by using a screwdriver or other tool to scrape the pieces out of the wall and into a trash bin. This is not an easy job; however, if you’re determined enough to do it, then you should be able to get through this step without too much trouble.
Step Four: Clean Up
You’ll want to make sure you have a bucket of water on hand for this step. The best thing you can do is start cleaning up right away after removing the tile from your wall. You should take all of the pieces that are now loose and place them into the bucket.
Be sure to wear protective clothing throughout this process because there might be broken pieces of tile flying around, and it’s important not to get these stuck in your skin. Also, if you’ve used a Sawzall, there will likely be residual wood and dust inside the wall that needs to be taken out as well.
You can do this by using a vacuum cleaner because this will help speed up the plastering process when you get done. However, you’ll need to use a protective handguard when using a power tool in a tight space like this because there is always the risk of the vacuum cartridge breaking and wood pieces going right into your hand.
If that happens, see a doctor immediately because it could be hazardous for your health if too much wood gets into your bloodstream. After this step is finished, you should be able to fix and paint your wall. You’ll want to make sure you do a test run of the color on another sheet of drywall before painting your wall because it might not be exactly what you wanted.
You can check it to Hang a Shower Curtain on a Slanted Wall.
Conclusion
If you are looking to remove tile from a plaster wall, the most important thing is that you have an idea of what kind of surface it is. This will help determine if your removal process needs to be aggressive or gentle. Also, depending on how thick or thin your layer of paint is, different tools may need to be used for this job.
The most common tool for removing old tiles in older homes are pry bars and hammers, but more recent construction would require something like a hammer drill with carbide bits so as not to damage anything else in the room when drilling through the drywall. This blog post has given helpful advice on how to remove tile from plaster walls.
You can also check it out: How to Cover Plaster Walls


