Introduction
Table legs are among the most common piece of furniture that need repair. These legs can easily get damaged from wear and tear or being jostled too much while moving an entire table. In these cases, it is necessary to replace them with new ones. In addition, the screws in the legs will occasionally need repairing. For this reason, in this article, I will discuss how to repair a screw in a table leg. So let’s get started.
A Detailed Stepwise Guide on How to Repair a Screw in Table Leg
What You Will Need
- Screwdriver
- Drill
- Replacement Screws
- Wood Glue
- Clamps (optional but helps a lot of use, can also rubber bands or strong string to hold pieces together)
- Optional: Hammer and Nail Set.
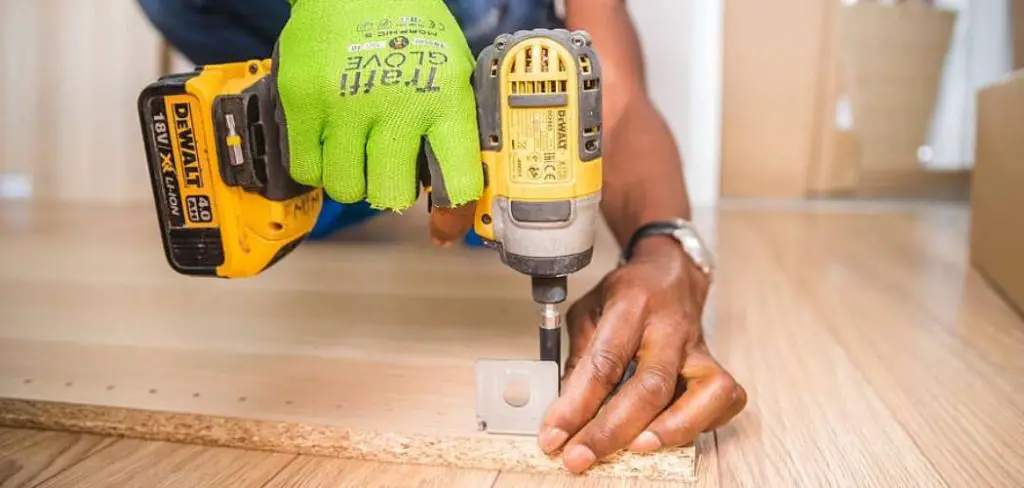
Step One: Remove Old Head on Table Leg
Use a screwdriver or drill to remove the head of the screw closest to the table leg. This is the primary step of this procedure.
Step Two: Drill a Hole in Table Leg
This is optional as you can just put a new screw through the original hole, but it makes for a much cleaner look if you drill screw holes next to where the removed screw was. Use a drill and set the bit at desired length based on your new screws or glue thickness.
You will want to use something that will fit into this hole once glued, which should be at least twice as long as your screw shaft since about half will go inside both pieces being joined together, and another 1-1/2-2″ goes into whatever you are attaching the leg too.
Step Three: Angle Screw Head
To get the screw head to match the degree angle of the removed one: If it’s simply not possible for you to get a straight-on replacement, and your new screw has a more giant head than your original, then you can use the following steps; however, if you were able to get a straight-on replacement then follow previous steps.
You are using something like an ink pen (or anything small and round) to drill into one side of the screw until there is enough room inside for some glue. Do this in several places around the circumference of the new head, making sure each hole stays small and does not reach below halfway. You will need some glue, so have it ready but don’t put any in yet!
Once complete, put a little bit of glue into each hole, then use something round and small to create a concave wood surface for the screw head. You can use a ballpoint pen or a safety pin; anything you have handy that will fit inside the drilled hole should work well.
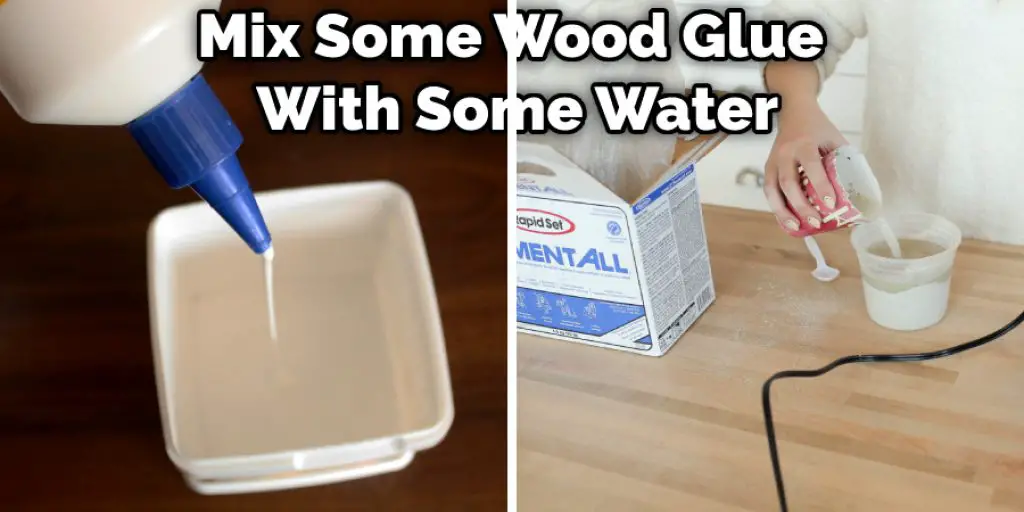
Step Four: Glue New Screw into Hole
Mix some wood glue with some water so it’s not too runny but thin enough to fill in the hole you drilled, and use a small brush or Q-tip to fill up the gap. Next, place your new screw into the hole by hand (this may take a bit of wiggling depending on how deep your drill bit was). You can then use clamp(s) if available, and clamps are very helpful here, rubber bands, etc., get it held tightly together while drying. Wood glue dry pretty quickly but lets it sit overnight before moving on.
Step Five: Put Head On New Screw
Now that everything is dry get the head of your new screw close to matching the angle of the removed one. If you cannot do this, it’s ok, and I will teach you how later in the article.
Step Six: Drill New Head onto Table Leg
Place a new screw into the drilled hole and drill into the table’s leg (only go about halfway through). Use a tiny bit at first, then follow up by using a slightly larger bit to match the size of the smaller head-on screw. This is where a brad nail set comes in very handy, and it allows you to sink the screw head much faster and easier than with a drill alone and has many other uses as well.
Heat tip over the flame until glowing red and hit the head several times to more giant the hole. Once large enough, use the screwdriver to remove excess material and smooth over as best as you can.
Step Seven: Glue Head Onto Table Leg
Use the same method as before with glue and fill the hole with glue, then take a new head and try and match it to the angle of the removed one using your screwdriver or drill (again, this may not be possible). When you feel like it’s close enough for a good seal, place your head down into the drilled hole and follow previous steps until it’s nice and tight.
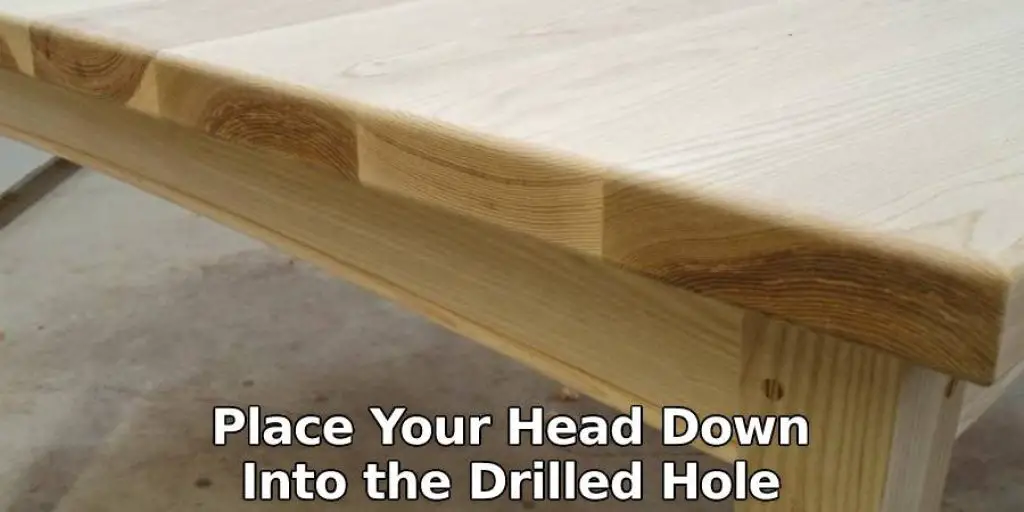
This is where the hammer would come in useful if working on a hard flat surface such as concrete, but you can get away without depending on how deep your drill went into the leg. Let dry overnight again before moving on.
Precautions While Repairing A Screw-in Table Leg
Oiling the Screw:
Sometimes, you might need to replace a screw since it has become loose. In such cases, before tightening the screws, you should oil it. You can use WD-40 or any machine oil for this purpose. The reason why screws loosen is because of rust and dust accumulation around it. Thus by applying oil, we make sure that no dust accumulates around the screw and lubricate it to tighten it effortlessly even after years of usage! (Watch Video 1 below).
Fixing Woodblock:
Sometimes, wooden table legs might be worn out due to prolonged usage. If this happens, instead of replacing them with new ones, we can fix them using woodblocks that are readily available at our local hardware store. Just insert the wood block between the table leg and the top of the entire table and screw it down tightly using a screwdriver.
Make sure that you drill pilot holes before inserting screws inside the woodblocks, as this will make your task easier. Again, replacing them with another wooden leg is preferable rather than fixing them using woodblocks since it is an easy solution but for short-term usage only.
Removing Screws:
If there are screws on one side of your wooden dining table, they should also be present on its other side to keep balance.
Frequently Asked Questions
What Do You Do if a Screw Hole Is Too Big?
There are a few options for fixing this issue. The first option is to use a drill bit that has the same size as the screw hole and turn it down until it fits in snugly.
Another option is to get a metal file and file down the edges of the screw hole until it fits into place.
Lastly, you can wrap electrical tape around the screw head and try to push it through again, but with less force.
What Is a Screw Anchor?
A screw anchor is a device that screws into the ground and allows you to use a threaded bolt with a nut to secure something.
Screw anchors are commonly used in outdoor applications like building fences, gates, decks, and patios. They can also be used in other situations, such as installing appliances or wooden furniture where you need to fix them securely into the ground without having to hammer stakes or hanger bolts into the ground.
Are Screw Anchors Necessary?
No, screw anchors are not necessary for installing a ceiling fan. You can install the fan using a manual or power drill.
A manual drill is recommended because it provides more control and power when drilling into drywall.
What Can I Use Instead of Wall Anchors?
There are many different types of wall anchors that you can use instead of traditional wall anchors.
Some of These Alternatives Include :
- Wall plugs or plates
- Weight-bearing walls
- Metal stud
Conclusion
I hope this article has been beneficial for learning how to repair a screw in a table leg. Ensure all the necessary precautions. Thank you and have a nice day!
Related Article – How to Make Angled Table Legs


