You have a love/hate relationship with your ceiling vents if you’re like me. You love that they provide ventilation and cooling to your home, but you hate when they fall and block the airflow. In this article, I’ll discuss how do i get my ceiling vents to stay up. Spoiler alert: it’s not always easy! But with a bit of effort, you can make sure your vents stay up where they belong. Read on for more.
Ceiling vents are a great way to provide cooling ventilation for your home, but they can be more of a hassle than anything else due to many different reasons. For example, the most commonly reported reason is that the ceiling vents fall!
Required Tools and Materials:
- Drill
- Tape Measure
- Stud Finder
- Ceiling Vents
- Screws (bag of screws should be included with ceiling vent)
A Stepwise Guide on How Do I Get My Ceiling Vents to Stay Up
Step 1: Determine the necessary height of the ceiling vent.
To determine how tall a new ceiling vent needs to be, you must measure from the floor to the overhead structural beam, “attached” to the framing above it. For example, if your home or apartment has Sheetrock ceilings, you need to measure from the top of that material up towards where the framing would be. If your home or apartment has actual wood beams (which I’m assuming is pretty rare), it’s as simple as measuring straight up!
Step 2: Using the tape measure, mark off where you need to drill your holes.
Please make sure there are no electrical wires or plumbing in the path of drilling into a ceiling vent as it could cause extensive damage and lead to injuries such as electrocution and scalding from ruptured water lines. Mark off two locations on either side of the center beam at the height you want for your ceiling vent.
For example: if my beams are 26 inches high and I need a 24-inch ceiling vent, I would position my marks at 28 inches and 26 inches, respectively, so there is an even gap between them (the extra two inches will account for error). We space our holes out evenly so we can fit both screws into the framing securely.
For those of you who don’t know: framing is another word for “floor joists,” and floor joists are the main beams that vertical structural components such as walls sit on top of.
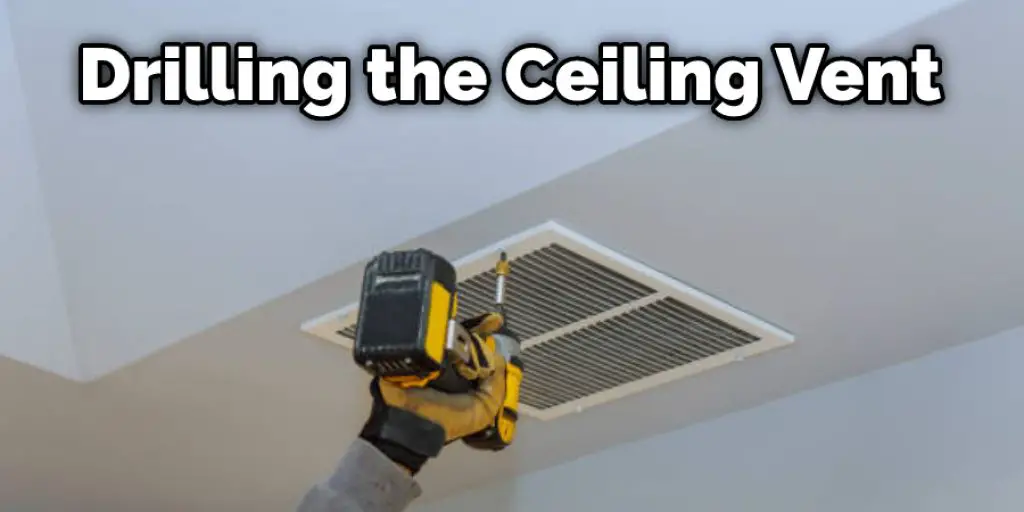
Step 3: Drill into your ceiling vent with the drill and find where the studs (the framing) are.
The screw needs to go directly into a stud to hold the ceiling vent up securely; otherwise, it will be wobbly and could fall out or rip out entirely if enough weight is applied. With this said, make sure not to drill too far! We do not want our screws going through and poking out onto any part of an adjacent room (we want them inside still), so we drill only one inch.
If you have a stud finder, use it to ensure where the studs are; if there are none, then position your drill so that the screw is perfectly horizontal with the floor. If there are studs and the drill is perfectly horizontal with the floor, your screw will be perpendicular to a stud and won’t wiggle around in its hole.
This is crucial: when you start drilling into the ceiling vent itself, it will become loose from its perch due to gravity, causing it to fall downwards! If this happens, hold onto the vent, so it doesn’t crash down onto your head or anything else below! Also, note that drilling too far creates a visible hole inside the ceiling (and unnecessary wear on your drill bit).
How much you should drill depends on what type of screws you’re using (if you’re using nails/nails guns, try not to overdo it; if you’re using screws, only go about an inch or two).
Step 4: Secure the screws to the framing.
Once you’re sure that your drill is in a stud (or attached to a stud with a nail), screw in both of your screws; how much force you use when screwing in your screws depends on what kind of wall construction technique was used when building the home/apartment.
For example, if there were actual wood beams used for the framing, then make sure not to make them too tight, which could split/damage them, and if Sheetrock or other types of drywall material were used, they should be delicate how much pressure is applied.
Step 5: Attach the ceiling vent to the screws and enjoy!
Now that the screws are in place and secure, attach your ceiling vent to them, and you’re finished! How much force you apply when attaching the ceiling vent again depends on what type of material it’s made out of. If you did everything correctly, then nothing outside should be able to pull your ceiling vent down (gravity will still cause it to move significantly if it has devices inside such as fans or heaters, but that adds character!)
For example: if an 18-inch vented ceiling box is installed using two 1-inch screws which are screwed into studs, it will take roughly 675 pounds of pressure to rip the entire thing out of the wall so long as the screw heads were sunken flush with Sheetrock (they would need to be recessed flush if the ceiling box is made out of other materials like metal or wood).
Step 6: Test
Test your finished product by screwing something into it. If your ceiling vent falls, you did everything correctly; if it stays up perfect! How much force you apply when screwing in your screws again depends on what type of material it’s made out of.
Not because the construction technique used to build the home/apartment matters this time, but because we’re talking about how sturdy and durable the ceiling vent itself is against pressure from screws/nails/other fasteners, which may over time break or weaken them (which can allow things like gravity and devices inside such as fans and heaters to pull the ceiling vent down once again).
These steps will help in how do i get my ceiling vents to stay up.
You Can Check It Out to Sand a Ceiling Without Making a Mess
Precautions
- The chemical glue used to attach your ceiling vents is extremely strong and may take a few hours to fully dry. Therefore, do not use the appliance at least 12-24 hours after installation.
- If you have small children or pets that could knock into your stove, we recommend getting some form of padding from a local department store to cushion the blow in case it ever falls.
- Wood stoves can catch fire, so be sure a responsible adult will always be home with any children or animals while using your new stove. Also, ensure no flammable materials nearby such as curtains, bedding, or children’s toys.
- To avoid unnecessary heat loss in cold weather, make sure you turn off the stove when it is not in use.
- You may need a professional to help you get your ceiling vents to stay up. In addition, a local hardware store should have construction adhesive specific for stoves that can be used.
- If the top of your stove is too hot to touch, do not leave it unattended or allow children or animals near it.
- A wood stove will get extremely hot while in use but does not reach dangerous temperatures if left on for a short period (i.e., cooking dinner).

How Do You Secure a Ceiling Register?
Proper installation of a ceiling register begins with preparing the surface on which it will be installed. To do this, first, remove any debris in the space where you plan to install your vent. This may include nails or screws sticking out of the wall or floor or items that have fallen behind appliances near where you plan to put your new vent.
Once everything is clear, turn off the electricity at the breaker box, so no power runs through anything where you are working. Next, check all walls and floors for studs before marking an area on the floor wall for cutting.
Using a stud finder helps ensure this process goes smoothly without having misaligned holes once it comes time to nail your new vent into place properly. You will then want to cut out the area for your new vent using a drywall saw.
Once your hole is cut, use sandpaper to smooth away any rough edges before placing your ceiling register in the wall or floor where you plan to put it. This part of the process can make or break how well your finished product looks, so it is important not to rush things here. With that in mind, take the time necessary to ensure that everything is level and secure before installing your new ceiling vent.
Conclusion
The key to an effective vent installation is stability. You can achieve this by using two vents mounted on opposite walls or mounting one vent in the center of a wall with screws that attach it firmly to both studs. If your ceiling is not plastered, try adding some clips and screws for added security before you mount them up high! We hope you have learned how do i get my ceiling vents to stay up.


