Window replacement is a big job that can be expensive and time-consuming. If you’re looking for a quick, easy, and affordable way to cover up a window, drywall is the way to go! This article will show you how to cover up a window with drywall. Stay tuned for more tips on home improvement!
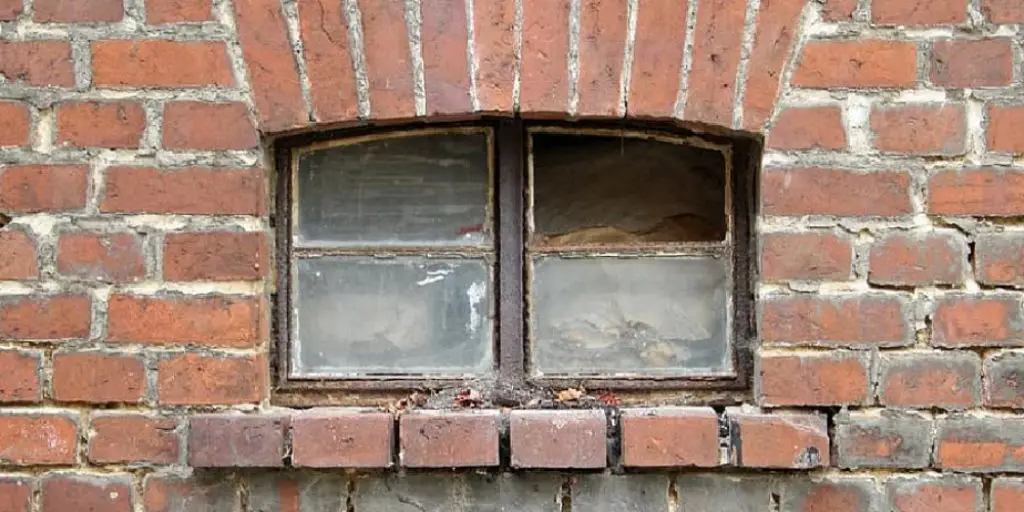
Covering up a window with drywall is a quick and easy way to give your home an instant facelift. It seems like we’re always on the lookout for ways to save time and money while improving our homes, and this do-it-yourself project is no exception. In today’s fast-paced world where every penny counts, it’s easy to see why many homeowners are opting for DIY solutions instead of hiring expensive contractors or waiting for days on those pesky permits from the local municipality.
Required Tools
- Tape Measure
- Pencil
- Power Drill with 1″ Spade Bit and Counter Sink
- Screwdriver or Impact Driver
- Drywall Saw (only if replacing an existing window)
- Ladder or Scaffolding (Only if replacing an existing window)
A Stepwise Guide on How to Cover Up a Window With Drywall
Step 1 : Determine How Much Material You Need
Measure the inside dimension of the window you wish to cover up. Next, cut a scrap piece of drywall using this from-to size and add two additional inches in length on either side.
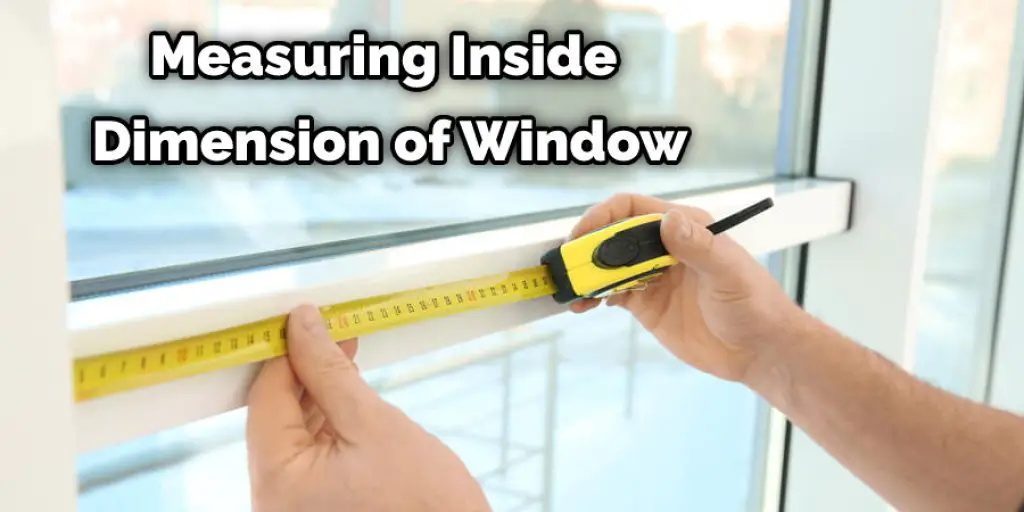
This will be your rough opening width and height when measuring the width and height of your rough opening with a tape measure. This measurement will be used later in Step 4 when cutting out the excess drywall material after installing it in the window frame.
Step 2 : Mark Your Drywall Rough Opening
Drywall comes in lengths up to 12 feet long, so determining where to cut is essential to avoid having an extra foot or more of unusable drywall that needs throwing away.
First, measure how much of the window width and height you will need to cover from each edge. Also, mark where the ceiling line is if applicable on your wall.
Step 3 : Cut Drywall
Carefully cut out your rough opening using a drywall saw, such as the Bosch SM660L Multi-X Drywall Saw. If this step requires removing an existing window frame, consider adding two more inches in length and width dimensions since it may be necessary to cut through parts of the structure depending on how sturdy it is.
A screwdriver or impact driver can make quick work of driving screws into the surrounding wall studs after cutting away any window frame with a drywall saw. The Bosch Multi-X Drywall Saw is ideal for these cuts because it can cut through steel studs if necessary.
Step 4 : Install Drywall in a Window Frame
Measure and cut drywall pieces to size for placing inside your window frame, using the rough opening measurements from Step 1 as a reference—drill pilot holes into each corner where two or more pieces will meet. Screw them together on one side first, then flip over and screw the un-screwed side onto the first set of screws.
This way, you will never have an unsecured piece of drywall loose somewhere inside the window frame, which could eventually work its way out between gaps in other areas down the road. If desired, staple the aluminum mesh screen into place across the entire backside of your assembly before screwing the drywall pieces together. This will help prevent debris or insects from entering your newly installed interior window frame.
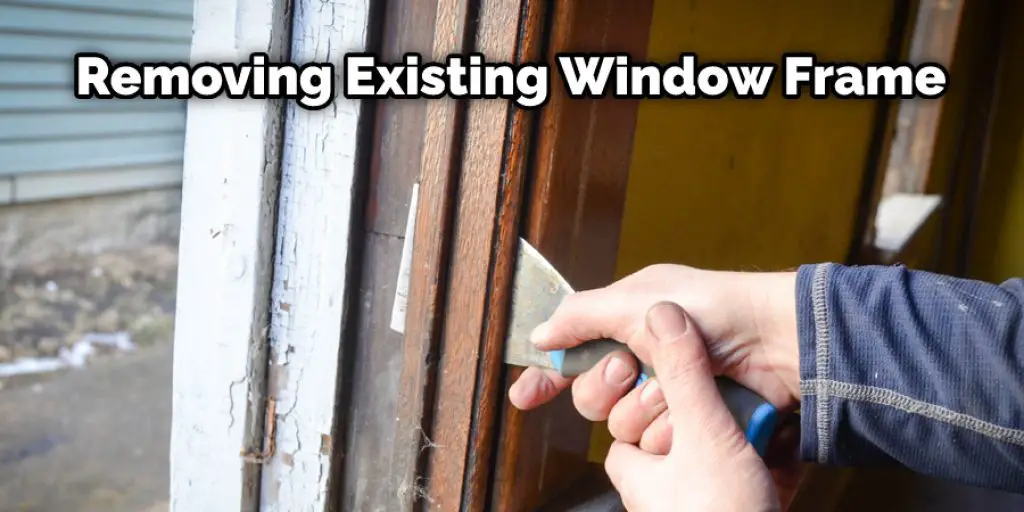
Step 5 : Install Drywall in an Existing Window Frame
If you are installing drywall to cover up a window on an existing wall, first remove the existing window frame pieces by cutting them away with a drywall saw if necessary. Next, drill pilot holes where desired and specific drywall fragments onto studs using screws or nails, depending on what type of backing material is present on the stud surface.
For example, if wood studs are exposed around putty sides out, use screws instead of nails since more holding power is required for this potentially loose material that may shrink over time, causing movement of the drywall.
On the other hand, staples may be sufficient if the existing studs are covered with a material such as sheetrock, which is more secure and requires fewer screws to hold it securely in place.
Step 6 : Caulk Gaps and Cover Screws
Once the drywall is secure, fill in any remaining gaps between pieces with a caulk that matches the color of your existing drywall. Next, use a plastic putty knife or another tool to smooth out the caulk line for a clean finish and well-composed appearance. Next, remove excess caulk from screw heads by scraping it off gently with your flathead screwdriver.
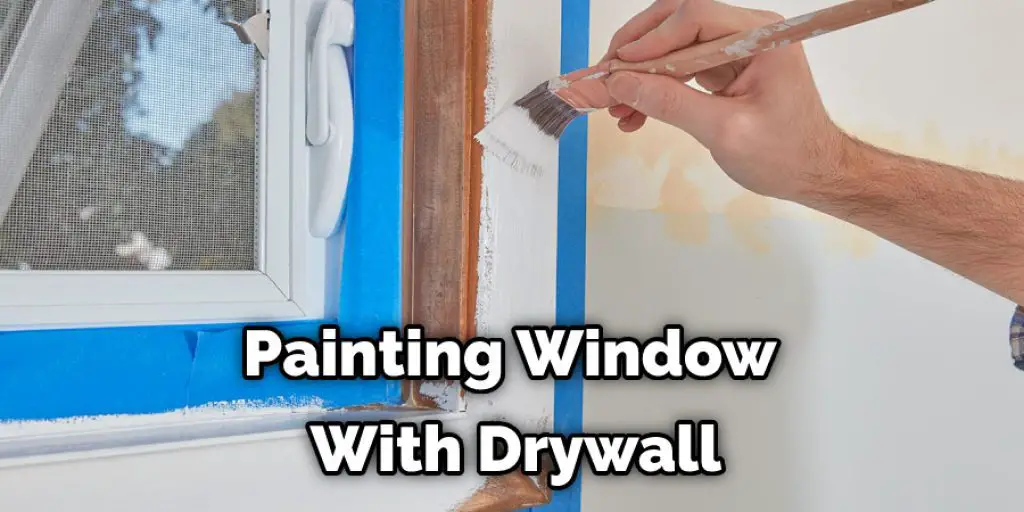
An alternative would be to paint over them to blend in better with your wall surface if you don’t want your screws showing through. The last step is to cover any holes where nails or screws may have been used, such as where the old window frame was removed, by painting them using matching paint purchased at a hardware store.
Step 7 : Enjoy Your New Drywall Window Covering And Wall!
Your drywall window covering is complete, so all that’s left is to enjoy the room with a clean new surface for attaching your blinds or curtains and no longer having to look at an ugly old window frame anymore.
Step 8 : Remove a Window Covering
If your new window covering has become less than ideal, you can permanently remove it and start from scratch. Replacement drywall in 2×4 foot sheets is inexpensive, so there’s no need to worry about wasting money.
Unlike vinyl or aluminum replacements that are fixed permanently into place without any way of adjusting light exposure or making other changes once installed, drywall is easy to work with since it can be cut relatively easily with simple tools like drywall saw, screwdriver and level.
Once removed, the window opening will need to be patched up with plasterboard or some resilient material depending on how much area needs repair, which may vary based on the size of the opening. For best results, hire a professional drywall contractor to do the job for you if possible.
You can check it to Replace Window Sash Vent Stops
Tips and Warnings
Tips
- Make sure to use drywall mud on the seams of the drywall- allow it to dry and sand before finishing
- Lay some plastic or a drop cloth, so you don’t get any new paint on the floor when painting over the window/drywall
- Covering up a window with drywall is an inexpensive way to open up your space, allowing in much more light.
- If there are any leaks in the window, they will be covered up by drywall when this is done.
- Make sure that your screws or nails aren’t too big when installing the drywall over the window, so you don’t puncture through to the other side, allowing moisture inside your house/building.
- If you have a window AC unit, it will need to be removed as drywall cannot support its weight.
- Make sure that your window is level, so your drywall isn’t slanted or angled downwards when you’re done placing it up over the opening
Warnings
- Remember to not puncture through the drywall when you’re placing nails or screws.
- Make sure that your window AC unit isn’t too heavy and can support the weight of the drywall placed over it.
- If there are any leaks, be aware that the drywall will cover them up, and you will not see them (until it’s already too late).
- Be careful when installing the drywall over your window so it doesn’t fall and hurt you or anyone else.
Why Would You Cover Up the Window With Drywall?
Drywall is often used to cover up walls that need additional support or if you want an alternative style. Drywall over a window looks especially nice because the light will be more diffused rather than directly shining on your eyes. So if you have a window located in an undesirable spot, covering it up can be the perfect solution.
Again, you don’t want to get permanent drywall over a window because it might be hard to remove later. However, if the window is already in place and you do not have any other choice, it can also be used to cover up a window with drywall.
The best way is to cover a large part of the wall surrounding it even if there isn’t a door. Nowadays, homeowners are more inclined towards utilizing their living space optimally, and one of the ways to do so is by putting in a lot of windows.
Conclusion
There are a variety of ways to cover up your window with drywall, from using metal studs and plywood panels to building a custom frame that’s the same size as your opening. Whatever you choose, it will be essential to seal any gaps between the framing or bracing so that no cold air can seep in during winter.
We hope this article on how to cover up a window with drywall will help in this project. All you need is some information about what materials you plan on using and where they should go (i.e., around doors) and our team members will be able to guide you through every step!
You may read it also – How to Clean Drywall Mud Pan


