One of the most common problems people have with their Ikea drawers is that they can’t slide them in and out smoothly. This post will provide a few tips on how to fix this problem. First, remove the drawer from its track and check for any debris stuck between the tracks. Next, remove any foreign objects you find by using a vacuum cleaner or compressed air if necessary.
Next, measure each side of your drawer opening and ensure it matches what’s listed on your hardware package before screwing in your new slides. Finally, tighten screws until they are snug but not tight enough to crack wood or strip threads. Once the slides are installed, push the drawer back into place and ensure it is properly aligned.
Finally, replace your drawer onto its track and enjoy easy sliding! So, this article is for you. You will learn how to fix IKEA drawer slides with just one simple trick!
Step to Follow on How to Fix Ikea Drawer Slides
Step One: Removing the Drawer
Take out the Ikea drawer that has issues. Please take a look at how it is put together with each side, as these pieces will have to be reassembled in this order when finished. If the pieces don’t come apart quickly, take a flathead screwdriver and start to pry them apart little by little. Once the drawer is taken apart, look at each piece and decide which ones will need to be replaced. You may not need to replace all of them, but it is always better to be safe than sorry.
Once you get started, they will pull apart very quickly. Don’t worry if you can’t get them apart using a hand tool; it will just take a little extra muscle. You can use a chisel or any flat tool you may have and just wedge it between the two pieces of wood to keep them apart. Now that you have two pieces of wood, it’s time to cut the bevels. The bevel is the angle where the two pieces meet; this angle needs to be cut so that it will form a 90-degree angle when the two pieces are joined together.

Step Two: Removing the Slides
Now that you have removed all of the pieces start to take out the slides. On each side, multiple screws hold these in place on both sides of each drawer. You will need an extra set of hands to help keep them stable during this process. Once they are out, take them apart. Now that you have the frame without any pieces, you can start to sand down any problem areas. The goal here is to smooth out all of the rough spots. Before you reassemble it, use a wood primer on your piece.
You will see loose pins in the slides themselves; these are what you need to get snug again. You will have to push the pins back through one side and then take your flat head screwdriver to snap them back into place. Repeat this action on all of the pieces so that you can put them together later. Remember to check the slides before you put them back on the rail. This will save you time and effort later when you need to adjust it again. If a pin is loose, you can tighten it with a hammer or nail file.
Step Three: Assembly
Now that all the pieces have been taken off and you have your slides apart, this is where you get to put them back together. Please take a look at how it was initially assembled and do the same thing but backward. Make sure that no screws are going through more than one piece of wood when putting it on.
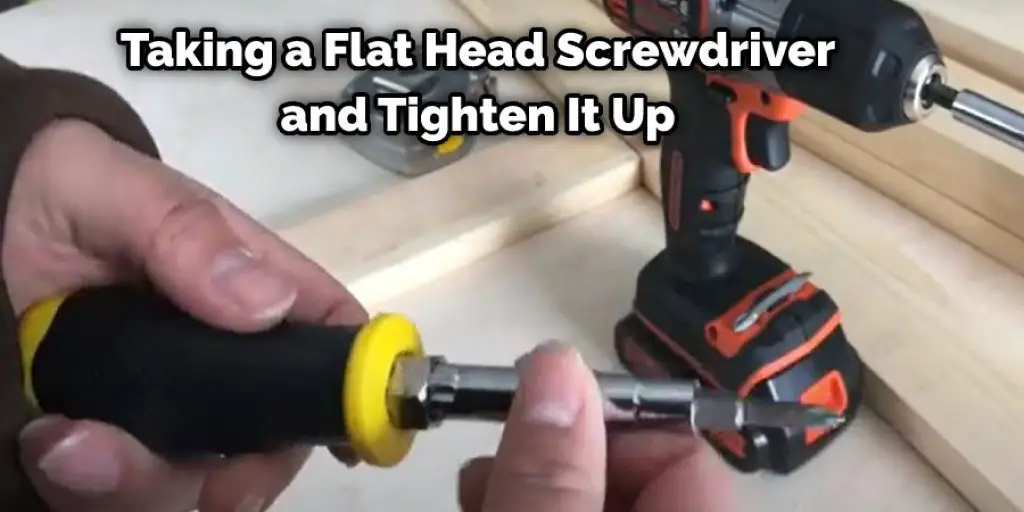
If you have screws running into two pieces, the drawer won’t glide correctly; once you have gotten that all together, take your slides and put them on the drawers. When sliding it in and out, make sure that they are moving smoothly and evenly; if one side isn’t working as well as the other, you may need to take a flat head screwdriver and tighten it up a little.
Step Four: Putting the Drawer Back Together
Now that you have put the slides back together and they are working correctly reassemble your drawer. Slide it into place and use a screwdriver to tighten up any screws that may not be securing it correctly. Put the other pieces on as well to keep it sturdy between each side of each drawer.
Once you have redone the slides on all of your drawers, take out any unwanted items and put them back into their normal place. Slide each drawer in and out to ensure that they are working correctly before putting the thing back into its designated space.
Step Five: Finishing Up
You are now done with the process, and all of your drawers should be working correctly. You can go ahead and slide each drawer in and out to make sure that they are working correctly before putting the item back into its designated space.
The best part about this process is that you can take apart any other drawer just as quickly as these. You can even do as many as you want at once so that all of your drawers are working to the best of their ability. Make sure that if you have a dresser or other large piece of furniture with several pieces, do one side at a time so that you don’t have the same problems in the future.
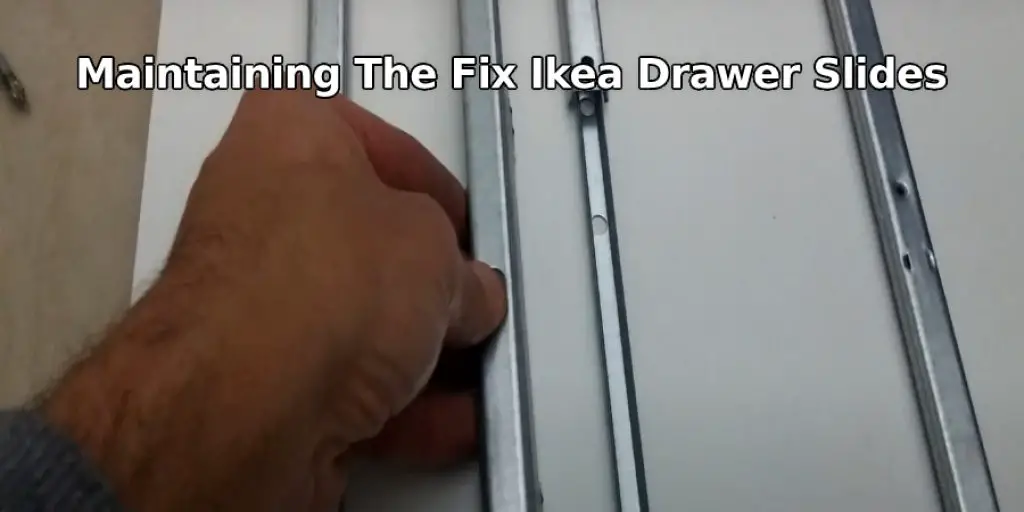
Step Six: Maintain Your New Slides
Once you have fixed your drawer slides, make sure to do regular maintenance on them. For example, check the screws every other month or so and tighten them up when necessary. You can also use WD-40 or another lubricant to keep it rolling freely if need be.
You should also go ahead and check each piece once a year or so and make sure that there is no damage to them. If a part has a crack or any other problem, then take it apart again and fix it. These steps should help you in learning how to fix Ikea drawer slides.
Step Seven: Enjoy!
Now you get to enjoy your new slides and benefit from the fact that they are working as they should. With these directions, any piece of furniture can be fixed in no time at all! If there is still an issue, pop into one of our stores to check out our selection of replacement drawer slides.
You will find everything you need to make a broken drawer glide smoothly without dropping anything. If you still have an issue, come into IKEA and ask one of our employees for some help.
Frequently Asked Questions
Why Is Ikea Furniture Wobbly?
The first and most obvious answer is that the furniture has been assembled poorly. However, Ikea furniture is not meant to be left in one place for a long period of time.
It’s important to move the furniture around frequently so it doesn’t become too heavy or wobbly. Another reason why Ikea furniture may feel wobbly is because of how they are constructed. The structure has been designed to accommodate both natural expansion and contraction due to humidity changes, which can make the assembly feel unstable when it expands and contracts.
What Can I Use to Make My Wood Drawers Slide Easier?
A lot of people have asked this question, but there is no right answer. However, You Can Use the Following Products to Make Your Wood Drawers Slide Easier :
- Silicone spray – The silicone spray will keep the drawers from sticking, and they will glide smoothly.
- A hard-working dryer sheet – This product is also used for clothes and works great on furniture as well. It leaves a layer of oil that helps to prevent any scratches or abrasions on the surface of your wooden furniture pieces.
Can You Use Wd40 on Wood Drawers?
WD-40 is a water displacement fluid that is used to lubricate and protect metal surfaces. It can be used on wood, plastic, rubber, leather, fabric, paint, and other materials.
It is not recommended to use WD-40 on wooden drawers because it will create an unwanted residue.
Is Silicone Spray Safe on Wood?
The silicone spray is safe to use on wood, but you should test it first. If the spray contains a lot of alcohol or solvents, then the wood may be damaged.
There Are Some Things That You Need to Consider Before Using This Product :
1. Use the silicone spray with caution if your wood has been treated with waxes or oil-based finishes because these products can react poorly with silicone and cause damage.

2. Avoid spraying any aerosol sprays near anything flammable such as paint or fabric, because they could ignite due to their fuel content and damage your home.
3. The sealant must be dry before being sprayed on surfaces, so avoid spraying them while they are wet.
Conclusion
If you’ve had trouble with your Ikea drawer slides, here are the steps to fix them. Try these tips and let us know how they work for you! Â The first thing that must be done is remove the old screws if there are any remaining. You can use a screwdriver or drill to remove them so long as it’s not too rusty.
Next, measure out where the new holes need to go on each side of the slide by making marks with a pencil at least one inch away from both sides of the tracks. The article has been a good guide on how to fix Ikea drawer slides.
Check it out also – How to Open a Locked Drawer With a Knife .


