If you’re looking to keep your horse safe and secure, installing a no climb fence is excellent. This article will show you how to install no climb horse fence, step by step. With just a little bit of effort, you can have a fence to keep your horse contained and safe from predators. So let’s get started!
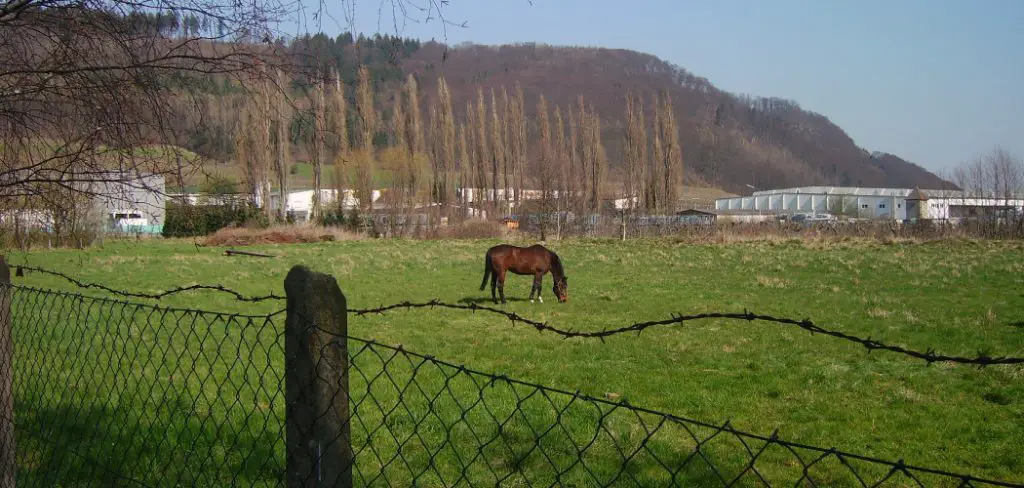
Horses are beautiful, majestic creatures. Unfortunately, they’re also large and strong, which means they need more space to roam. If you have a horse on your property, you’ll need to install a fence to keep them contained. A no climb fence is an excellent option for this, as it’s explicitly designed to keep horses in (and predators out). Installing a no climb fence is more involved than installing a regular fence, but it’s not complicated.
What Is No Climb Horse Fence?
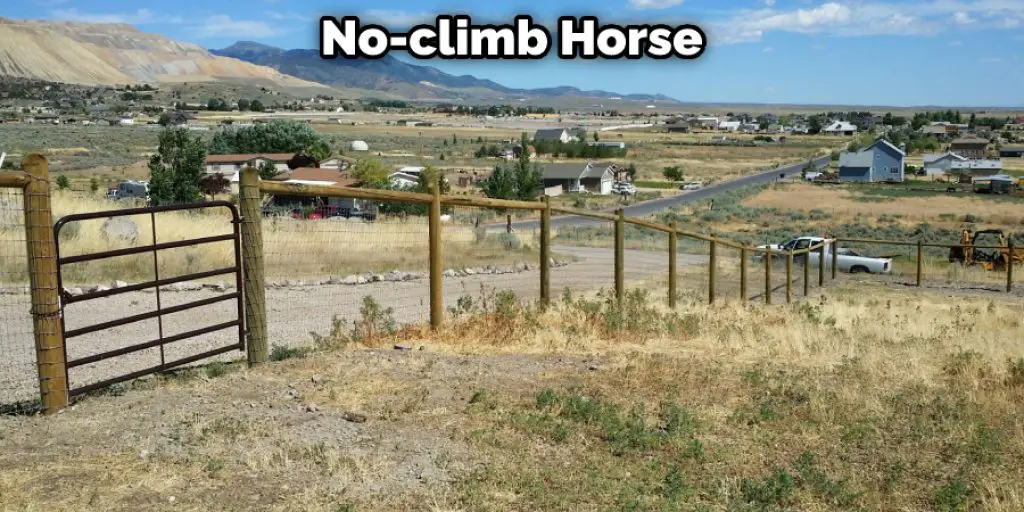
No climb horse fence is a type of fencing made specifically for horses. It is a durable and safe fence that will keep your horse enclosed within the property while also preventing them from escaping. This type of fence is made with horizontal slats that are spaced far enough apart so that the horse cannot put their head or neck-through it. The fencing is also designed to be difficult for the horse to climb, which prevents them from escaping.
Selecting Horse Fence
Board vs. Woven Fence
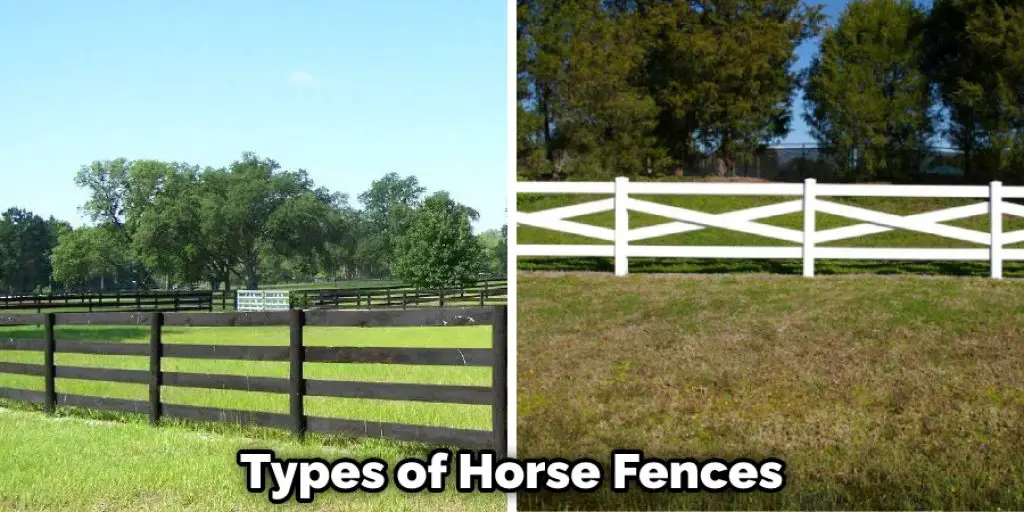
When installing a new fence or repairing an existing one, horse owners have several types of horse fences to choose from. The two most popular types are board fences and woven wire fences. Each type of fence has its benefits and drawbacks, so it’s essential to understand the differences before deciding.
Board Fences:
Board fences are made from planks of wood that are attached to posts. They are relatively easy to install and are generally less expensive than other types of horse fences. Board fences also provide some security by keeping horses in and predators out. However, they can be damaged by moisture and require periodic maintenance to keep them looking their best.
Woven Wire Fences:
Woven wire fences are made from strands of wire that are woven together. They are more challenging to install than board fences, but they are also more durable and require less maintenance. However, woven wire fences can be damaged by sharp objects, so it’s essential to make sure there is nothing in the pasture that could potentially injure your horse.
Both types of horse fences have their benefits and drawbacks, so it’s essential to choose the one that best suits your needs. If you’re unsure which kind of fence is right for you, talk to a professional fencing contractor. They will be able to assess your needs and recommend the best type of fence for your property.
Cost of Horse Fence
The cost of a horse fence can vary depending on the type and height of the fence you choose. An introductory, four-foot-high post and rail fence costs around $10 per linear foot. If you want a more secure fence with no climb capability, the price will increase. The average cost for an eight-foot-high, no-climb horse fence is around $25 per linear foot. This price includes materials and installation. Keep in mind that if your property has difficult terrain or a lot of trees, the installation cost may be higher.
A Legacy of Quality and Innovation
If you are looking for a fence that will provide safety for your horses while also being easy to install, a no-climb horse fence is perfect. Legacy fencing has been manufacturing quality no-climb horse fences for over 20 years, and our products are trusted by equestrians worldwide.
Things You’ll Need
A Stepwise Guide on How to Install No Climb Horse Fence
Step 1: Choose the Location
The first step is to decide on the location for your fence. It’s essential to consider the surrounding area and pick a spot that will be safe for both you and your horse. You’ll also want to make sure the ground is level so that the fence is stable.
Step 2: Measuring
Once you’ve chosen the location, use a tape measure to determine how much fencing you’ll need. It’s best to overestimate to have enough room to work with. Remember to consider the height of the fence and the width of your posts.
Step 3: Digging Holes for the Posts
Next, you’ll need to start digging holes for the posts. The depth of the holes will depend on the height of your fence. It’s essential to make sure the holes are deep enough to stabilize the posts. Once you’ve finished digging, you can add gravel to the bottom of the holes.
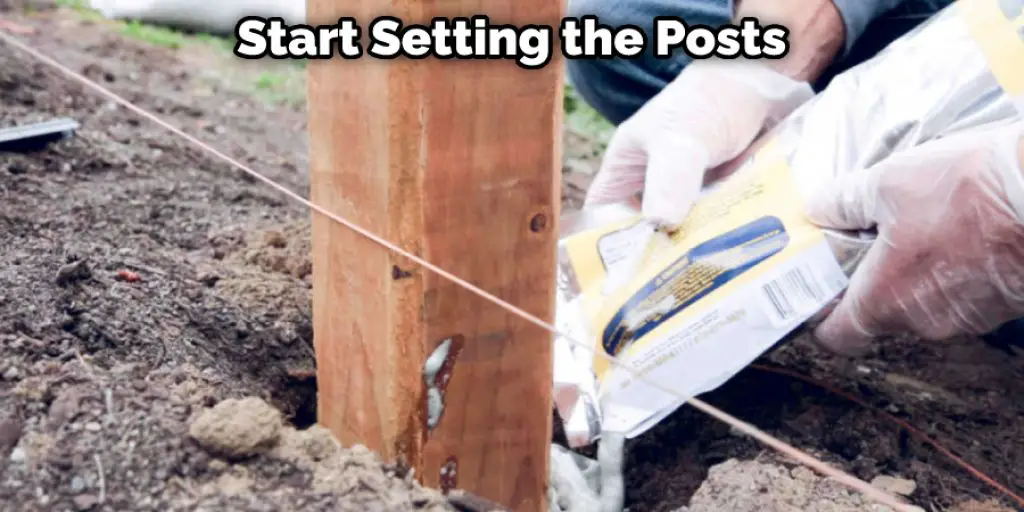
Step 4: Setting the Posts
Once the holes are dug, you can start setting the posts. Make sure each post is level before you begin pouring concrete. You’ll also want to make sure the posts are spaced evenly apart. The concrete should be poured until it reaches the top of the hole.
Step 5: Putting Up the Fence
Now it’s time to put up the fence. Start by attaching one end of the fencing to a post. Then use wire cutters to cut the fencing to length. Be careful not to damage the fencing while you’re cutting it. Once you’ve finished, use pliers to twist the fencing ends around the posts. Make sure to keep tension on the fence while twisting it so that it doesn’t come loose.
Step 6: Secure the Ends
The last step is to secure the ends of the fencing. You can do this by wrapping wire around the posts or using zip ties. Once you’ve secured the ends, your fence should be stable and ready to use.
Step 7: Finishing Up
Now that the fence is up, you’ll need to add a top rail. This will help keep your horse from getting his head stuck between the rails. You can buy a top rail or make your own by using lumber or metal pipe. These steps will help in how to install no climb horse fence.
Once the top rail is in place, your fence should be finished. Congratulations! You’ve successfully installed a no-climb horse fence.
Tips and Warnings
Tips:
- Measure the area where you will be installing the fence. This will help you determine how much fencing you will need.
- Dig a trench that is deep enough and wide enough to accommodate the posts.
- Set the posts in the trench, making sure they are level.
- Fill in around the posts with dirt, making sure to pack it down well.
- Finally, -Attach the fencing to the posts using staples or wire.
Ensure to trim any excess fencing so it does not stick out past the post.
Warnings:
- Be careful when installing the fence, as posts can be sharp.
- Ensure the fencing is taunted and does not have loose ends that could injure your horse.
- Do not install the fence near any power lines.
What Are the Advantages of Using a No Climb Horse Fence Instead of a Regular Electric Wire Fence?
If you have ever had a horse “climbing” your fence, you know how frustrating it can be. They are putting themselves in danger, but they are also damaging your fence. A no-climb horse fence is a perfect solution to this problem.
No climb horse fences are made with smaller spaces between the wires so that horses cannot get their hooves through. They are also often taller than regular electric wire fences. This combination makes it impossible for horses to climb over them.
Another advantage of using a no-climb horse fence is that they are much less likely to be damaged by wind or other weather conditions. In addition, the smaller spaces between the wires make them much more flexible and withstand heavy winds without breaking.
If you are looking for a fence that will keep your horse safe and sound, a no-climb horse fence is a perfect solution.
Conclusion
No climb horse fence is an excellent option for keeping your horses in and predators out. However, it is essential to install the fence properly to be effective. Follow these simple steps to install your no-climb horse fence. We hope you find this article on how to install no climb horse fence helpful.


