There’s nothing like snuggling up in bed with a soft fuzzy blanket. But what if you could have the best of both worlds? Introducing the photo blanket! This fun and the unique item can be personalized with any photo you choose, ensuring that you’ll always have a piece of your loved ones close to you. Here’s how to hang a photo blanket. Keep Reading.

Photo blankets are a great way to show off your favorite photos. They are soft and cozy, but they’re also a great addition to any room in your home. Plus, they make the perfect gift for any occasion. Many people are unsure about hanging a photo blanket, but it’s quite simple. All you need is a few supplies and some time, and you’ll be able to display your favorite photos in no time.
What You’ll Need
- A tape measure
- A level
- Scissors
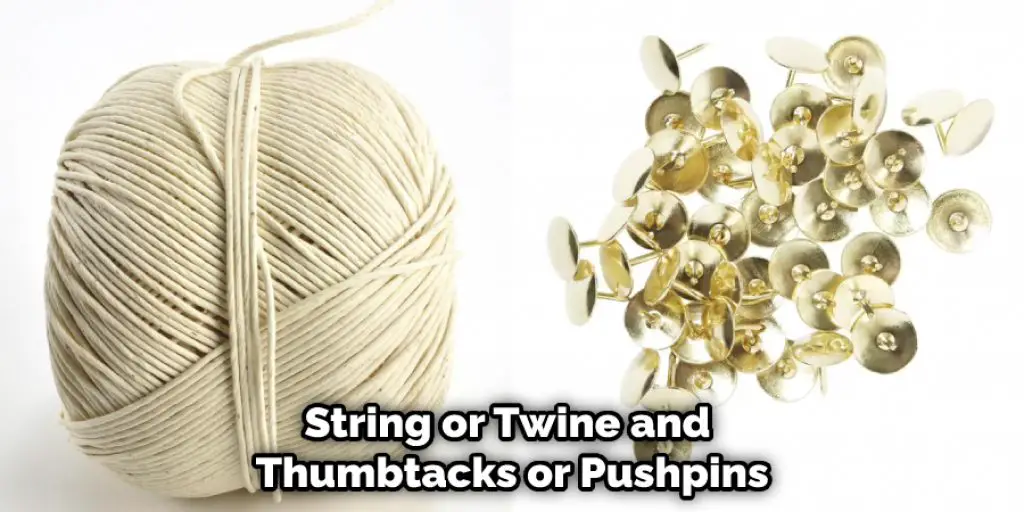
- Thumbtacks or pushpins
- String or twine
- Your photo blanket
A Step by Step Guide on How to Hang a Photo Blanket
Step 1: Determine the Length and Width of the Space
You’ll need to know the dimensions of the space where you plan to hang your photo blanket to determine the size of the blanket you need. If you’re unsure of the dimensions, measure the length and width of the wall or use a tape measure to get an accurate measurement.
Step 2: Choose the Right Size Blanket
Once you know the dimensions of the space, you can choose the right size blanket. Most photo blankets are around 60 “x80”, which should be big enough to cover most standard-sized spaces. More extensive and smaller blankets are available if your space is larger or smaller.
Step 3: Create a Dedicated Blanket Hanger
If you don’t have a preexisting hook or nail in the wall where you plan to hang your photo blanket, you’ll need to create a hanger. One way to do this is by using a piece of string or twine and thumbtacks or pushpins. Tie the string to the top of the blanket and then use the thumbtacks or pushpins to attach it to the wall. Make sure it’s level before hanging it up.
Step 4: Make Curtain Tabs (Optional)
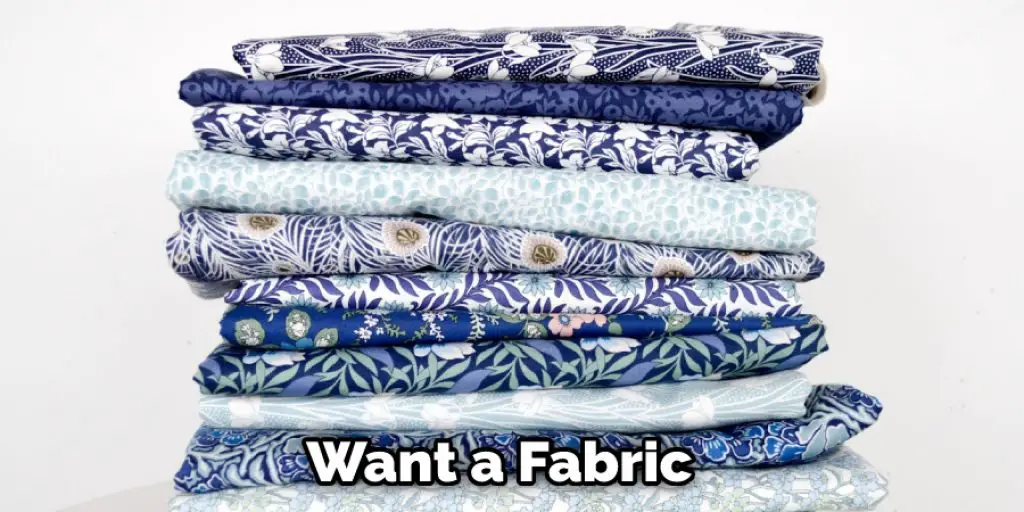
If you want to add a bit of extra dimensionality to your photo blanket, you can create some curtain tabs. First, cut thin strips of fabric (around 2″ wide) and then fold them half lengthwise. Next, sew the folded edge down and then close the open end. Next, take a strip of Velcro and attach one side to the top of the blanket and the other side to the back of the tab. Repeat this process until you have as many tabs as you want.
Step 5: Tacks and Pins
Once your photo blanket is hung up, you can add the photos! Start by finding the center of the blanket and then evenly space out the tacks or pins. Hammer in the tacks or pushpins until they’re firmly in place.
Step 6: Add Your Photos
Now it’s time to add your photos! You can either use photo paper or a fabric transfer sheet. If you’re using photo paper, print your photos out at the correct size and adhere them to the blanket using clear tape. If you’re using a fabric transfer sheet, follow the instructions on the sheet to apply it to your blanket. Please make sure all of your photos face the same way before attaching them.
Step 7: Use a Canvas Stretcher or Frame
Hanging a photo blanket on the wall is a great way to show off your favorite photos, but you may find that the blanket’s edges start to curl over time. You can use a canvas stretcher or frame to hold the blanket in place to prevent this from happening. This will also protect your photos from being damaged by sun exposure or dirt and dust.
Canvas stretchers are available at most art supply stores, and they come in a variety of sizes to fit any blanket. Attach the stretcher to the back of the blanket using the included hardware, and then hang it on the wall like you would any other painting or picture.
If you don’t want to purchase a canvas stretcher, you can also frame your photo blanket. Just cut the blanket to size and attach it to a piece of matte board or foam core using spray adhesive. Then frame the board like you would any other picture. This will give your blanket added protection from damage.
Step 8: Hook-and-Loop Tape
If you don’t want to use tacks or pins to attach your photos to the blanket, you can use hook-and-loop tape. This type of adhesive tape has tiny hooks on one side and loops on the other. Adhere the tape to the back of your photos, and then stick them to the blanket. Please make sure they’re in the correct place before pressing down firmly.
Step 9: Add a Binding (Optional)
If you want to give your photo blanket a finished look, you can add a binding. This is a piece of fabric wrapped around the edge of the blanket to cover up the seams. You can either buy a binding pre-made or make your own using bias tape.
To attach the binding, first, sew it onto the back of the blanket. Then fold it over to the front and stitch it down using a decorative stitch. You can also use iron-on adhesive to attach the binding if you don’t want to sew it.
Step 10: Hang It Up!
Now that you’ve finished your photo blanket, it’s time to hang it up! First, choose a spot on the wall where it will get plenty of light and won’t be in the way. Then use thumbtacks or pushpins to attach it to the wall. Make sure it’s level before hanging it up.
There you have it; these steps will help in how to hang a photo blanket! Your very own photo blanket that you can enjoy for years to come.
Tips and Warnings
Tips:
- Photo blankets are a great way to show off your favorite photos.
- They come in different sizes, so make sure you pick the right one for your needs.
- Decide where you want to hang the blanket before attaching the photos.
- Use thumbtacks or tape to attach the photos to the blanket.
- Make sure the images are straight and evenly spaced.
- Hang the blanket on a wall or over a door.
Warnings:
- Don’t use too many photos, or the blanket will be too heavy.
- Make sure the photos are securely attached to the blanket, or they may fall off.
- Don’t hang the blanket in a place where it could be damaged or stained.
What Type of Material Should I Use for Hanging a Photo Blanket?
When choosing the suitable material for your photo blanket, consider a few different things. The most crucial factor is the weight and thickness of the fabric. You’ll want something sturdy enough to hang without drooping or sagging but not so heavy that it becomes difficult to manage.
Another thing to keep in mind is the climate where you live. If you live in a hot, humid environment, you’ll want a fabric that can breathe and doesn’t trap heat. A good option for this type of climate is cotton or linen. If you’re in a colder climate, on the other hand, you’ll want a fabric like fleece that will keep you warm.
Whatever material you choose, read the instructions carefully to make sure you’re using the correct type of hanging hardware. There are a variety of hooks, brackets, and fasteners available to find the perfect one for your photo blanket.
Conclusion
Now that you know how to hang a photo blanket, it’s time to get creative with your decor. With this versatile piece of home décor, you can quickly and easily change the look of any room in your house. So what are you waiting for? Start browsing our collection of photo blankets today!


