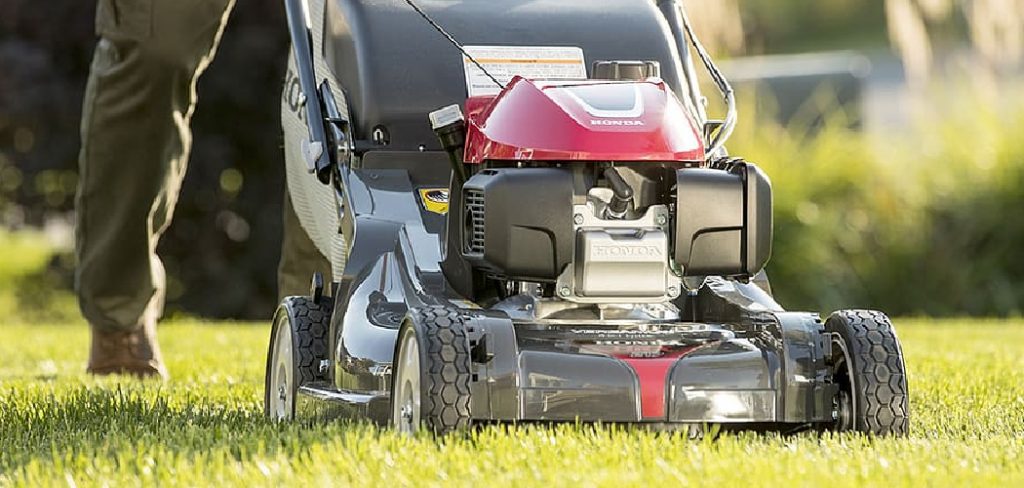
The Grasshopper mower is a cutting-edge lawn care machine that cuts the grass with rotating blades. The rotating blades can cut up to two inches deep into the ground, making it easier for you to make sure your lawn is looking its best. However, over time these blades can get dull and need replacing.
Follow this guide on how to remove grasshopper mower deck below! Then, find out which side of the blade needs replaced by placing your finger in front of the blade when you start up your Grasshopper Mower.
If there’s an indentation in your finger, then it means that the side needs replaced. To replace the blades, you will need to start by raising the blade deck. To do this, turn and remove the wing nut located on the front of your mower.
Step to Follow on How to Remove Grasshopper Mower Deck
Step One: Support the Deck From Above.
In order to remove a Grasshopper mower deck, it must first be supported to relieve pressure from both the blade and motor assembly. In addition, there is less chance of injury and damage being done to nearby vegetation by supporting the blades.
Accomplish this task; it is best to hang the blades from a tree limb or rafter with a length of rope. Many strong branches can be found in most yards, but this task is best done near the area where no damage will occur if none are readily available. Once the blades are supported, it is safe to proceed.
Step Two: Detach the Deck From the Mower.
The deck of a Grasshopper can now be removed by unscrewing all connection points to the body and engine. However, this is best done with two people as much force will need to be applied to remove each bolt and nut. In addition, on some models, additional latches must be released before the deck will separate from the body.
These are done by pushing down on them until they release. They will be found on some models after the deck has been removed from the body, some may need to be accessed from a distance above. Again, it is best to consult the owner’s manual for exact locations, as these will vary from model to model.
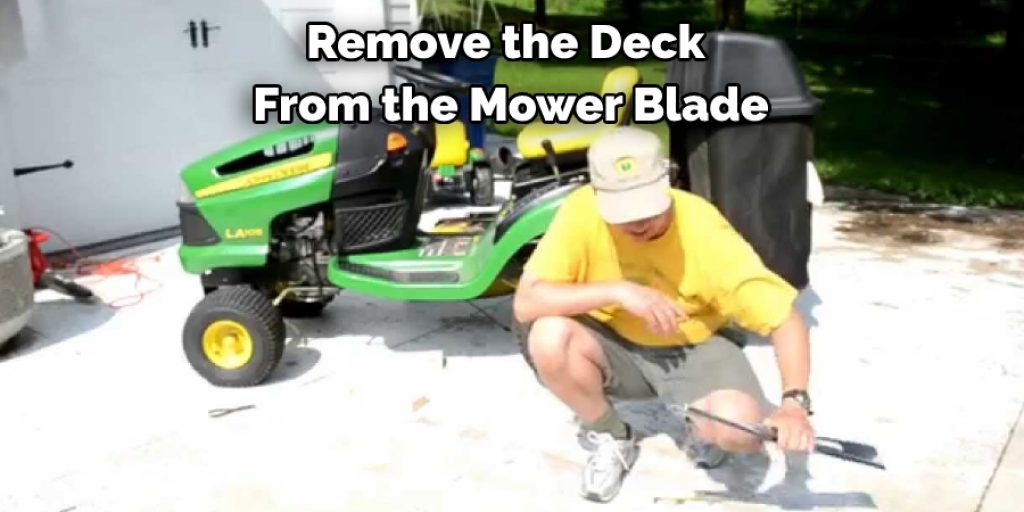
Step Three: Remove the Deck From the Mower Blade.
To remove the Grasshopper lawn mower deck from the blade assembly, you must first secure the blade to keep it from spinning freely and causing damage. Then you can remove the bolts or nuts securing the deck.
To disengage the blade on some models, you can wedge a long stick through the manual release mechanisms. On other models, you may need to use a screwdriver to pry the blade into a locked position. Once the blade is disengaged, you can safely remove bolts or nuts without damaging anything.
Step Four: Remove the Screws.
With some models of Grasshopper mower deck, several screws hold the blades in place. Once these have been removed, it is possible to detach the blades from the mower’s body.
However, this will not be necessary with other models as the blades are pushed out from above by hand or removed from below using a wrench to loosen each bolt and nut holding them in place. But, again, this may vary depending on the model.
Step Five: Clean Up.
It is safe to remove the deck and discard all the bolts, screws, or nuts used to secure it in place. You can replace these parts as needed by an authorized dealer of Grasshopper products. In addition, you can now replace the blades as needed for those models which require new blades.
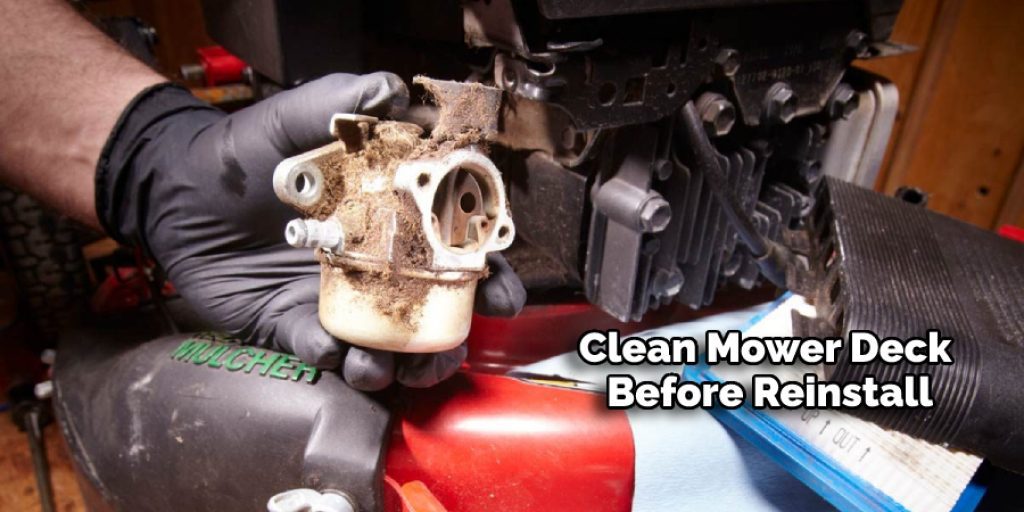
Before returning the mower to service, rotate the models that don’t work correctly several times to ensure they’re working properly. In addition, with the mower deck removed from the blade assembly, it’s also a good idea to clean both of them before reinstalling. This will help remove grasshopper mower deck.
Step Six: Reassemble and Store.
To put the deck back on the mower, you have to do the opposite of what you did to take it off. You might have to loosen or tighten some bolts or nuts to make sure it’s aligned correctly with the engine and body.
It is best to consult with a store selling Grasshopper products or read the owner’s manual for specific instructions on reassembling the deck correctly. In addition, it may be a good idea to store the removed mower deck in a dry place where children or animals can not easily access it.
Step Seven: Replace the Deck.
It is important to have all the parts you need to fix something before you start repairing it. You should also wear gloves and protective eyewear when you are working on a Grasshopper mower deck.
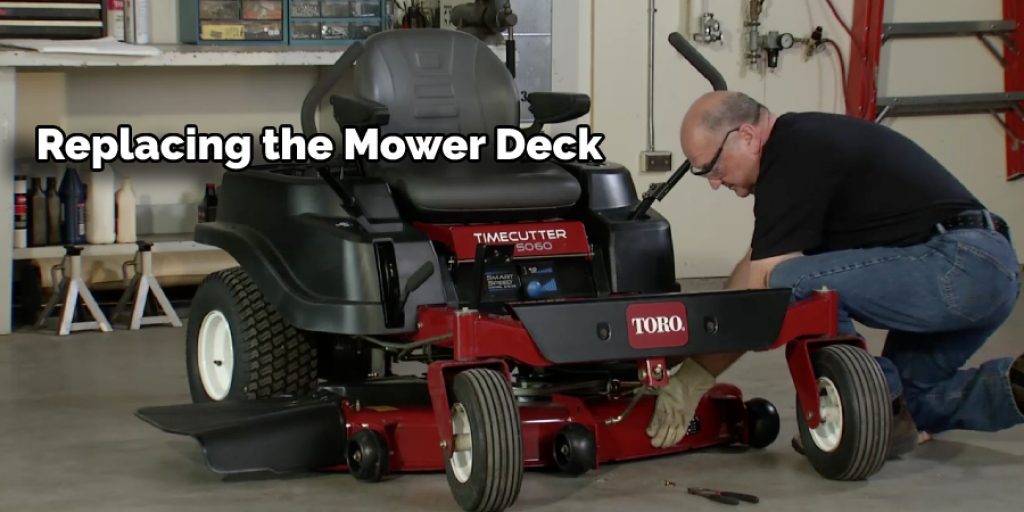
This will help prevent injury while using tools or handling parts that may be sharp or dangerous when not properly shielded. In addition, it is a good idea to have a GFCI-protected outlet nearby in case an electrical problem should occur with any of the switches or controls on the mower.
Step Eight: Enjoy Your Mower With a New Deck.
With an adequately assembled Grasshopper mower deck back in place, it is now possible to finish the job of mowing the lawn quickly and efficiently. Reinstall all screws, bolts, or nuts that hold the mower’s body together, making sure they are secure but not over tightened.
In addition, lubricate all moving parts and those spots where the body of the mower will be making contact with itself. In this way, it is possible to ensure a smooth transition from one part to another and avoid any future problems with sticking or getting stuck together. If you think that your mower needs a little more work than just the basic tune-up, then it might be time to contact a professional who can help you with lawn mower repairs. Generally speaking, lawn mower repairs are going to be much cheaper and easier to do on your own
Frequently Asked Questions
Can You Remove a Grasshopper Mower Deck?
Grasshopper mowers are the top of the line when it comes to mowing lawns. This is because they offer you a unique way to trim the grass with a deck that will not clog up or gets dirty easily.
However, these decks can be difficult to remove and clean due to the mesh system used in them. Here Are Some Steps on How You Can Remove Your Grasshopper Mower Deck :
- Start by disconnecting the spark plug wire from the engine and removing the spark plug from its position.
- Next, locate your fuel tank, which is usually located under your seat, and unscrew it using an adjustable wrench so that you can gain access to your fuel line.
- Unscrew all of the hoses connected to your fuel tank and pull them out slowly with pliers. Once all of these hoses have been removed, unscrew all of the bolts holding onto each hose one at a time until they come off completely, as well as any other parts attached to them, such as washers or nuts.
- Remove all of the screws holding onto each bolt until they come off completely and discard them together with their respective bolts, washers, nuts, etc. since they will no longer be needed for this process anymore.
- Finally, use an adjustable wrench on each screw’s head while spinning it to loosen it up, then take off their heads entirely once it has been loosened enough for easy removal.
Is It Hard to Remove a Grasshopper Mower Deck?
Grasshopper mower decks are not hard to remove. In Fact, It Is Quite Easy to Remove Them as Long as You Follow the Steps Below :
- First, disconnect the spark plug wire from the engine and make sure that there is no power on the machine.
- Next, locate the screw at the back of your mower deck and loosen it with a wrench so that you can unscrew it from your grasshopper mower deck.
- Once removed, slide out the old lawnmower deck and then place your new one in its place before reconnecting all of its wires.

Do You Have to Remove Mower Deck to Replace Belt?
No, you do not have to remove the mower deck to replace the belt. The only way to know for sure is by checking the belts and belts that come with your machine.
How Do You Release the Hydraulics on A Grasshopper Mower?
- Push the release button located on the left side of the mower deck and hold it in until you hear a click.
- Then, push down on the lever to release pressure from the spring-loaded valve.
Conclusion
When you need to remove the grasshopper mower deck, you mustn’t forget about removing the bolts and spacers. The bolt should be removed with a socket wrench while using an extension bar. Be sure to get all of them out so that you can put your new blades on or replace old ones.
You will also want to take note of what order they were in when removed because this will help during installation time, where everything needs to go back together like before. The article has been a good guide on how to remove grasshopper mower deck.
You may also like- Lawn Mowing Tips for a Perfect Lawn


