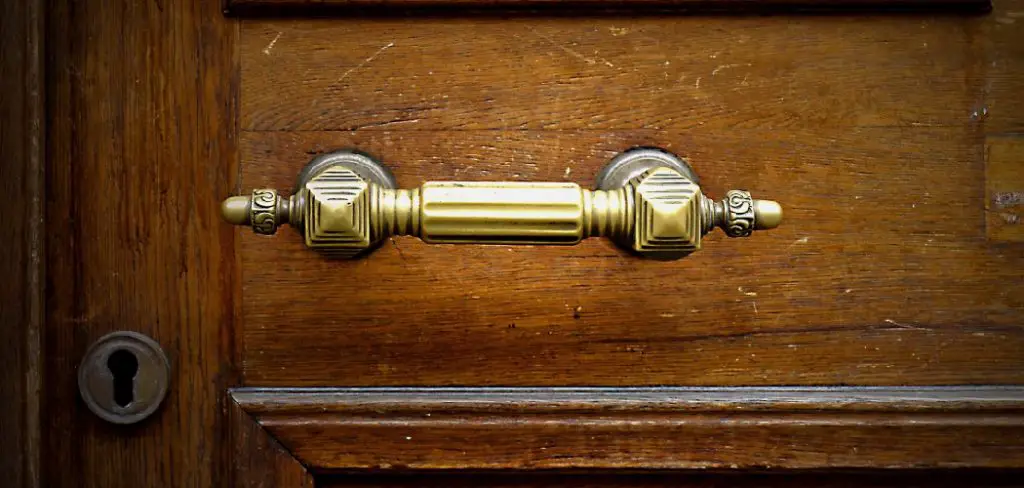
How to Shorten Cabinet Knob Screw
Cabinet knob screws can seem like they’re way too long. Are you struggling to find a shorter replacement screw? Don’t worry – you’re not alone. This is a common issue, but there are a few ways to fix it. In this blog post, we’ll walk you through three different methods of how to shorten cabinet knob screws.
If you’re like most people, you probably have a few cabinet knobs that are loose or missing screws. Luckily, there’s an easy way to fix this problem. With a little bit of time and effort, you can shorten the screws on your cabinet knobs so that they fit snugly and securely. To know more, keep reading!
Why Does Cabinet Knob Screw Need to Be Shortened?
Cabinet knob screws are one of the hardware components that can be adjusted to your personal preference. You may want to shorten the screws so that the knobs sit closer to the cabinet surface or because you prefer a less noticeable screw. Either way, it is a relatively simple task that only requires a few tools. It is sometimes needed to shorten cabinet knob screws to either make the knobs sit closer to the cabinet surface or because you prefer a less noticeable screw.
Things You Will Need to Shorten Cabinet Knob Screw
- Cabinet knob
- Screwdriver
- Pair of pliers
- File
- Drill
How to Shorten Cabinet Knob Screw In 8 Steps
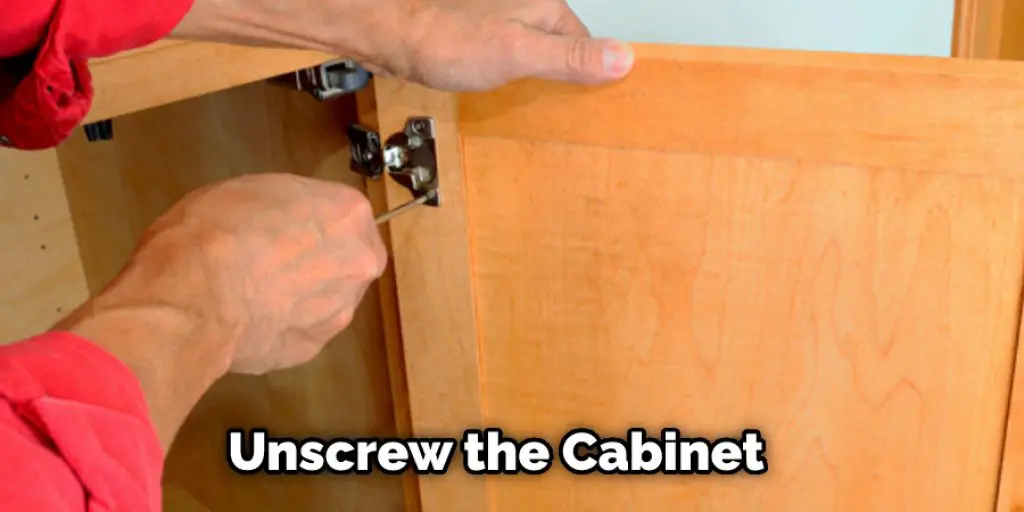
Step 1: Unscrew the Cabinet Knob
It is the very first step in which you need to unscrew the cabinet knob from its position. In order to do that, you need to use a Phillips screwdriver. Make sure that you have unscrewed it completely. You should do this carefully so that you don’t damage the cabinet.
Step 2: Place the Cabinet Knob on a Flat Surface
Now you have to place the cabinet knob upside down on a flat surface so that the screws facing up. This is very important because if you don’t do this, then you might end up shortening the wrong screws. And also, it will be difficult for you to work on the screws.
Step 3: Use a Marker to Mark the Screws
The next step is to use a marker and mark the screws. This is very important because you need to know which screws need to be shortened. You can use any kind of marker for this purpose. It is important cause it will help you to work on the screws easily.
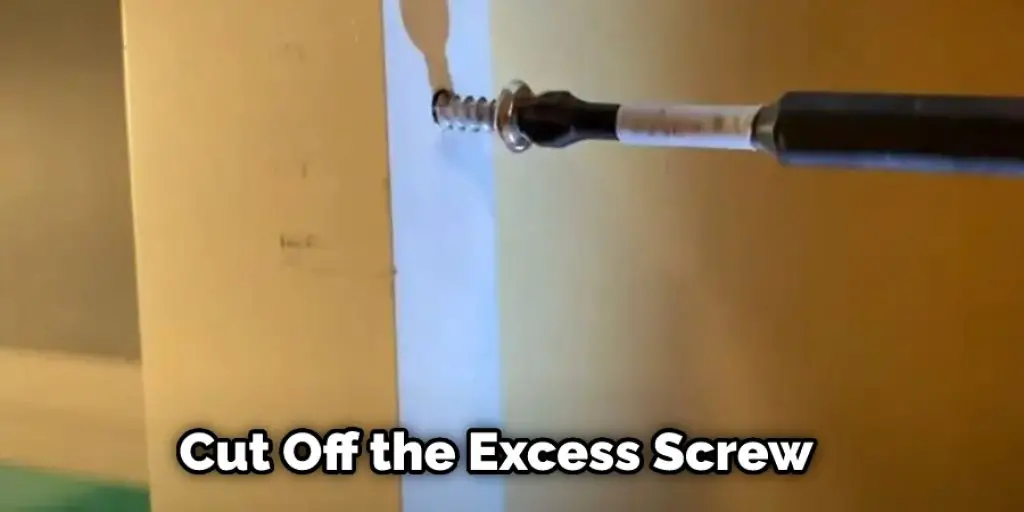
Step 4: Cut the Screws
Now it is time to cut the screws. You can use a saw for this purpose. Make sure that you are cutting the screws from the marked area only. This is very important because if you cut the wrong area, then it might damage the cabinet knob. You can use a saw because it will help you to make a clean cut.
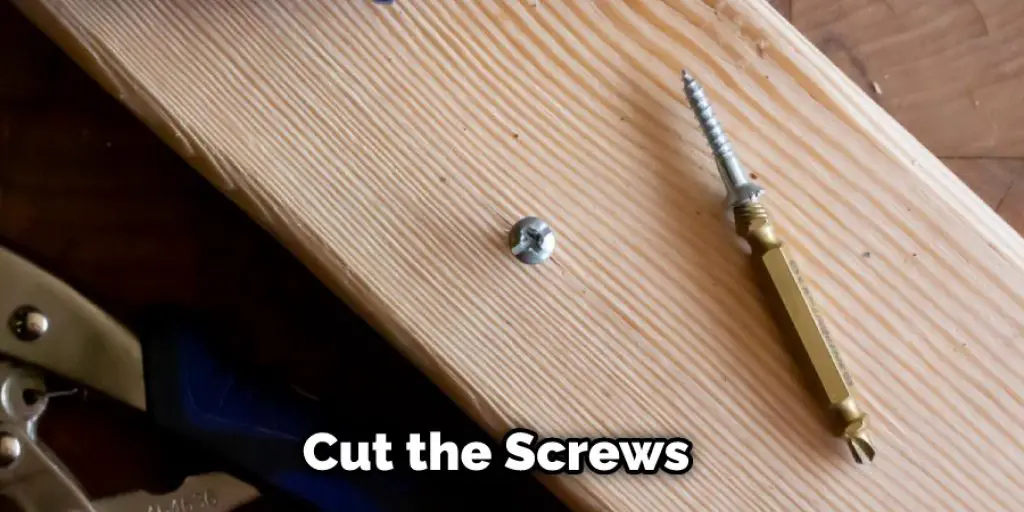
Step 5: Cut the Screws Evenly
It is important to cut the screws evenly. This is because if you don’t do this, then it will be difficult for you to screw them back. And also, it will damage the look of the cabinet knob. Otherwise, you can use a small saw to cut the screws.
Step 6: Screw the Cabinet Knob Back
Now it is time to screw the cabinet knob back. In order to do that, you need to use a Phillips screwdriver. Make sure that you have screwed it tightly. You should do this carefully so that you don’t damage the cabinet. It is very important to make sure that the cabinet knob is secure before you use it.
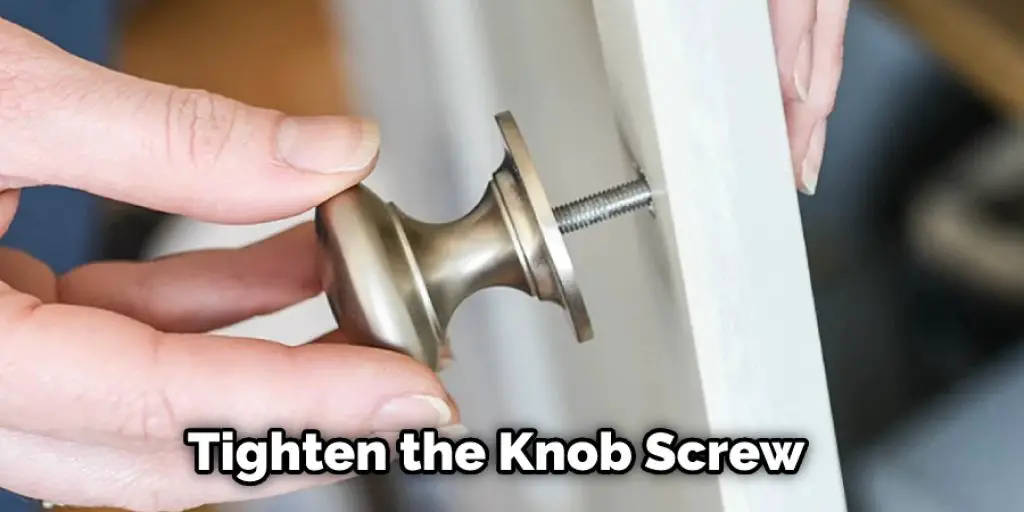
Step 7: Tighten the Knob Screw
You’ve now shortened your cabinet knob screw, and it should be firmly in place. Be sure to tighten the knob screw so that it’s secure. You don’t want your cabinet knob to come loose and fall off! So make sure to give it a good tighten.
Some Important Tips to Shorten Cabinet Knob Screw
When you’re working on a project that involves cabinet knobs, it’s important to know how to properly shorten the screws. This will ensure that your project looks neat and professional. Here are some tips to help you shorten cabinet knob screws:
1. Use a Sharp Knife
The first step is to use a sharp knife to cut off the excess screw. Be sure to cut it as close to the knob as possible. But you have to be careful not to damage the knob.
2. Use a File
Once you’ve cut off the excess screw, you’ll need to use a file to smooth out the end. This will ensure that the end of the screw is flush with the knob and will also help to prevent the screw from snagging on anything. Start by filing down the end of the screw until it is flush with the knob. You can then use a finer file to smooth out any rough edges.
3. Test It Out
Before you reinstall the knob, it’s a good idea to test the new screw length. Simply thread it into the knob and insert it into the door. If everything lines up and the knob is secure, you’re good to go! Otherwise, you may need to shorten the screw a bit more.
4. Reinstall the Knob
Now that you have the perfect screw length, it’s time to put the knob back on. Line up the holes in the knob with the screw, and then gently screw it back into place. If it feels like the screw is too long, don’t force it – you may strip the hole or break the knob. Instead, try a different screw or find a shorter one. With the knob securely in place, your cabinets will look great and function properly.
5. Use a Drill to Remove Screwif
The set screw is still attached to the cabinet knob; you will need to remove it before proceeding. To do this, first find a drill bit that is slightly smaller in diameter than the set screw. Insert the drill bit into the chuck of your drill and tighten. Then, align the tip of the drill bit with the center of the set screw and drill straight in. The set screw should come out easily. If it does not, try using a larger drill bit.
Additional information on How to Shorten Cabinet Knob Screw
- If the screw is too long, don’t force it – you may strip the hole or break the knob. Instead, try a different screw or find a shorter one.
- Unscrew the knob from the door or drawer front.
- Use a hacksaw to carefully cut off the excess length of the screw, making sure not to damage the threads.
- Screw the knob back on, and test it to make sure it’s secure. If necessary, add a drop of glue or epoxy to the threads for extra strength.
- Careful! Don’t cut the screw too short – you may not be able to screw it back in, or it may not be long enough to grip the knob tightly.
Frequently Asked Questions
How Do You Shorten a Breakaway Screw?
There are a few ways to shorten a breakaway screw, depending on what tools you have available.
If you have a power drill, you can use a metal cutting blade to cut off the excess length of the screw. Be sure to wear eye protection and gloves when doing this.
Another option is to use a Dremel tool with a cutting attachment. Again, be sure to wear eye protection and gloves.
Can You Cut a Screw With a Knife?
It is possible to cut a screw with a knife, but it is not recommended. It is very difficult to get a clean cut, and you are more likely to damage the screw or injure yourself.
Is It Safe to Cut a Screw With a Dremel?
Yes, it is safe to cut a screw with a Dremel as long as you are using the proper cutting attachment and you are wearing eye protection and gloves.
Can You Cut a Screw With a Hacksaw?
Yes, you can cut a screw with a hacksaw. Just be sure to use a fine tooth blade and make sure not to damage the threads.
Conclusion
It is important to know how to properly shorten a cabinet knob screw so that you can ensure the safety of your family and yourself. With these simple tips, you will be able to know how to shorten cabinet knob screw.
So, the next time you find yourself with too-long screws for your cabinet knobs, don’t go out and buy new ones – just shorten them up according to the steps above. With a little bit of time and effort, you can have perfect screws that will make your cabinets look great. Thanks for reading!


