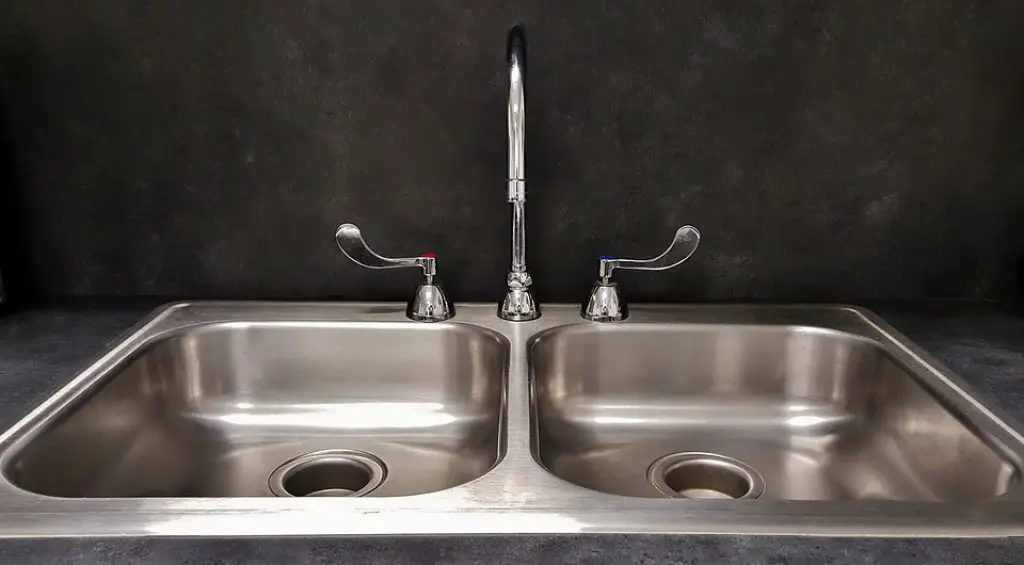
If you’ve ever had to tighten a sink faucet, I know what you’re thinking. You probably think it will be an arduous task, but don’t worry – this blog post will explain how to tighten a sink faucet. The first thing that needs to be done is remove the handle and then take apart the cartridge using either pliers or any other tool that can pry open the cartridge housing. Afterward, reassemble everything back together, and your work is complete!
If your sink is leaking around the base, tighten the cartridge first. If that doesn’t work, then it’s time to replace the O-rings.
Why Is My Sink Faucet Lost ?
In most cases, you tighten a sink faucet by replacing the cartridge. Replacing the O-rings is also an option, but it’s rare that it will fix your problem. If your faucet still leaks after tightening, then it may be a broken pipe. I hope this blog post has helped show you how to tighten a sink faucet! If you have any other questions about this process, please leave a comment below.
Materials You Needs
- Pliers
- Wrench (if needed)
- Replacement O-Rings
8 Steps on How to Tighten a Sink Faucet
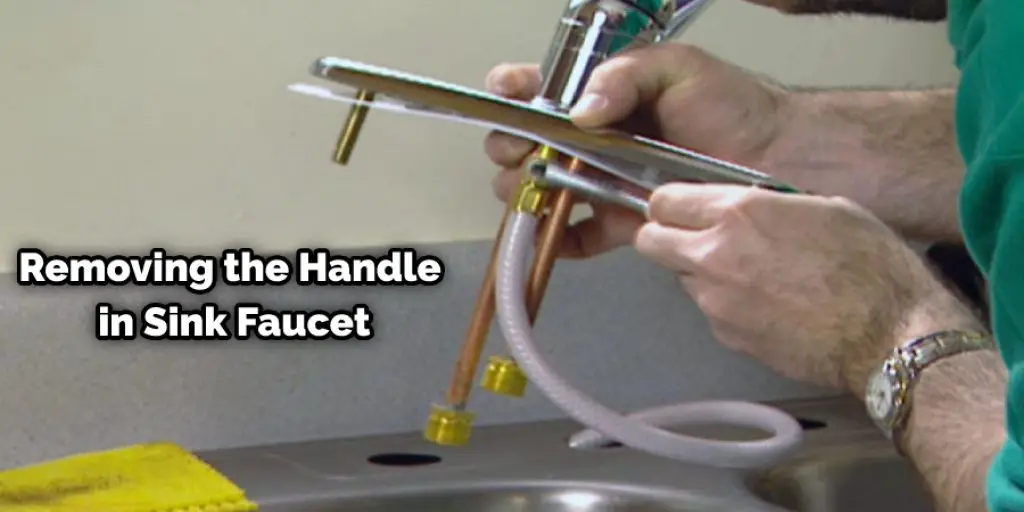
Step 1: Remove the Handle and Cartridge
Remove the handle and then pull apart the cartridge housing using pliers or another tool that’s used for prying. It may be helpful to turn off your water supply before you begin this step. If you don’t, make sure to turn it on again after you’re done with the repair.
Step 2: Take Apart the Cartridge
Take apart your faucet cartridge using either pliers or a screwdriver, and then check for any broken parts that may be causing your problem. If everything looks fine, go ahead and reassemble it before moving to the next step!
Step 3: Reassemble the Cartridge
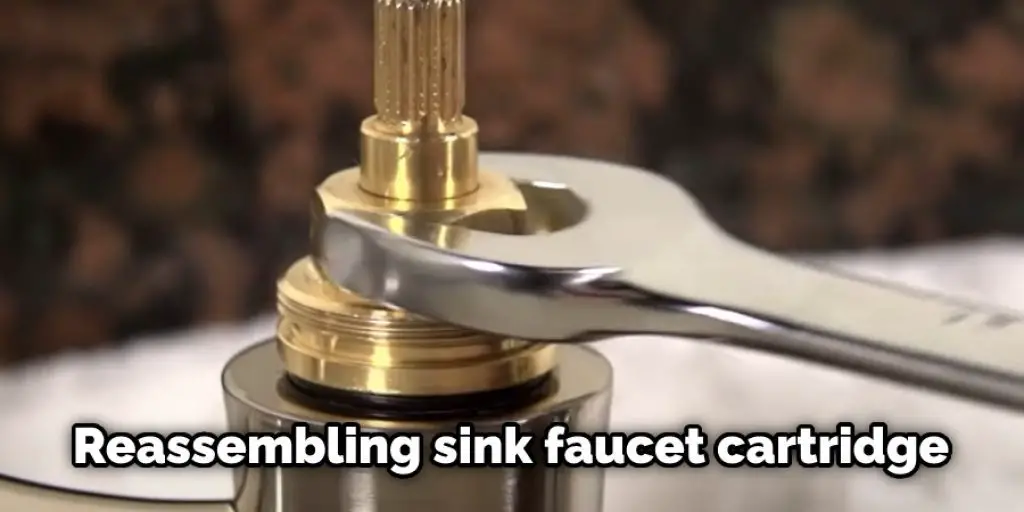
Reassemble your sink faucet cartridge and then place it back in the housing. If you’re unsure how to do this properly, please see step 4 to get a better idea of what should be done here.
Step 4: Turn the Water On and Test
Turn on your water supply and then check to see if your sink is still leaking. If not, then congratulations! You’ve successfully tightened a sink faucet! However, if it’s still leaking, then continue with the next few steps.
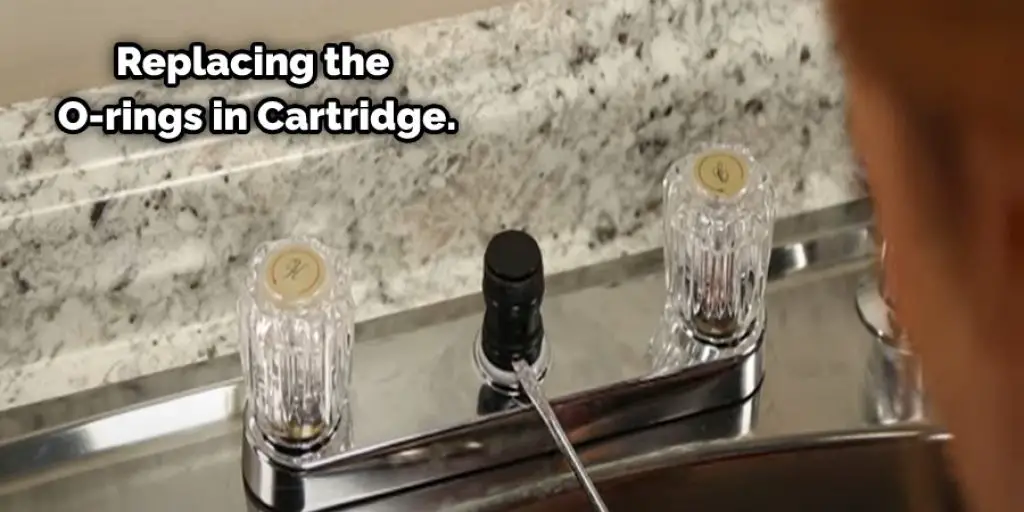
Step 5: Replace the O-Rings
If all else fails, replace the O-rings in your cartridge. If you don’t have any O-rings, they can be purchased at most hardware stores, or you can order them online on sites like Amazon.
Step 6: Tighten the Pipe
If it’s still leaking, tighten the pipe leading to your sink faucet. This is done by using a wrench to hold onto the nut underneath the sink and then turning it in a clockwise motion.
Sink Faucet Repair Pros knows that everyone has different budgets, which is why we offer affordable prices for all our services.
Step 7: Test Again
Test your sink again to see if the problem was fixed. If not, then it’s time to call a plumber!
Step 8: Install the Handle (Optional)
If you’ve replaced the O-rings and tightened the pipe, but it’s still leaking, then you may need to install a new handle. However, if there are no problems, then go ahead and replace the old one if necessary.
That’s how to tighten a sink faucet! I hope this blog post has been helpful in explaining the steps on how to tighten a sink faucet. If you have any other questions, please leave a comment below!
How Do You Fix a Loose Sink Handle?
In order to fix a loose sink handle, tighten the nut underneath the faucet with a wrench and then reassemble it after. If this doesn’t work, you might need to replace some parts, such as the O-rings. If your faucet is still leaking even after replacing the O-rings and tightening the nut underneath, then it may be a broken pipe. If that’s the case, then you’ll need to call a plumber. I hope this blog post has helped show you how to fix a loose sink handle!
Tips and Warnings
Tips
- If your sink faucet still leaks after replacing the O-rings and tightening the nut, then it may be a broken pipe that needs to be replaced.
- When you’re turning off your water supply, make sure to turn it on again once you’ve finished repairing the problem with your sink.
- Be careful when using a wrench to tighten the nut underneath your sink, as you can accidentally break something if not done properly.
- Look for any broken pieces inside the faucet cartridge before reassembling it.
- If your faucet is very old and corroded, it may be time to replace it.
Warnings
- If you have a broken pipe, it’s best to call a plumber rather than trying to fix it yourself. This is because they have all the tools and skills needed to repair it.
- If you don’t know how to do something, such as tightening a sink handle or replacing cartridges, then it’s best not to try and do it yourself, even if you think you can. This is because you might damage the parts of your faucet, making it impossible to repair!
- If your sink faucet is still leaking after doing all of the above, then it may be a more serious issue that requires a plumber to fix.
- You can potentially turn off your water supply or run it through an empty sink in order to avoid further damage while fixing the problem with your sink. This is recommended if you aren’t comfortable working with water yourself.
- Taking off the handle of your faucet is usually done by twisting it off counterclockwise. Installing a new one is usually done by putting it on and tightening it clockwise (to the right). This may vary depending on your particular make and model of the sink faucet, though, so be sure to follow your owner’s manual if you have one!
Sink Faucet Repair Pros knows that everyone has different budgets, which is why we offer affordable prices for all our services.
Frequently Asked Questions
What Tool Do I Need to Tighten a Tap?
The most common tool is a wrench, which can be used to turn the screws on the tap. Other common tools include pliers and a screwdriver, which can be used to twist the screws or remove them altogether.
Do All Faucets Fit All Sinks?
Unfortunately, no. Every sink is unique and may require a different type of faucet in order to fit properly. Some popular types of faucets that are typically used in kitchens include sprayers, reverse osmosis systems, pot filler cartridges/attachments, and pop-up stands.
When choosing a new faucet for your kitchen sink, it is important to first measure the distance between the handle and the spout. This measurement will help you choose the appropriate size fixture; often, standard or inch measurements are available on all fixtures listings pages such as Amazon or Home Depot. Additionally, be sure to consider how often you plan on using your sink- factors like water temperature and flow rate can affect how frequently you’ll need to refilter or descale your drainage system. And finally, make sure that the style of the fixture suits your aesthetic preferences!
From there, it’s just a matter of installing it! Most kits usually come with instructions, so feel free to consult them if needed.
What Are the Four Types of Faucets?
There are four types of faucets – Pull-Down, Push/Pull, Ball Valve, and Self-Cleaning. Each type has its own advantages and disadvantages, so it’s important to know which one is best for your needs.
Here are the four types of faucets in brief:
Pull-Down Faucet: This type is the most common and is the simplest to use. You simply pull down on the handle to get a drink or water. They are usually low-cost and easy to install.
Push/Pull Faucet: This type is similar to the pull-down faucet, but you have to push the handle in order to get a drink. They are more expensive than pull-down faucets, but they are easier to use because you don’t have to reach up.
Ball Valve Faucet: This type uses a valve at the base of the faucet that you can turn in order to control how much water or drink comes out. They are usually more expensive than other types, but they have more features (like sprayers), and they’re easier to clean because there’s no handle.
Self-Cleaning Faucet: This type uses a filter that traps sediment and bacteria before it goes into your drinking water. The filter will need to be replaced periodically, but this type of faucet is usually more expensive than other types.
What Are the Types of Kitchen Faucets?
There are many different types of kitchen faucets, but the most common ones include pull-down type, spray type, and double lever. Pull-down style faucets have handles that you can reach with your hand to turn it on or off. Sprayer-type faucets use a hose to deliver water directly onto the surface that you’re cooking on. Double lever designs allow you to adjust the flow of water from two separate spigots simultaneously.
Conclusion
If you’ve been trying to tighten your sink faucet with all of the wrong tools, it might be time to give up. The problem is that many people use a crescent wrench or pliers to try and get their stubborn sink faucets tight again. Even if these DIYers are successful in loosening or tightening the water flow on their own, they run into problems when they need to replace the washers inside the tap because those were damaged by using incorrect tools. With our professional plumbing services, we can help you finally fix this issue for good! Our team will arrive at your home armed with nothing but top-quality materials so that there are no surprises during installation.
We have plenty of experience working with a range of faucets, from quick-connect to slow-close models. If you think your sink is a candidate for a new cartridge, we can help with that too! We want to make it simple for you to enjoy a properly operating faucet, so you never have to deal with this issue again. If the worst has already happened and you’re dealing with a broken pipe, we can help with that too! I hope you enjoyed this article on how to tighten a sink faucet! Be sure to SHARE this useful information with everyone you know! Thanks for reading!
You can check it out also – How to Unclog Coffee Grounds From Sink.


