Introduction
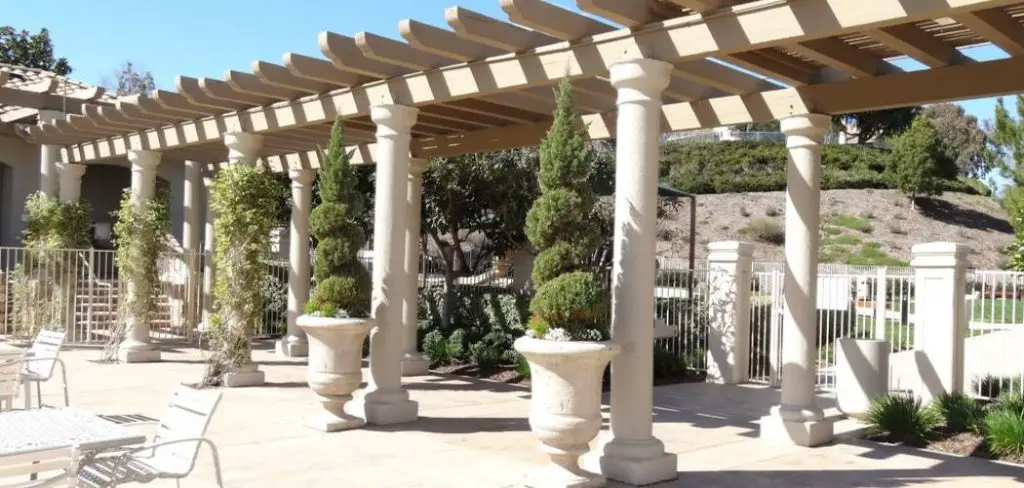
A pergola is a structure supported by columns, posts, or pillars that can be open to the air on all sides. A pergola typically has a roof and latticework walls that provide shade and an area to grow vines and climbing plants. You can also build your pergola using materials readily available at home improvement stores around town. In this article, I will discuss how to attach a pergola to a roof. So let us get into the main discussion.
Stepwise Guide on How to Attach a Pergola to a Roof
Step One:
Constructing a solid and stable footing for your pergola is the first step, so dig down to the desired depth and line the bottom with stones or bricks. This will help to keep it from moving and provide a firm base. If you opt against covering over grass, then ensure that there is adequate drainage. Keeping water away from your pergola’s foundation will prevent rotting timber and dampness on the ground where mildew can grow.
Step Two:
Once you know that your foundation is square and level-use this as a guide to attach 2×6 stringers between two posts at each end of the support beam. The size of these timbers will depend on how large you want your pergola to be, but the stringers should be twice as long as they are wide.
Step Three:
Allow the timbers/stringers to overhang by a couple of inches on each end and attach a diagonal brace to secure them together. The braces will not only provide extra stability but help to stiffen up the pergola’s frame. Again, use galvanized nails or screws for this step and avoided using wood that is some term “rot-resistant.”

Step Four:
Add more 2×6 beams between each post at 16-inch intervals with 4-foot long legs on either side so that it supports your main shaft from below. Be sure to build some windscreen if you live in an area strong winds are expected. Otherwise, you run the risk of your pergola falling.
Step Five:
Prepare and install your main beams by attaching a 2×4 onto each post’s front and back ends so that they are level. Make sure to utilize brackets or braces for added strength against heavy winds, as mentioned above.
Step Six:
Measure out where you want the posts for each leg of your pergola to be located and drill holes just deep enough to drop them in. Fill the gaps with concrete and allow it time to dry before standing up your posts into place. Once done correctly, they will not only look great but provide stability needed for vigorous vines and plants that attach themselves to pergolas like ivy.
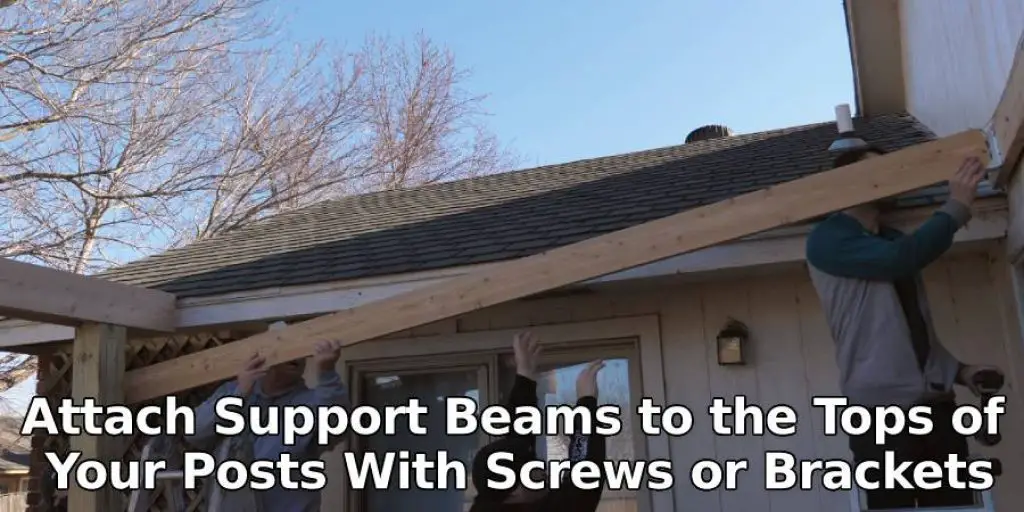
Step Seven:
Attach support beams to the tops of your posts with screws or brackets. You can do this while it is being supported, so no need to have the pergola fully extended towards its final position just yet.
Step Eight:
Cut two 2×4’s at a 45-degree angle and screw them into place on the inner portion of each leg. This will provide extra support for your beams by welding them together in a joint that is far stronger than nails or screws alone could accomplish. Next, add diagonal braces between these joints to lock everything incorrectly and secure it all down with galvanized nails or screws.
Step Nine:
Use 2×6 stringers (the same size as before) but only attach one end to each beam-about 6 inches up from the bottom. Put another small beam along the top of your posts to support your roof structure, then attach a 2×4 crossbeam onto each post about one foot from the ground. The length will depend on how far apart you want your legs, but you can place these at whatever height best suits your ceiling and overall bedroom height.
Step Ten:
Use 2x4s that are 10 feet long and cut them in half so that they hang off both sides of each leg-this distance should be no more than four inches for maximum stability. Be sure to install a brace or bracket between either end of this beam and the post-it is connected to-they tend to sag over time if not adequately supported by brackets or braces at intervals.
You Can Check It Out to to Tension a Shade Sail
Step Eleven:
Screw the 2x4s into place and secure them as much as possible with galvanized nails or screws. Please make sure no exposed beams are sticking out on either side of your pergola since this is where vines will be planted once you get around to adding them.
Step Twelve:
Measure out the length of stringers required to connect your main beam to your posts-these must be long enough to provide adequate support for plant life growing on them. Attach these between each post/beam in sequence, but leave about 6 inches exposed beyond the last post before screwing on end caps made from 2×6 lumber.
Step Thirteen:
Install T11 siding panels onto all exposed surfaces of your pergola (the 2×4 and stringers) and screw them into place. You can also use cedar or pressure-treated lumber, but it is not required if you want to save money on materials or avoid chemical treatment of any sort.

Step Fourteen:
Use galvanized nails or screws to attach 3-foot long, 1×3 inch side pieces all along the front and back edges of your finished pergola. These will be used as a solid railing to support vines and plants growing up against them in time. In addition, they should provide just enough clearance for adults to walk through without having head bumps every day from walking underneath where they grow.
Frequently Asked Questions
What Are The Uses of a Pergola?
A pergola is used both as a shade-giving structure and an outdoor garden decoration. The best part about building one is that it can be built with your existing roof at any desired height. This makes it the ideal structure for all types of gardens; whether you want to build it in your traditional English cottage garden or your desert-style backyard, a pergola will fit right in.
It also doubles up as a functional patio cover when attached to patios, porches, and decks. If you have glass windows in your home or store, this will make an excellent indoor decorating accessory!
What Materials Are Used For Building A Pergola?
Building a pergola is relatively easy. But, before you start building your own, make sure you have all the materials required for the project. For example, before buying any lumber, check it for straightness and quality by sighting along the length of each board, checking for warp-and-twist defects. If possible, buy all your lumber in one place to ensure uniformity in color and moisture content.
Conclusion
I hope you have learned all the necessary steps on how to attach a pergola to a roof from this article. Thank you and have a nice day!
Check it out: How to build a roof deck on a pitched roof.


