Introduction
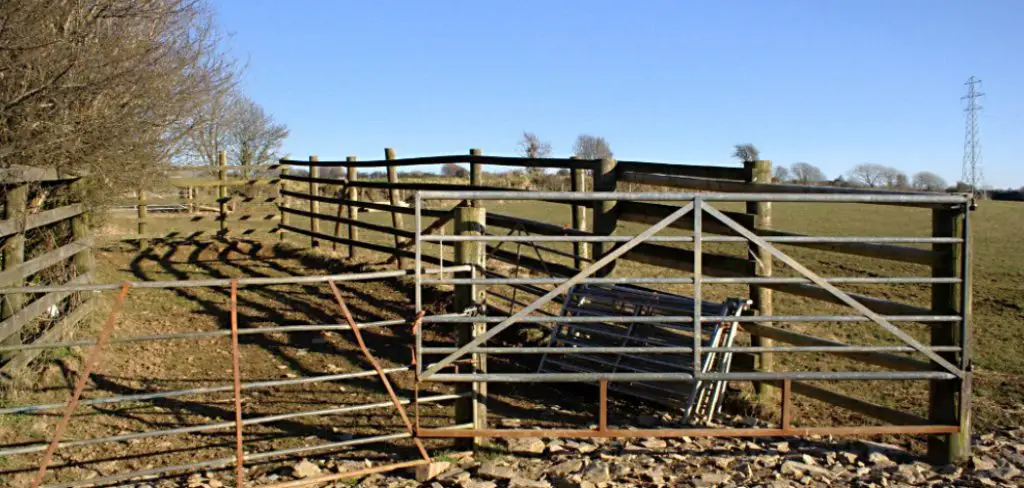
A pipe fence is a type of fencing that is made from steel or plastic piping. It’s a common choice in areas where timber, wire mesh, and chain-link fences are not allowed by law because it doesn’t use any solid material. Pipe fences can be used for security purposes as well as keeping animals enclosed in an area. The pipes come in different diameters and lengths, which means you have to purchase the correct size pipe for your needs regarding length and diameter.
The pipes also need to be cut into manageable pieces to be carried easily when transporting to the building site. Depending on the thickness of the pipe you are using, you will need a cutting tool such as a saw or hacksaw. In this article, I will discuss how to build a pipe fence cattle. So let us get started.
A Detailed Stepwise Guide on How to Build a Pipe Fence Cattle
Step One: Selecting the Space
The best place to build the fence is with fenced land. You can find it around the ranch or any farm with ample space. Note that if you choose a place with certain obstacles, such as trees or rock, this will cost an extra amount of money and time to make amendments to the plan.
Another way would be building a fence on a straight street during street renovation, and there should be a big area to leave for construction before digging up the concrete/asphalt pavement from that part of the road. Then, you can use those materials to build your fences.
To protect them from possible danger outside the enclosure, sections should be built high enough so dogs won’t jump over them.
Step Two: Digging the Postholes
First, measure the length of your fence line. This will determine how many posts you will drive into the ground, then mark out each posthole with stakes and twine. Since this will be a long process, it is easier to do in numbers to complete it all in one day. To ensure every post is adequately spaced apart, use a string line or chalk string before digging holes. Be sure to drill holes deep enough so when you set in the pipe, they are firmly in place without wobbling around.
Note: The spacing between two adjacent posts should be greater than your desired height plus 6 inches; for example, if you want a 2′ high fence, the space between two adjacent seats should be greater than 2’+6″ = 8′.
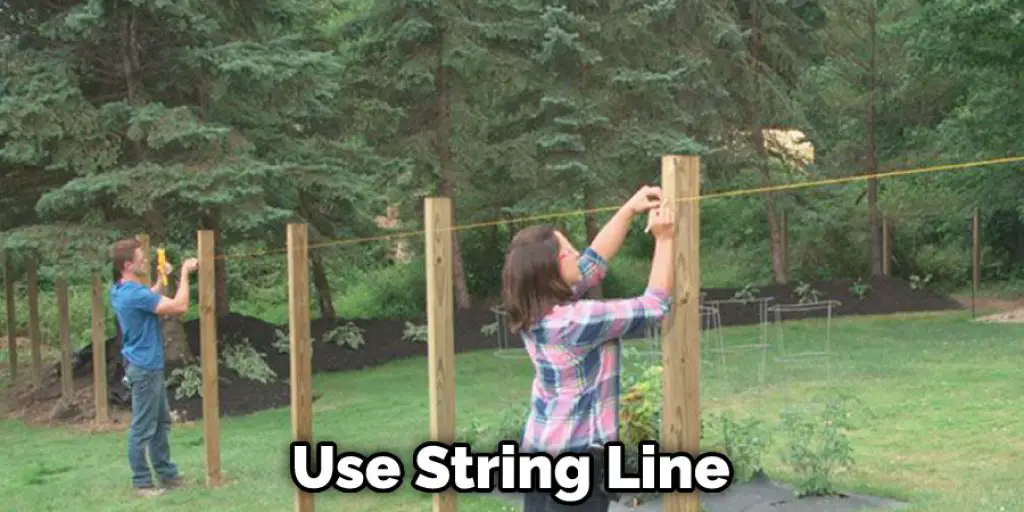
Don’t forget, better use your string line/ chalk string to measure up the spacing between holes before digging them.
Step Three: Setting in Posts and Tamping down Earth
As mentioned above, each posthole should be deep enough so when you set in the pipe, they are firmly in place without wobbling around. After that, insert some gravels on both sides of the hole, then tamp them down to remove any remaining air pockets. Then put dirt on top of that gravel to hold it securely before inserting your post into one side of the posthole; make sure it is all level with the ground outside. Next, pound gently with a rubber mallet until the position is seated securely. Then repeat this process with your remaining posts.
Step Four: Slinging Pipelines over Posts using Rope and Chain
Now it’s time to sling some pipe!! First, use rope or chain to connect the top of every two adjacent lines, which will act as an anchor point so you can run wire cables through it later on. To measure the distance between two adjoining tire chains or ropes, use another string line or chalk string, attach that end to one of the sides (top) of the fence posts, then pull it back toward another side (bottom). The length should be approximately equal to 2′ between posts to be adjusted based on your preference.
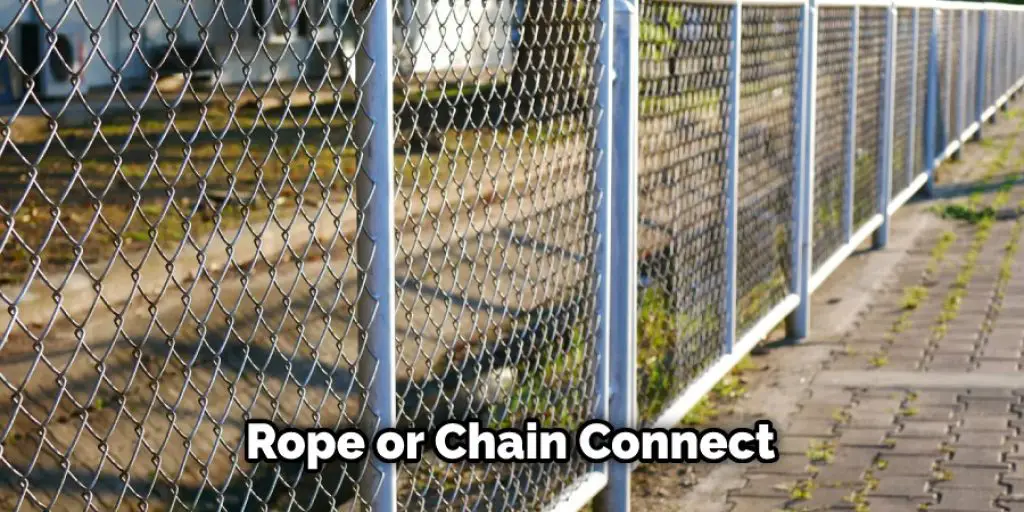
Once you’ve set up your anchor points using one of these materials, you can now sling the pipes over top of them. To ensure that it’s done in a balanced and secure way, use pliers to tighten/loosen the nuts and bolts (located in each end) to adjust pipe lengths; make sure they are level with the ground outside when finished. Finally, tie another loose knot on both ends of chains or ropes after every three sets [a “set” would be three tire chains/ropes] to keep them from slipping off later when tightening cables through them.
Slung pipes should create an even “V” shape between two adjacent fence posts, which will help stabilize the entire fence.
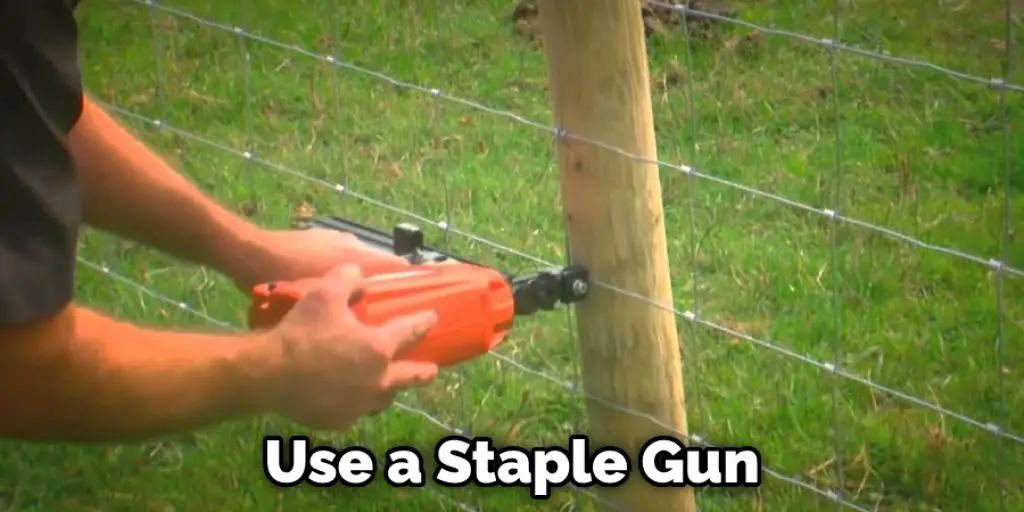
Step Five: Securing Fence Posts to Ground using Staple Gun and Staple Wire
The next step would be securing your fence posts to the ground, which will prevent them from being pulled up by animals or cattle. Use a staple gun to drive staples into the bottom of each post; place pins every 4-8 inches around the post’s perimeter depending on soil conditions (soil that’s harder than clay may require more frequent placement). After placing enough staples around the bottom edge of each post, wrap the wire tightly around them for additional security. Secure both ends of wire securely before cutting off excess wire with wire cutters.
Stage a few feet in front of the fence and walk your horseback and forth through the length of the pasture a few times to make sure they don’t try going around or pushing through it before moving on to the binding wire portion. Once you’ve adjusted lengths, use pliers to tighten any loose bolts if needed.
I use my four-wheeler with one wheel off for additional support for this step tutorial while using a staple gun. This is NOT recommended by the manufacturer’s instruction because there is still some risk that the back wheel might kick up from the ground then crush your hand or finger between wire fencing and teeth of metal wheels! My advice is not to remove any wheels so you will be level with the ground outside when doing these steps.
Slide a short piece of wire (approximately 3 feet) underneath the staple at the very top and bottom to hold it in place. Start wrapping wire tightly around posts; make sure you wrap enough wires around each post so it’s secure and won’t move when animals try pushing through. Secure both ends of wire securely before cutting off excess wire with wire cutters, then add additional staples if needed. Repeat this step for all fence posts before continuing to the next step below.
Adding another piece of wire fencing to the existing one will give added stability, thus making cattle more secured inside the paddock area.
Step Six: Fastening Wires, Another Option: Using Wire Twister instead of Staple Gun and Tie Wraps
If your fence is excessively large or bulky, you can use a wire twist instead of staple guns to fasten wires around each post. Wrap the end of the wire around the “twister” then connect it to another piece/link of fencing on one side; slowly turn the handle clockwise until tight. Then slide one more piece of fencing over top of existing fence posts by sliding it between two elements, wrapping twister around both pieces with enough pressure, so they are firmly connected with an even gap in-between after every few turns. This will create double thickness for added security. After wrapped snuggly around all posts then secure both ends before cutting off excess wire with wire cutters.
You can check it to Build a Sauna in Basement
Conclusion
I hope this article has been beneficial for learning how to build a pipe fence cattle. Thank you and have a nice day!


