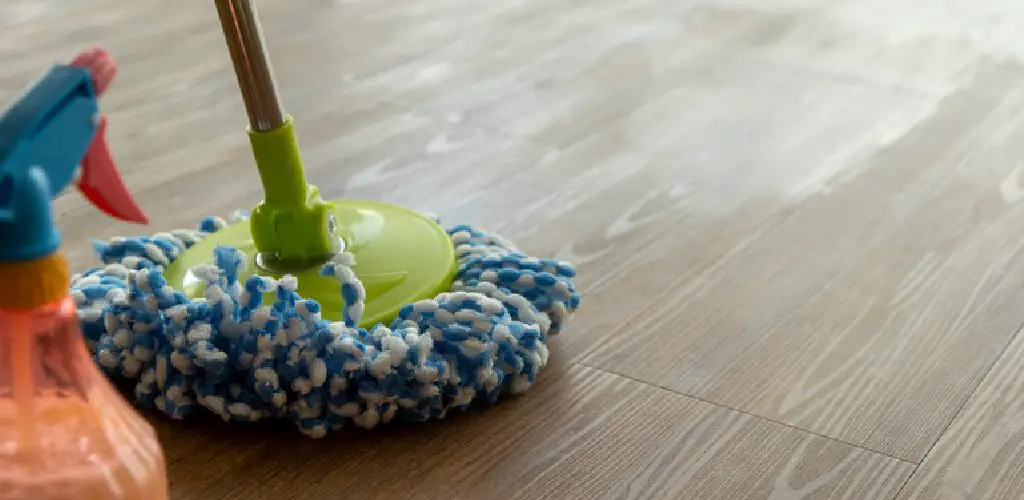
It’s a common sight to see unfinished flooring around the bathtub. Some homeowners finish their floors as far as they extend out from the wall and leave an abrupt cut at the edge of it. This is unsightly and unsafe since many people slip on wet tiles or those with high traffic areas.
The first thing you should do is check your tub for its condition. This can help you determine whether or not you may need to replace it before installing the flooring. So, this article is for you. You will learn how to finish floating floor at bathtub with just one simple trick!
Before doing anything, you should check the condition of your bathtub, particularly for cracks. If there are any, then this will require replacement. You can buy a new tub already finished with an interlocking bath surround kit at home stores.
Step to Follow on How to Finish Floating Floor at Bathtub
Step One: Determine
First, you need to determine what type of bathtub flooring you have. You can do this by examining the white walls and door jambs around the bathtub walls. Look for a raised border or strip on the wall surrounding the tub and any baseboard molding pieces located under each side of the doorjambs.
If the border and molding pieces are flush with the wall and doorjambs, you have a one-piece tub/shower head unit. If there is an apparent expansion gap between the tub base trim and the surrounding surfaces, your tub has a drop-in feature. If you can’t determine what type of bathtub flooring you have by looking at the surrounding surfaces, look under the bathtub itself.
You should see either a raised base or a framed area around the drain with metal brackets bolted to each corner. If you see this, your tub has a drop-in feature. If the area under the tub is smooth and painted with enamel or some other finish, you have one-piece tileable flooring.
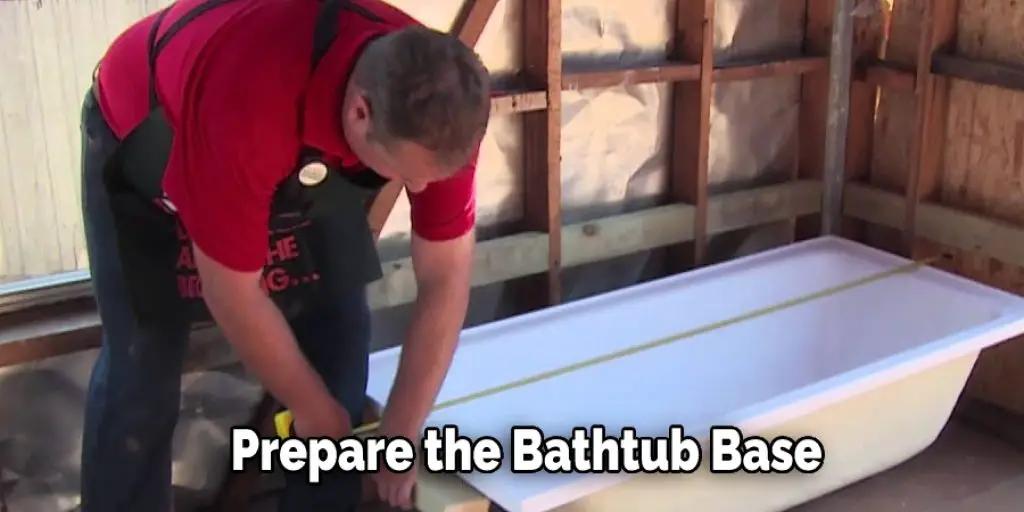
Step Two: Prepare the Bathtub Base
If you have determined that your bathtub has a drop-in feature, you can prepare to finish off the acrylic base by removing any bead of caulking around the tub drain flange. If there is still silicone caulk left on your tub after prepping it for tiling, use an appropriate remover to remove it.
Remember that these steps are only necessary if you have a drop-in bathtub. If you have a one-piece tileable bathtub, the area around the tub drain pipe should be finished and ready for tiling after you prep it for installing your new flooring.
If you have a drop-in bathtub, you will need to cut the drain flange. Make sure that the saw blade is new and sharp so that it can easily cut through the metal of the drain flange while leaving a smooth outer edge around the new cut line. Set your miter saw on its lowest setting before making any cuts on your drain flange.
Step Three: Gather Your Materials
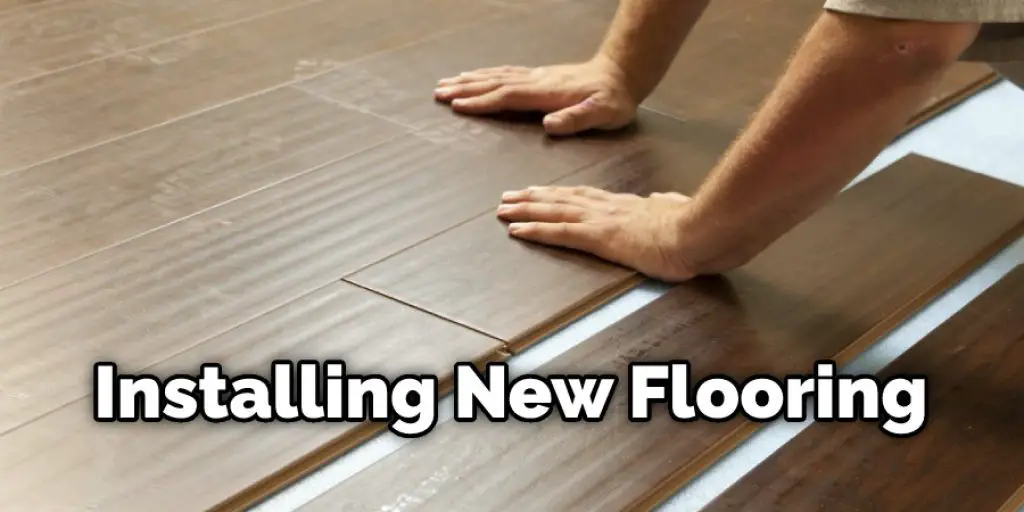
You will need to purchase luxury vinyl plank flooring for your bathroom floor. Because of how the bathtub area is constructed, you should buy it in standard widths that can easily span across the gap between sides of the tub base. You could also choose to cut pieces down themselves or order custom lengths if needed.
The material should be at least 12 feet long to give you enough for the side that meets the wall. This should be more than enough material if your tub is 36 inches wide or smaller, but it could require two flooring pieces if your tub is more significant than this.
The luxury vinyl plank flooring should have an adhesive backing. This will make it easier to install on the wall around your tub without having to think about miter cuts or how to align corners when placing pieces in place. In addition, this will help in how to finish floating floor at bathtub.
Step Four: Cut the Vinyl Flooring
Ensure the tub is dry and wipe away any condensation left behind from recent use. If there is still water in the tub, allow it to drain slowly or pour out as much as possible, so it doesn’t cause any problems when installing your vinyl flooring.
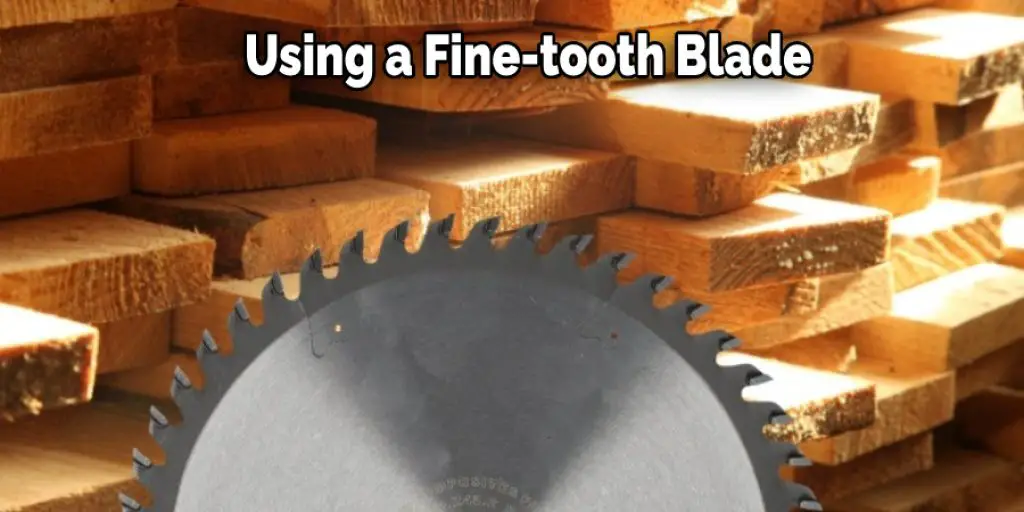
Once you have made sure the area around the drain is arid, use your miter saw to cut pieces of vinyl flooring for each side. These should be long enough to cover the gap between vertical surfaces while still leaving an extra inch or two on each end.
Using a fine-tooth blade, make cuts along the top edge of the vinyl flooring to rest on the surface of the tub surround. You may also need to use a putty knife or other prying device to get underneath the flooring so you can press it firmly against the wall surrounding your tub.
Step Five: Apply Adhesive to the Tub
Use a silicone caulk gun to apply a bead of silicone adhesive along the edges of your tub. This should be done to seal any open spaces between flooring and wall, but you don’t have to worry about making this adhesive completely perfect yet.
You will need to wait until everything is in place before smoothing out the silicone and getting it to look good. It is best to get all of your vinyl floorings in place before adding any adhesive along the back edge since it may be difficult to maneuver once this step has been completed.
If you don’t want to wait for everything to be finished before putting on the silicone, you can always use a paintbrush or your fingertips to smooth it along wall edges that the flooring will meet. These steps should help you in learning how to finish floating floor at bathtub.
Step Six: Finish the Flooring
Pack your caulk gun with more silicone adhesive and use it to smooth down the edges of vinyl flooring against the tub. Let this adhesive dry for an hour before applying any additional pressure along seams or joints between pieces, but you should have the time to put the flooring in place before adding this adhesive since it takes some time for silicone to dry.
Once the silicone has dried, use your hands or an economic buffer to smooth out any remaining imperfections along drywall edges. If there are still raised drywall edges after applying pressure with your hands, use a wet rag in addition to the buffer to decrease the surface tension and get everything even.
If you want to make any changes or adjustments, it is usually best to do this before using the scalpel on your flooring. You will probably get rid of excess adhesive pretty easily with an adhesive remover, but you may have to reapply construction adhesive if there are areas that don’t come up with an initial cleaning.
You can check it to Fix a Dip in a Bathtub.
Conclusion
In the end, you’ll want to put a layer of flooring over top of your new baseboard. This will give it that finished look and ensure your ceramic tile laminate floor is smooth going from one room to another. To determine how much material is needed for this step in the process, take measurements of both height and width before cutting down your pieces.
You can also use a tape measure or a square if measuring by feet instead of inches. First, make sure you cut pieces that will go along walls with the correct width since it might not be possible to fit a full-sized tile at either side of the tub. Then, apply construction adhesive to the wall and set your new piece of flooring into place!
So there you have it. From making sure the entire floor is level to choosing your materials, tons of factors can make or break a project like this. The conclusion paragraph is informative and provides information on how to finish floating floor at bathtubs.
You may read it also – How to Measure a Bathtub.


