A crochet blanket is a beautiful gift that can be made for practically anyone. However, it’s not as simple as making the squares and stitching them together to create a perfect rectangle. Many crocheters find their blankets curving inwards or becoming misshapen after washing because they do not correctly block them out.
This article will show you how to fix those problems and ensure your handmade creation stays beautiful and functional forever! While this intro paragraph is short, it does its job of drawing readers in by mentioning something that affects many crocheter’s projects: curling edges or an overall shape that isn’t rectangular.
It also offers a solution to the problem with step-by-step instructions on blocking techniques so readers can solve it independently. So, this article is for you. You will learn how to fix crochet blanket curving with just one simple trick!
Step to Follow on How to Fix Crochet Blanket Curving
Step One: Determine
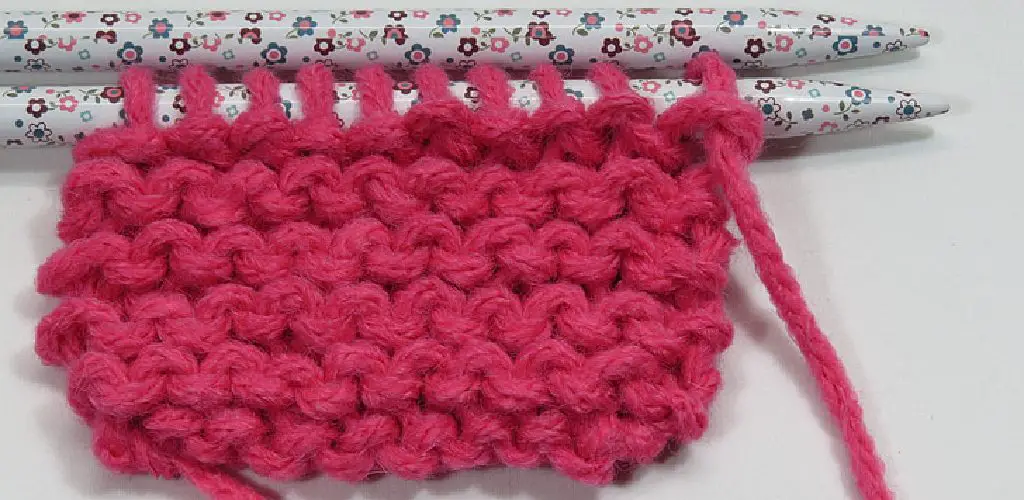
First, determine if your project is curling on edge or the side. If you have a blanket with a rolled edge, it can be hard to tell which direction it’s moving in. To speak, gently pull the loose stitches down so that you see either the top or bottom of your stitch foundation, depending on which side you are looking at.
The side with the top of the stitches is the one that’s rolling towards you. If it’s curling on edge, you’ll see the bottom of your stitches and need to stop and turn your work back in the opposite direction. If it’s rolling side to side, you’ll see the top of your stitches and can move on to step two.
If you are working on a bordered crochet blanket, it is more common than the side with the edge of the border rolling in towards you is curling, but the other side may also be rolling, which you’ll need to stop and turn your work back in the opposite direction.
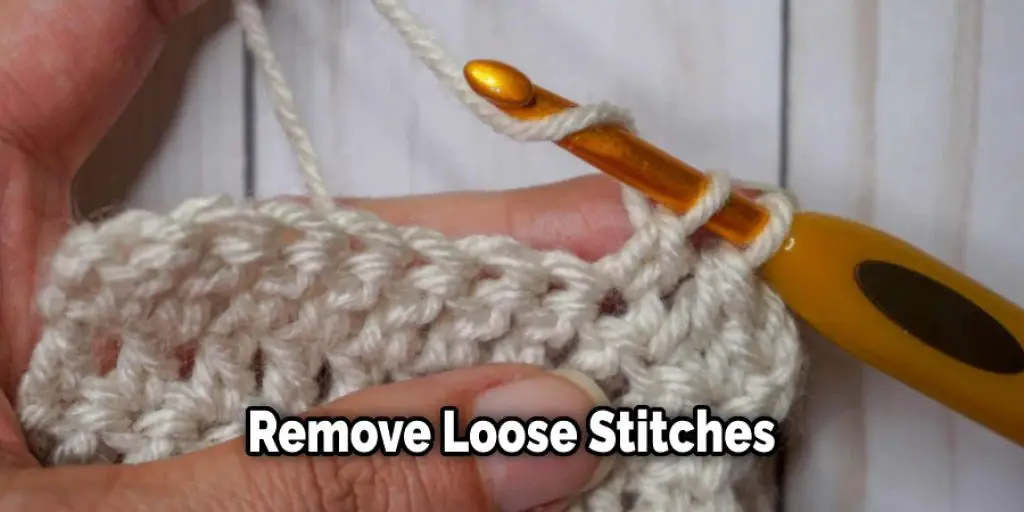
Step Two: Remove Loose Stitches
If you have determined that your crocheted blanket is rolling in on the side, stop your work and gently pull the loose stitches to the front. If you are working in double crochet, it may be helpful to watch a video on doing this stitch or look at a photo of the completed stitch .
If you are working in single crochet, here is a tutorial on removing stitches from the edge of your work. Remove the loose stitches and put them on your hook. Yarn over and pull through all loops. Continue with your project without turning back.
If your blanket is curling at the end rather than along the side, you can stop your work and remove one, two, or more stitches to make the edge look straight. If you are working in double crochet, it is helpful to know how to finish off with semi-double crochet, explained here.
Step Three: Turn Work Back
Now you can turn your work back to the original direction you were working. For example, if you have a bordered blanket, follow the directions above to remove stitches from the edge and replace them so that your border looks straight again.
If you turn your work and see the edge curling in, stop and undo the last row to the turn and follow step two to pull the last row out again. Once you have pulled it out, continue working without turning your work from where you stopped at in the original direction.
It may be necessary to continue this process until you get beyond the original starting edge of your project. Then, continue working until your work looks straight again and things are back to where they should be. These steps should help you in learning how to fix crochet blanket curving.
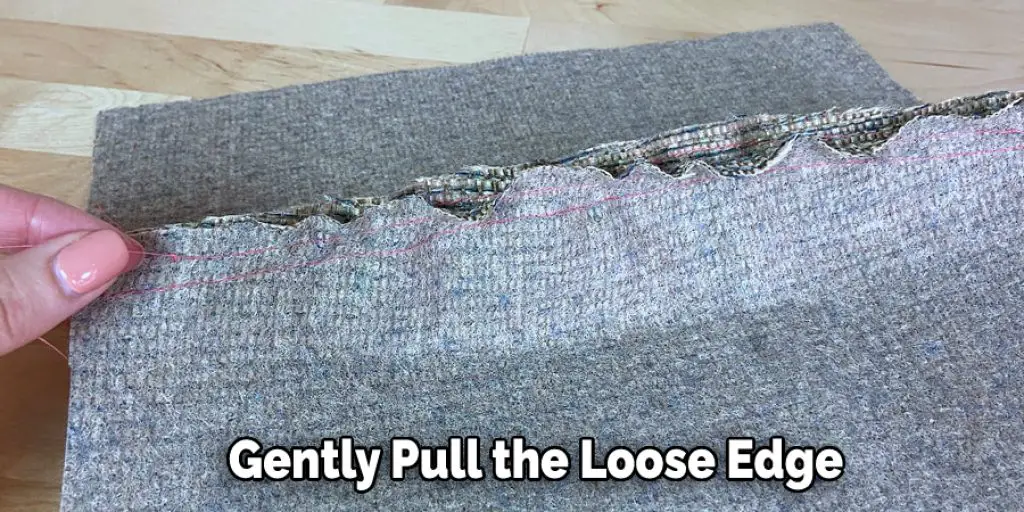
Step Four: Gently Pull
If you are working on a project with rolled edges, you’ll need to ensure that the stitches are not loose. Gently pull the loose edge of your work until you see your foundation stitches at each side. You’ll want to make sure that these stitches are even and close together so that they will not roll again.
Make sure that your edge is not too tight. If it puckers, you can gently pull on the stitches until they are smooth again. You don’t want these stitches to be loose, or this project may end up curling in another direction. If you are working with a tight gauge yarn, choose an even thicker yarn to make the edge of your blanket.
If it’s too loose, try pulling some stitches back out and making them tighter. However, be careful not to make the edge too tight, or it won’t be easy to work up the stitches and may roll in another direction after you finish your project. If this happens, follow steps two through four again until your blanket does not show any signs of curling with either type of stitch.
Step Five: Swing Your Blanket
If you are working on a blanket that has both ends curling in, it may be helpful to swing your blanket. Taking hold of the edge of the project with one hand and laying it down on the table with another flat hand, gently pull or push each end outwards 3 or 4 times.
This will help straighten out the stitches on the top and bottom of your work so that they will lay flat. You can then check to see if it looks straight or if any stitches are loose. If you have not turned your work back in the opposite direction, follow steps two through four above for pulling out stitches from either end of the blanket.
It might also help lay your project flat with a heavy object on either end for a day or two. After doing this, turn the blanket over and repeat steps two through four above. If you have used wool yarn in your project, it might be necessary to put a plastic bag around it to breathe while being swung or left flat for a few days.
You Can Check It Out to Put a Duvet Cover on a Weighted Blanket
Step Six: Maintain Your Work
If you’ve followed these steps and your crochet project is still curling, the only thing left to do is maintain it. A quick way to help remove any curling of the edge is to wet the edge of your blanket with water and gently push all four sides back out.
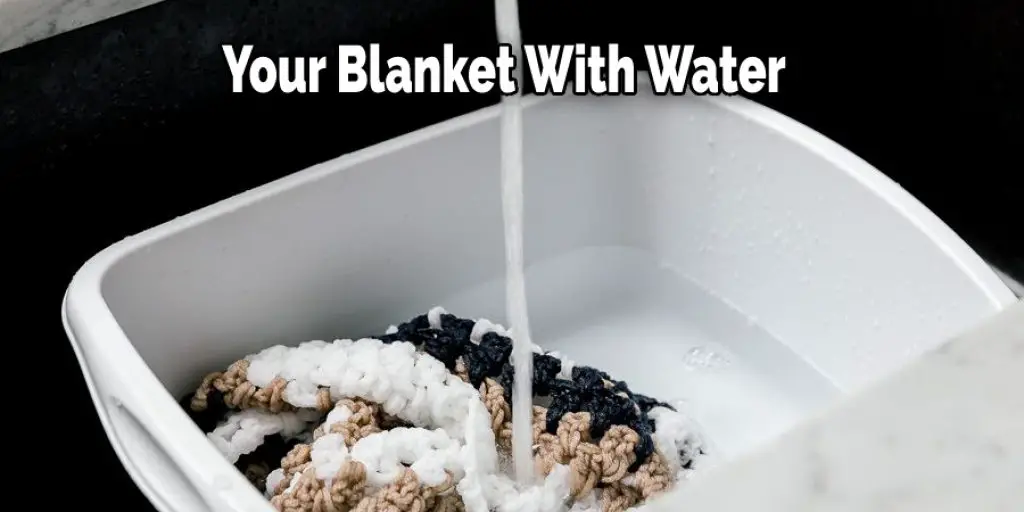
Once you have done this, lay a towel over the top and gently press on the towel until your blanket is dry. If you follow this procedure before each washing of the finished product, you should prevent any further curling. If your project is done with cotton or acrylic yarn, it might just need to break in a bit before it lays flat.
If you are working with wool yarn, this procedure should help the edges lay flat right away. Hopefully, these steps will be helpful if you’re still having trouble with the edge of your crochet blanket curling after you have completed a project. In this article, you will read how to fix crochet blanket curving.
You Can Check It Out to Crochet a Scalloped Edge on a Granny Square Blanket
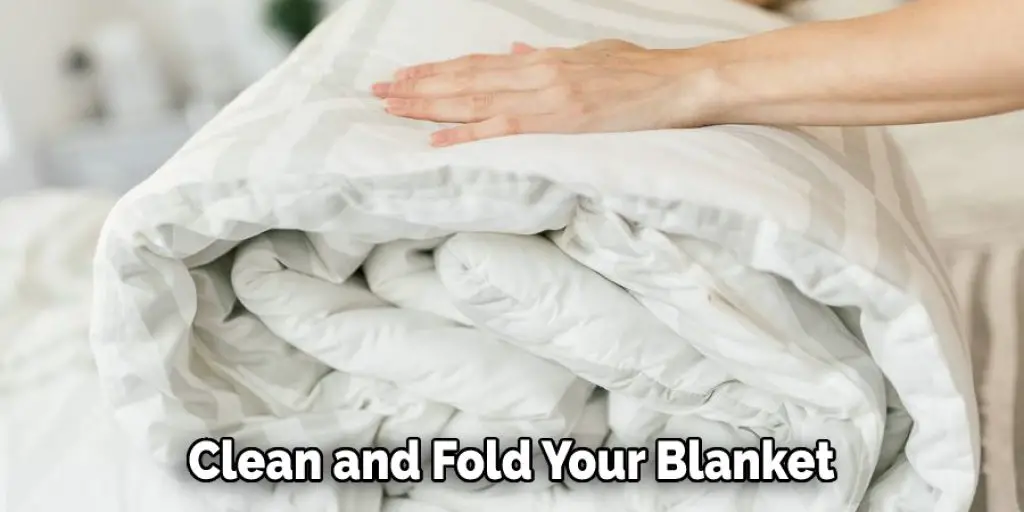
Step Seven: Clean and Fold Your Blanket
If your blanket is beginning to curl, you can try the method above and the following method as well. Once you’ve completed your project, lay it down on a flat surface like a table or bed and pull each end out to ensure that the edge is not too tight.
If it’s too loose, gently pull your stitches back out and make them tighter. You want your end to be smooth, and even the top of the blanket will appear when you’re finished with it. Gently fold one side under about an inch or two and then lay the blanket on a flat surface again.
Take a heavy object such as a book or canister and place it on the folded edge for a day or two. This will help the blanket lay flat while it’s breaking in. Once you remove your heavy item, your project should lay flat on its own and not curl up under or at the edges anymore.
You Can Check It Out to Make a Crochet Blanket Soft
Conclusion
When you’re finished crocheting your blanket, it’s important to weave in the ends of each row. This will help prevent curving and keep the edges tidy. It can also reduce gaps between rows that may create a ripple effect when laid flat on a surface. So weave those yarn tails!
If you’re working on a blanket for a baby or small child and want the project to be soft and cuddly, it may be helpful to use a super soft yarn. Then, if your blanket becomes worn or tattered, you can always make another one by following these same steps again for another project. Thanks for reading about how to fix crochet blanket curving.


