Introduction
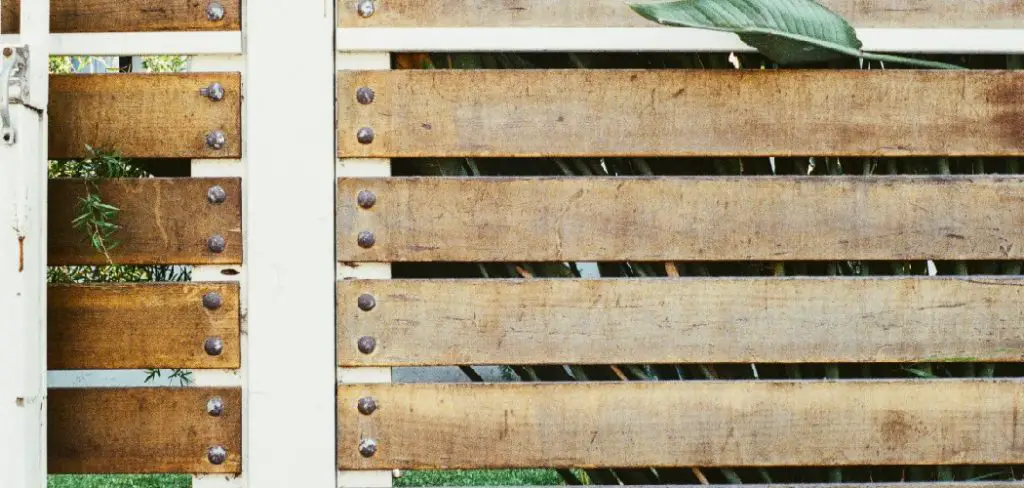
Deck boards are wood pieces used to build decks or patios. They usually measure 2″ thick x 5 1/2″ wide and can be made of different materials, depending on preference. The most common decking materials are cedar, redwood, treated lumber, ipe (purpleheart), bamboo, acacia hardwood, and mahogany. These woods are usually sealed with a water-based or oil-based sealant that helps protect the color and appearance over time. While they are not the only types available for purchase, these are often referred to as “common boards.” In this article, I will discuss how to remove deck boards with nails without damage. So let us get started.
A Detailed Stepwsie Guide on How to Remove Deck Boards With Nails Without Damage
Step 1:
Studying how to remove deck boards with nails without damage begins with finding the joist or rim board directly underneath the area where the pin is located.
Step 2:
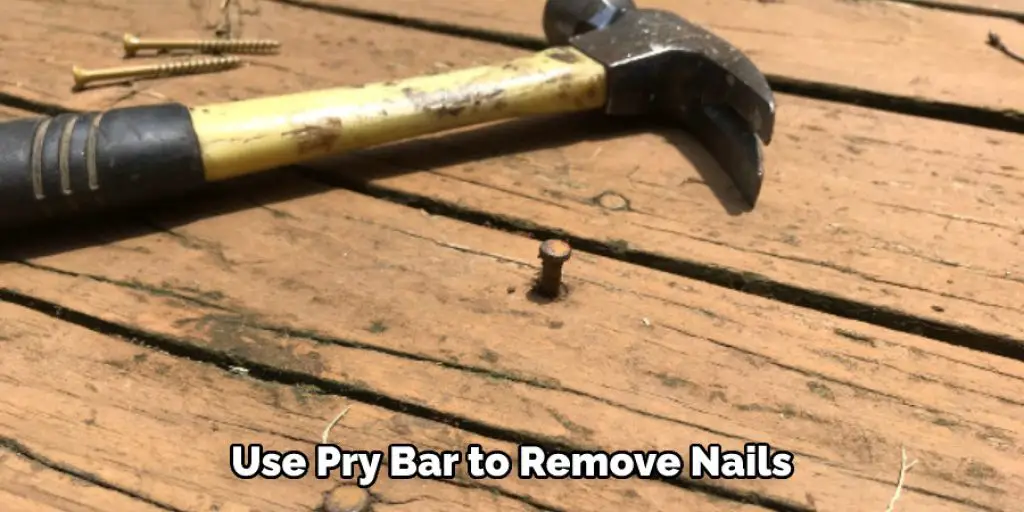
Using your pry bar, locate one of the joists or rim boards and begin to pry it up from its resting place. It will take a good amount of leverage to get under the joist. Make sure you will not cause any other part of your decking system while lifting this particular board. If you find yourself having a hard time getting under, then try using a hammer and chisel into that space until you create enough room for the end of your pry bar into that space created from chiseling.
Step 3:
Once the pry bar is under the joist, lift it up and then take a hammer and drive that pry bar into that space you just created. This should cause the board to begin popping out from its resting place. Make sure as this board starts to come up, you are holding onto it, so it does not fall down and potentially cause injury or harm your decking system. One of those screws may pop out as well, so make sure you catch them before they do fall.
Step 4:
Continue removing boards in this fashion until the entire section is free from nails and other fasteners used to keep it down onto the joists below. If you find yourself getting tired at all during this hard work, then feel free to take a break. You can come back later and complete the project if you think this is necessary for your safety.
Step 5:
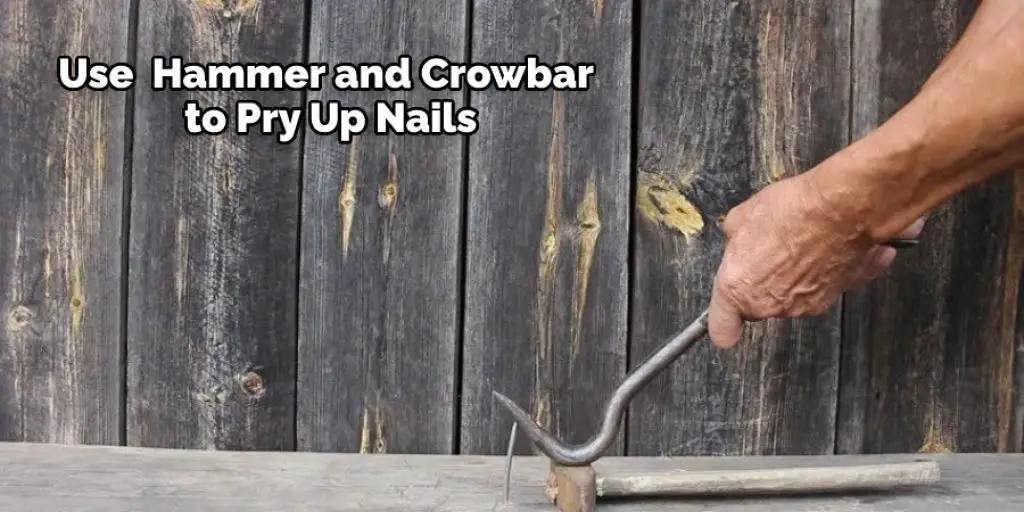
Once all of the boards are removed, you’ll need to use your hammer and crowbar to pry up some nails that may be located on or into your decking system. These will likely pop out quickly because there is no longer any pressure to keep them in their resting places like before when these boards were nailed down onto them. Once the nails are removed, it’s time to remove those boards from where they lay using an electric saw or by hand using a standard circular saw blade. Make sure that as you cut the board free, it doesn’t fall below and hurt someone or damage something important. If you feel the board is not safe to cut without the worry of it dropping down low, then roll it up on your saw table and complete the cutting job from there.
Step 6:
Once all of the boards are removed with the nails still attached, apply your wood glue or other suitable adhesive product onto each joist that was previously covered with this decking system. Ensure that you wipe off any excess glue, so it does not dry onto surrounding surfaces and become more difficult to remove later on when it’s time for maintenance work.
Step 7:
Take each board one at a time and place them back into their last resting places using either nails or screws. Re-nail them if you used screws earlier and want to go back to using nails. If you find that the screws are tight in their new resting places, then go ahead and use nails instead. Be sure that as you place each board down, it is secured into its previous position with these fasteners, so it does not come back up later on when someone is walking over them or during your next hard rainstorm.
Step 8:
Once all of the boards have been placed back down onto the decking system where they originally sat, make sure you secure them further with some nylon fasteners if necessary. These will add an extra level of security for each board and what could happen during hard storms or when someone walks on top of them while barefoot and causes one of these boards to decide it wants to pop up.
Step 9:
Now, take a broom and sweep away all of the excess wood glue so it does not dry on any surrounding surfaces or get onto clothes that might have been worn just before sweeping up. Make sure as well that no one walks over these boards again until you’ve had ample amount of time for this adhesive to dry properly. This can take anywhere from 12 hours to a full day, depending on the product used, how thick it is, and what application was used. If it’s an extensive application, then chances are you’ll need more drying time than usual so make sure you set a time for this project completion instead of trying to rush it because something else came up before this task was completed correctly.
You Can Check It Out to Restain a Deck That Is Peeling
Precautions While Removing Deck Boards With Nails Without Damage:
- Please familiarize yourself with your deck boards and their locations before obtaining the tools and materials needed to avoid unnecessary damage
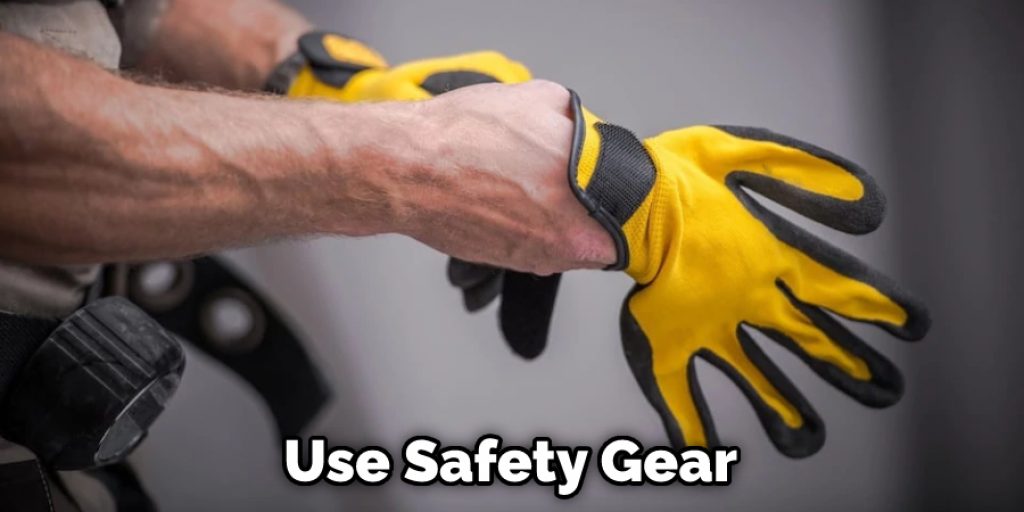
- Use safety gear whenever removing or replacing deck boards, such as wearing safety goggles, work gloves, and use a face mask if necessary.
- Cardboard is excellent for protecting surfaces while working on them. Material such as cardboard can be cut down to size and spread out on counters, floors, doorsteps, etc. Place the protective covering where you will be working (next to the board that needs attention), place it over the nails that stick up, and hammer away at it until all pins come loose without damaging the surrounding area.
- Cardboard is also great for keeping small parts when storing them in boxes after use.
Frequently Asked Questions
What Is the Fastest Way to Remove Deck Nails?
If you are looking to remove deck nails quickly and easily, one of the best options is to use a nail gun. These guns use compressed air or CO2 to fire the nails into pieces that can then be removed with a standard hammer. They’re easy to operate and can be used both indoors and outdoors. Just make sure that you have plenty of spare cartridges in case there are any problems along the way.
What Kind of Nails Do You Use for a Deck?
A deck is a popular flooring option that can be made with a variety of materials, including wood, composite, vinyl, or plastic. When choosing a material for your deck, you’ll want to consider the weather conditions in your area – wood decks are best suited for climates that are warm and dry, while plastic or composite decks are better for colder climates.
When it comes to nails, you’ll want to use nails that are specifically designed for decks. These nails have a thicker head and a longer shank than standard nails, which makes them more durable and resistant to damage. You can find these nails at any home improvement store or online retailer.
Is It Better to Screw or Nail Deck Boards?
It may come as a surprise, but screwing deck boards is actually the best option. This is because screws are much less likely to cause damage than nails. In fact, when screws are installed properly, they can actually hold more weight and resist decay better than nails.
Nails also tend to become loose over time, resulting in holes that water and wildlife can enter and ruin your deck board. Additionally, nails often puncture the Deck Board, which allows moisture and mold growth to occur.
Can I Use Nails on Deck Boards?
Yes, you can use nails on deck boards. However, be sure to use the correct type of nails for the job. spikes are designed to penetrate into wood and hold things in place, while hammered nails merely adhere to the surface. Hammers are usually used when fastening materials such as shingles or metal sheets directly to a board without any other support.
Conclusion:
I hope this article has offered all the necessary information on how to remove deck boards with nails without damage. Ensure all the precautions. Thank you and have a nice day!
Check it out to learn- How to Fix a Heaved Deck Post


