Introduction
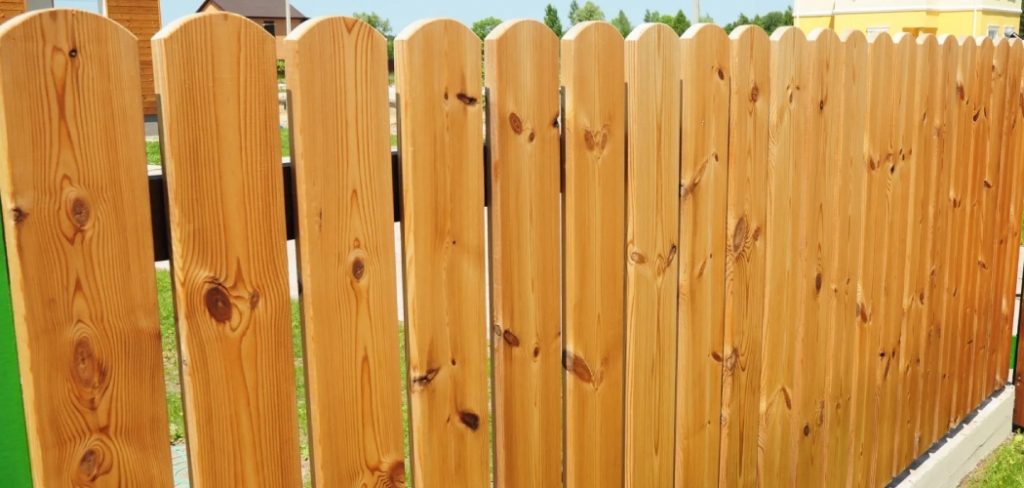
Every year, many people use round fence posts to enclose their property. They are often made of wood or metal and are very durable. The purpose of a fence is to keep animals in or out, but the type you choose will depend on your preference for appearance and durability.
The two most common types of fences are wooden boards or fence panels with vertical pickets used for privacy fence and chain link fence material which provides good visibility while still being strong enough to contain livestock. In this article, I will discuss how to cut round fence posts. So let us get started.
A Detailed Stepwise Guide on How to Cut Round Fence Posts
Step One
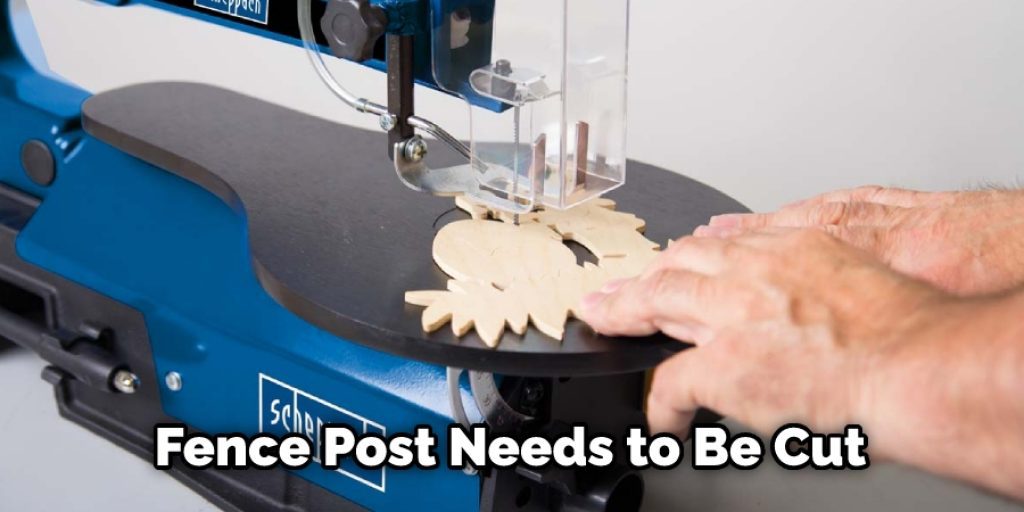
Get a jigsaw. Angle iron is not much use to you unless it’s in the shape of rings. If your common fence post needs to be cut in an intricate pattern, skip this step and purchase a scroll saw or band-saw blade.
I find that most round wood posts require only straight cuts without any curves. It helps if you “plug” the holes with something to keep them from splitting into nibbles when you make your amount – tape works well here, or fiberglass resin if you happen to have some laying around (like under your workbench where all good things go).
For copper pipe, get out the tin snips and start hacking away at the item until it looks like something even a Neanderthal would be proud of.
Step Two
Make a cut on each side of your fence post about three inches from the top and six inches below the bottom. This way, you’ll have something to hold onto when you start kicking it around with your foot in that “Yeah-I’m-gonna-kick-some-ass” sort of impotent rage that we all get into from time to time.
But, again, I find that most wood posts are hollow inside and will break without too much difficulty. If you’re not sure if they’re solid or not, just run a stick down them, and if it goes through, don’t kick it any more complicated than is comfortable for the kids watching.
Step Three
Flatten one edge of the common fence post by battering it with a hammer. Be sure to give it a good solid hit on each side of its length, or you’ll break off an edge that will need to be removed later with tin snips. Be sure to give yourself some room when you wallop away. I’ve broken the wood, the post, and even my toe on occasion with one solid stroke of my mighty hammer.
Step Four
Cut the edge off of the flattened area by cutting at a 45-degree angle down into it. Make your cut about an inch or two in from where your previous cuts stop. You might want to use that round file after this step to smooth out any rough spots that are left.
Step Five
Repeat Step 3 twice more until you’re below four inches off of the bottom of your fencepost (this is assuming that you’re not making a gate with hinges on top). This will help prevent splitting further up along your post when it’s time to cut it. If you’re making a regular gate that doesn’t need hinges, you can probably cut it down to about a couple of inches below the previous step, but I haven’t tried it this way yet myself.
Step Six
Now is when things get tricky. You should have enough wood left below your fourth cut to hold onto with your foot, but not much above that point. The reason for this is because you’re going to take the fencepost and put pressure on it until there’s no room left inside of it at all, then kick it!
By kicking the post into itself, you are forcing air out of its center. This makes its diameter smaller, which allows more force being applied by your foot until the post breaks along one of the cuts.
Step Seven
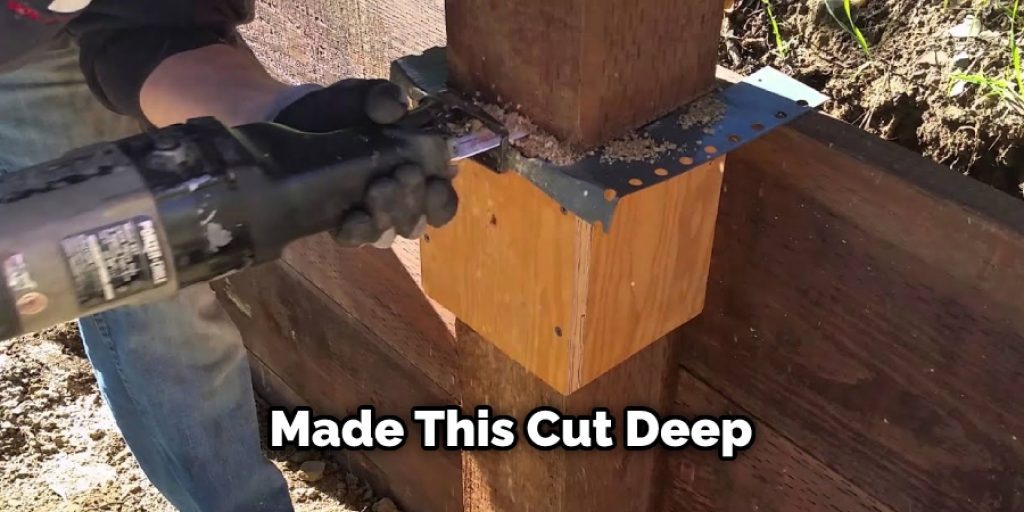
Make another cut on either side of your fence post about half an inch to an inch below your third cut (the one you made six inches below the bottom). It would help if you made this cut deep enough to get through, but not too deep.
I usually mark it with my finger and then go back up to it later and feel how far down my finger is going when I push in a little bit. This way, I don’t have to guess what “half an inch” or whatever looks like from above, which can be challenging if you’ve been drinking.
If you have trouble making out details in the dark, use a flashlight instead of a candle. The light from a candle can make it hard to see details when you get a little bit of grease on your fingers and transfer it onto the post where you can’t see it.
Step Eight
Get ready for the real trick! The idea here is to try and break off that extra half inch or so that’s sticking out into empty air by pressing all of your weight down upon it until, one way or another, that piece breaks off. If you’re lucky, this will happen all at once with one kick from your foot. This doesn’t happen right away, which can be frustrating if you don’t know what to do next.
It might help to light yourself some tinder with either matches or a cigarette lighter. Light the tinder and hold it near your fence post where you’re going to kick it, light yourself a cigarette, or do whatever else you need to do so that you don’t feel rushed. This is a tricky thing to accomplish and will take a lot of practice before you can finally master it. If, at first, you have no luck, try again later after taking a break from the exercise.
Be patient with yourself, as this may be frustrating for those of us who are more used to living in an industrialized society where we’re spoiled with having everything our hearts desire. Your people’s patience back then made them more robust than those who aren’t willing to work as hard for their goals.
Step Nine
Once you finally break off that last little bit, you can then cut it down even shorter along its length. Again, remember that your fence post is now stronger because you used the extra time to ensure that your cuts were even more accurate than they would have been had you just kept going with Step Eight right away.
Step Ten
Do this for all of the rail fence posts around your garden fence rails or chicken pen, or whatever else you’d like to use these for! The ones I’ve used are about four feet long by two inches wide and work great for keeping animals out of my garden.
You Can Check It Out to Brace a Fence Gate
Conclusion
I hope this article has been beneficial for learning how to cut round fence posts. Ensure all the steps are followed accordingly. Thank you and have a nice day!


