Having a fence around your property is an excellent way to keep unwanted visitors out. It’s also nice for privacy purposes. If you already have a chain-link fence, but it has become bent and rusted over time, don’t worry because you can take steps to fix this problem. This article will teach you how to fix the bottom of a chain link fence. The entire process should only take about two hours max!
Chain link fences are quick and easy to install, but they can be challenging to maintain. This is because the bottom of a chain link fence often gets damaged over time by heavy traffic or animals running through it. One of the best things about fixing these types of fences is that they are not expensive when compared with other options like purchasing a brand new one or having someone come out and do it for you.
Tools and Materials
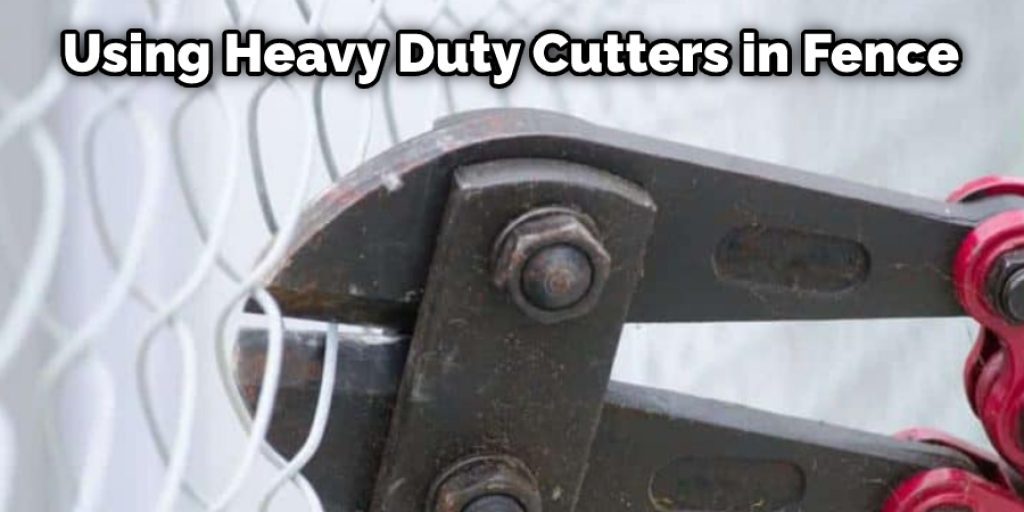
- Heavy-duty cutters or bolt cutters
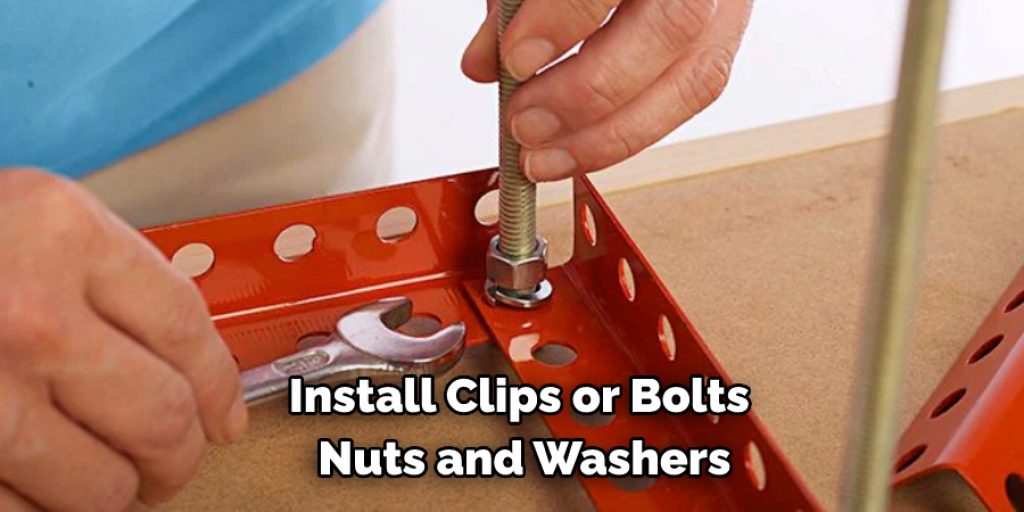
- New chain link clips or bolts, nuts and washers
- Safety glasses
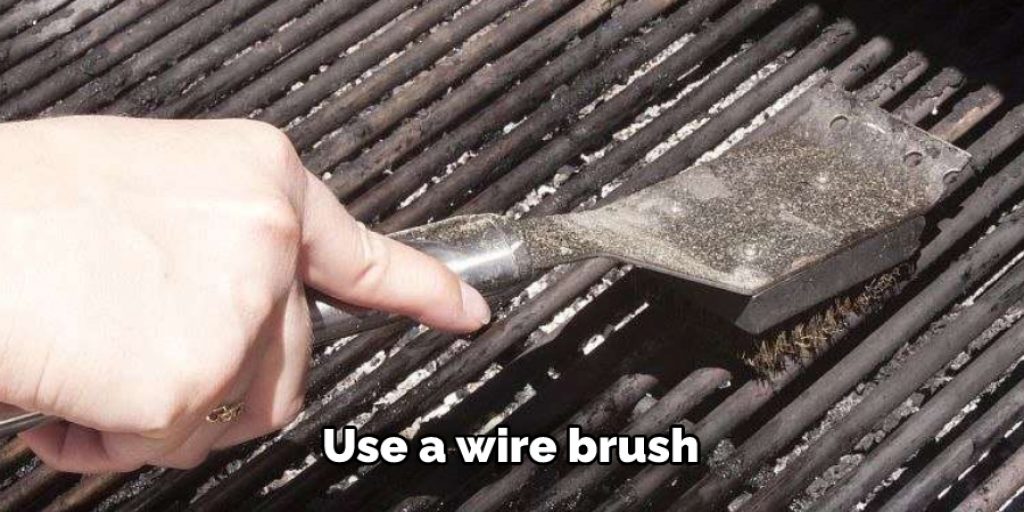
- Wire brush
A Detailed Guide How to Fix the Bottom of a Chain Link Fence
Step 1 : Identify Area to Be Repaired
In order to fix the bottom of a chain-link fence, you need to know which panels require repair. This will be determined by identifying where the repaired panels fit into your existing fence.
You should always start from the bottom and work your way up. Next, you will need to remove the damaged panels from the fence. To do this, you will need to loosen the tension bands that hold the panels in place. Once the tension bands are loose, you can simply lift the panels out of the fence.
Step 2 : Untie the Fencing
To remove the fencing, either use heavy-duty cutters or bolt cutters to undo any wires holding the fencing together at the top, or if there are no wires, use your hands to untie each fence panel from another one. The fencing should now be loose and able to be removed by hand.
Step 3 : Cut Out the Fencing
You will need to cut along the bottom of the panel where it is bent. There should be a small section of fencing under the bar that can still be used on the outer side of your new fence panel. This method will provide easier installation, and you won’t have to worry about misalignment when reattaching your panels.
Use a strong screwdriver or punch to push the fencing panel through the holes in the bracket. It may be helpful to use a board to prop the bottom of the fence panel up while pushing it through the holes.
Step 4 : Cut Out Any Damaged Metal
Use a wire brush to clean any area where there is damage or rust on your chain link fence. You want to remove all sagging material to create a flat surface for attaching your new pieces of metal. All surfaces must be clean before you attach anything.
Step 5 : Drill Holes for Clips or Bolts
Use a drill to make two 1/4 inch holes either 6 inches apart or 6 inches from the end of your new piece of fencing. Make sure you place these holes in the right location; otherwise, they will not line up with the existing chain link fence.
Step 6 : Install Clips or Bolts, Nuts and Washers
Now you are ready to attach new clips or bolts, nuts, and washers to your fence. First, slide one end of the clip or bolt through the bottom of your fence panel, then thread on a nut followed by a washer. Ensure that this is done on both sides of the bar for each installation clip.
This will help you in how to fix the bottom of a chain link fence. Now, with the help of a hammer, give the clip or bolt a few light taps on the head to drive it into the fence post. Repeat this process for each clip or bolt that you need to install. Once all of your clips or bolts are in place, tighten them down so that the fence panel is firmly attached to the fence posts.
Step 7 : Cut Off Any Excess Bolt
Use your heavy-duty cutters or wire cutter to remove the excess bolt close to where it protrudes through the fence panel. Use a file to smooth out any rough edges created by this step. One side of the fencing should still be loose at this point if you have cut along the bottom of the panel as directed.
Step 8 : Secure One End of New Piece
Secure one end of your new piece inside the existing chain link fence opening using your hand. Depending on which type you are installing, you can do this with either a clip or a bolt and washers. Make sure that when inserting the fencing into your existing chain link fence, you don’t push too hard and distort the shape of your new fence panel.
Step 9 : Insert Other End of Fencing
Use your hand to insert the other end of your new piece of fencing into the opening on the other side of the existing chain link fence. Again, make sure that you are not pushing too hard and distorting the shape of your new fence panel. Once you have secured your new fence panel in place, using the same method as before, add tie wires to your new fencing. This will help secure it in place and also blend it with the existing fence.
Step 10 : Tighten Clip or Bolt
Once both ends of your new piece of fencing are in place, use a wrench to tighten down the clip or bolt. This will secure your fencing in place and keep it from moving around. You may need someone to help you hold the fencing in place while you do this step. Repeat steps 6-9 for each panel that requires repair. Once you have gone around the entire fence, your bottom should be secure again and ready to use.
You can check it to Fix Hole in Bottom of Gas Grill
Step 11 : Don’t Overlook the Posts
Whenever you are installing a piece of new fencing, make sure that both posts are straight before securing it in place. If the post is crooked, your entire https://smarthomepick.com/how-to-level-fence-posts-on-uneven-ground/fence will not be level and look awkward.
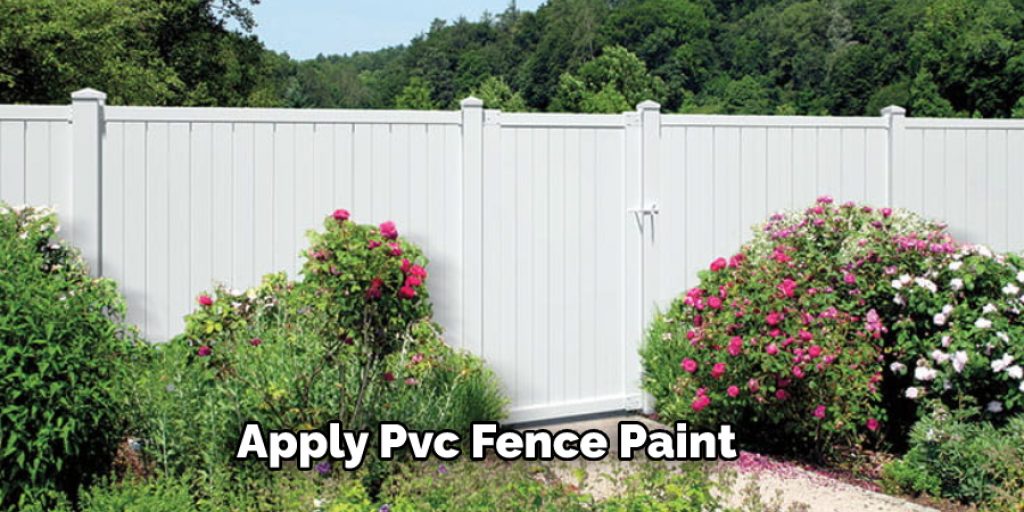
Step 12 : Apply PVC Fence Paint
Paint your new fence panel to match the rest of your existing chain link fence using a coat of black PVC fence paint. Make sure that all surfaces are painted thoroughly and evenly to keep water from getting into the fencing and rusting it out again.
You can check it to Keep Fence Gate Open
Step 13 :Secure Metal Edges With Welded Wire Mesh
To create a clean-looking edge on your newly repaired bottom section, secure the metal mesh over the top edges using baling wire or zip ties. You can then go around the new piece of fencing with a wire brush to clean it up or paint on PVC fence paint if you’d like.
You can check it to Fix Gap Under Fence Gate
Tips
- If the bottom of the fence is sagging, use a piece of wood to prop it up. This will keep the fence from collapsing and allow you to fix it properly.
- If there is a hole in the fence, use wire mesh or chicken wire to patch it up. Make sure that the patch is secure and will not come loose.
- If the posts are weak or rotting, replace them. This is a more difficult task, but it is necessary in order to keep the fence standing. You should hire a professional to replace the posts.
How Do I Keep My Dog From Going Under the Chain Link Fence?
One common way to keep your dog from escaping is to install a fence at the bottom of your chain link fence. This will help to prevent your dog from sneaking underneath the fence. You can either purchase or build a fence for this purpose.
If you choose to purchase a fence, a few different options are available. One option is an underground pet containment system, which will create a barrier around your yard that your dog cannot cross. Another option is an electric fence, which will shock your dog if they attempt to go past the boundary.
If you choose to build your fence, you can use chicken wire, PVC pipe, or wood boards. The key is to make sure that the fence is installed along the ground, is the same height as your chain link fence, and does not have any holes large enough for your dog to fit through.
If you do not want to put in a new fence, you can also try using a chemical repellent or a motion-activated sprinkler. These options will discourage your dog from going under the fence without an expensive installation process.
How Do You Stabilize a Chain Link Fence?
The bottom of a chain link fence can become loose and unstable for several reasons. One way to stabilize the fencing is by placing wood stakes underneath either side of each post so that it is perpendicular to the ground. Drive a stake into the ground until it is beneath the post about one inch. Replace damaged posts as needed by removing them from their mounts and using a crowbar to pry off topsoil from around the hole. Set a wooden stake in place, then fill with concrete mix and tamp until firm.
The top of a chain link fence can become loose and unstable for several reasons. One way to stabilize the fencing is by tightly securing wire or cable ties between sections of fencing that seem loose or saggy.
Conclusion
Don’t stress if you need to fix the bottom of your chain link fence. We have all the information you’ll need on how to repair it here! You can use metal or wooden posts and brackets for support. There must be no rocks in the dirt before digging because this will cause problems when installing your fence line into place.
Make sure to properly measure where each stake needs to go so everything lines up correctly, including any gates or other openings in between sections of fencing. This article on how to fix the bottom of a chain link fence has provided you with all the tools necessary to resolve your broken chain link fence. Remember, fences are not only crucial for keeping things inside; they can also keep people outside too. So don’t let your problem go unaddressed- find the answer today!
You may read it also – How to Stop a Dog From Chewing on Wood Fence


