Gymnastics is a sport that requires many skills, and one of the most important ones is to perform complex acrobatics. One way for gymnasts to get better at these skills is by using a floor bar. These bars are used for performing handstands, kips, and other types of exercises where you need both hands on the ground.
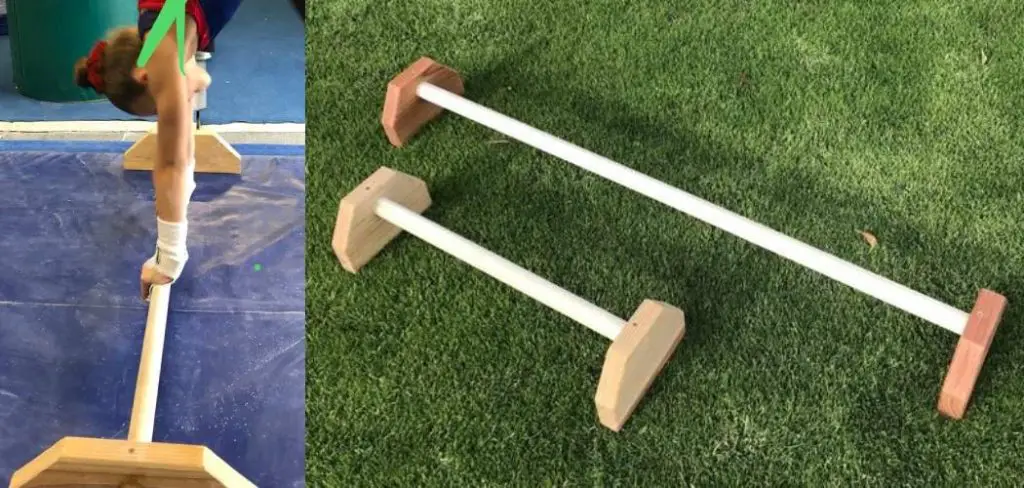
The best thing about these bars is they can be made out of PVC pipes and materials you can find around your house! If you want to know how to read on! If you want one but don’t have enough time to make it yourself, feel free to visit the official gymnastics equipment store. This blog post will show you how to make a gymnastics floor bar.
Steps to Follow on How to Make a Gymnastics Floor Bar
Step One: Find the Perfect Steel
The first step is to find the perfect steel. This can be accomplished by looking on Craigslist for a used steel bed. Look at the springs to ensure there are four sides and not two sides like a regular bed. Once you have found the perfect steel, cut it into five equal pieces using an angle grinder or other metal cutting saw.
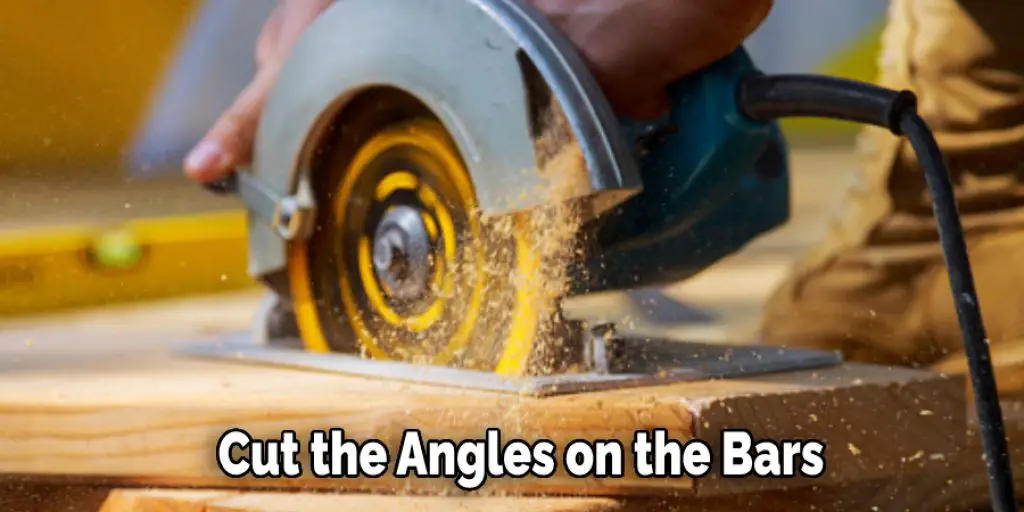
Step Two: Cut the Angles on the Bars
Cut angles onto each end of one of your steel bars using an angle grinder. Make the cuts at a 65-degree angle and cut on both sides of the bar creating two separate pieces. Please do this for all five bars and then remove sharp edges with a metal file and sand them down until your hands do not get sliced when you hold them.
Step Three: Cut Your Threaded Rods
Once you have filed the sharp edges of the bars, it is time to cut your threaded rods. First, cut two 5′ lengths of threaded rods for each bar. This will give you four pieces – one long piece and three smaller pieces that will go inside the threading of that one long piece. Once you have the threaded rods, cut them into four pieces that are 5′ each, with three 15-inch pieces and one 12-inch piece of threading.
Step Four: Drill Holes in Your Threaded Rods
Your threaded rods are now ready to be drilled. Put all five bars together on top of each other, end to end. Lay them out on your drill press and line up the holes in all five bars. Now drill straight through using a 3/8-inch bit down two sides of all five bars. Do this for each bar so that you have drilled ten holes total of two holes per side times five threaded rods.
Step Five: Tap the Threaded Rods
Take apart all five bars and file down any sharp edges or burs. Next, put one of the threaded rods back together by lining up the holes in the bar and threading it through, leaving one 15-inch piece on each side to keep it put. Finally, retake your drill press and put a 3/8-inch drill bit into it.
Now lock the chuck so that it does not move and press down on it with all your weight until you feel a pop in the rod to let you know it has been tapped. This creates threads inside the rods, so they will screw onto each other once you have put them all together. Do this for all 5 rods, one at a time.
Step Six: Weld the Bars Together
Once you have your threaded rods with holes drilled in them, it is time to weld them all together. First, put the bars back together in their original pattern with two on top of each other and three on top of those still lined up with the holes in each bar.

Now take the threaded rods and screw them together by matching up the threading of different bars and adding a 2″ 2-inch piece to one end and a 1″ long piece on the other end. Once you have all five bars connected, weld them together, so they do not come apart.
You Can Check It Out to Hang Gymnastic Rings in Apartment
Step Seven: Weld Your Angle Ends on the Bars
Now that your bars are welded together, take them off the drill press table and put two 1″ pieces onto the 5′ threaded rods. Put these back onto the drill press table with one side of each bar lined up with a hole drilled in it.
Now line up each hole so that they are all facing down and drill straight into each bar. Do this for both sides and then weld the 1″ pieces onto the bars so that they do not come apart in the middle of a routine.
Frequently Asked Questions
What Type of Wood Is Used for Gymnastics Bars?
Wooden gymnastics bars are usually made from pine, oak, or maple. Pine is the most common wood for wooden gymnastics bars because it is durable and has a uniform grain pattern. However, pine may be too soft to use on its own, so other woods like oak or maple are sometimes added to increase strength and durability.
How Tall Should a Gymnastics Bar Be?
The height of a gymnastics bar is determined by the person’s size using it. A bar that is too high for someone will make them uncomfortable and increase their risk of injury.
The minimum height should be about waist level, but this depends on what type of training. If you are just getting started with gymnastics, a shorter bar would be best because it’s easier to get on and off the ground. If you’re more advanced, you may want to use a taller bar so that your arms can go all the way down when performing certain skills.
What Is the Gymnastics Floor Made of?
The floor is made of rubber. The gymnastics floor is also known as the sport’s surface, and it consists of a hard, flexible, and durable base made of heavy-duty rubber with foam padding on top.

What Is a Kip Bar?
A kip bar is a drink that contains caffeine, sugar, and a few vitamins. One popular kip bar is Red Bull which is marketed as “Energy in a can.”
It is also known as an energy shot. It contains caffeine and taurine.
Conclusion
The bar is made from PVC pipe, but any type of tube can be used. You will need to buy a couple of pieces for the width and height you want your bars to be. Cut the pipes in half with an angle grinder or saw and make sure they are both cuts so that when assembled, it creates a sturdy bar.
Once all of the parts have been cut, assemble them by drilling holes into one end of each piece then using bolts or metal clamps to attach them securely. Finally, paint your new floor gymnastics bar! We hope you enjoyed this article on how to make a gymnastics floor bar.
You may also read – How to Keep Exercise Mat From Sliding on Hardwood Floors


