The old pipes under the sink are leaking, so it is time to put them back together. A new set of tools will be needed for this project. The first thing to do is take off the top of the pipe and then turn on the water to see where it’s coming from. After that, you unscrew all of the pieces until they come apart and can’t go any further without breaking some parts off.
Once you get everything separated, use a wrench to tighten up each piece one by one before putting it back in place wherever there was a leak or breakage. So, this article is for you. You will learn how to put sink pipes back together with just one simple trick!
Step to Follow on How to Put Sink Pipes Back Together
Step One: Determine
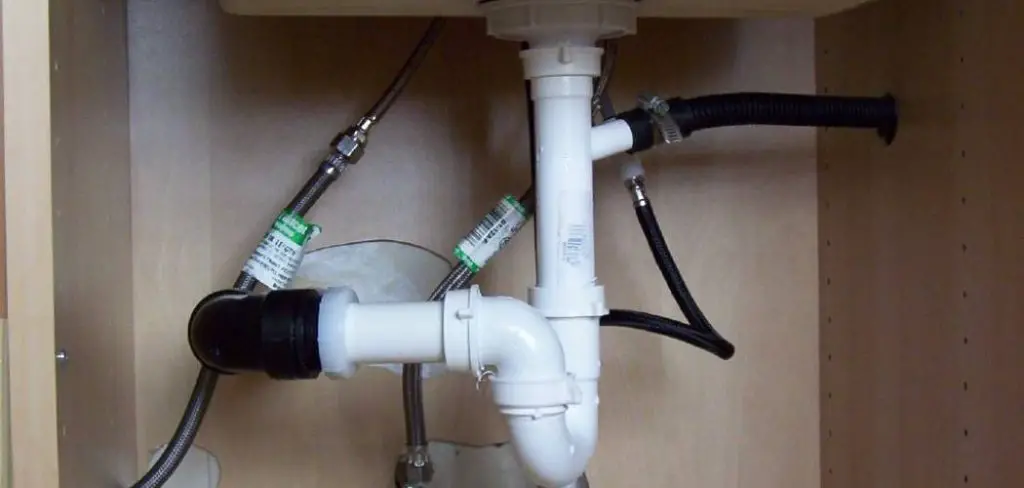
First, you need to figure out where the problem is. If it’s leaking, then the chances are that some or all connectors have become separated from one another. It’s also possible that a connector has broken, which will need to be replaced.
Before you begin, clear away anything under your sink so you’ll have room to work. Next, please take off the drain pipe cap on the pipe facing toward your feet, and then use some pliers to pull out the big plastic nut over the minor metal inside it. Next, using a wrench, take off the large ring holding down the metal strap underneath.
Step Two: Loosen Connectors
Next, go ahead and turn the water off using the shutoff valves located under your sink. If you don’t know where these are, turn off the main water valve in your house and then go back under the sink. Next, take out all of the connectors on both sides of any broken or disconnected pipe.
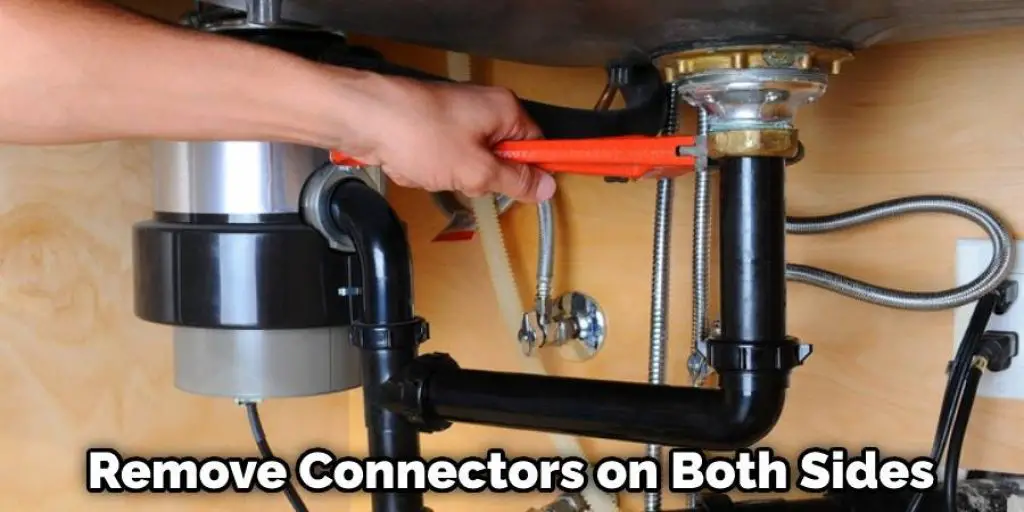
As you unscrew these connections be careful not to apply too much pressure as this may cause them to break further. Don’t be surprised if you see water leaking from some of the connectors, but this is nothing to worry about. After unscrewing them, make sure they are completely disconnected by wiggling them around before putting them down on the floor.
Step Three: Put Pipes Back Together
Reattach all of your sink pipe connectors one by one, starting with the nut at the top. Don’t forget to replace the drain cap once you get to the top. For each connection, be sure to put tape underneath it not to come undone while you are grabbing other connections.
Next, go ahead and attach the metal strap back on with a pipe wrench and tighten down the large ring underneath. Next, reattach the shutoff valves for both sides of the sink pipe and turn the main water back on. Finally, check for any leaks and put your tools away.
Step Four: Clean Up
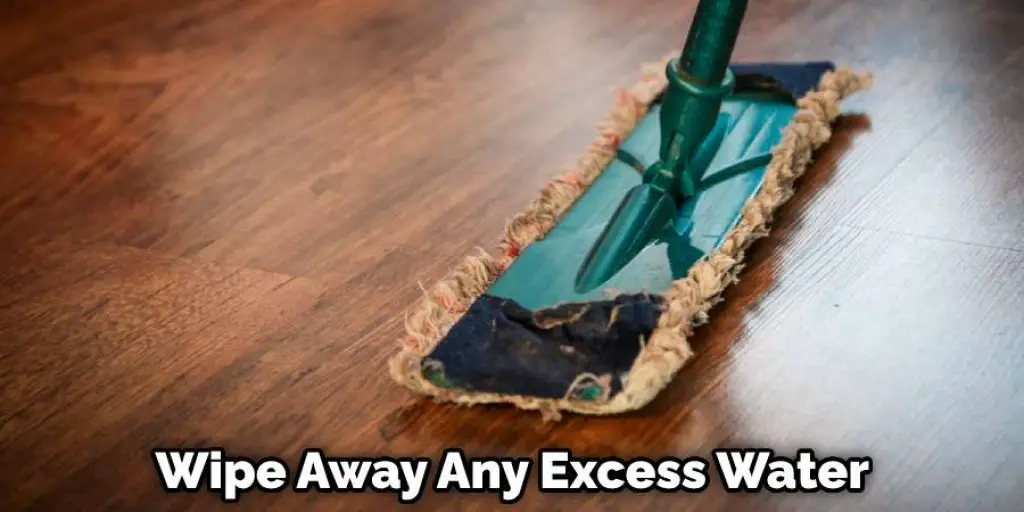
Wipe away any excess water from under the sink and from around the pipe connections. Then, get a mop and clean up any excess water inside the cabinet or on the floor that you might have spilled while working. Next, get a rag and some cleaner to wipe down all of your tools before putting them back in their place.
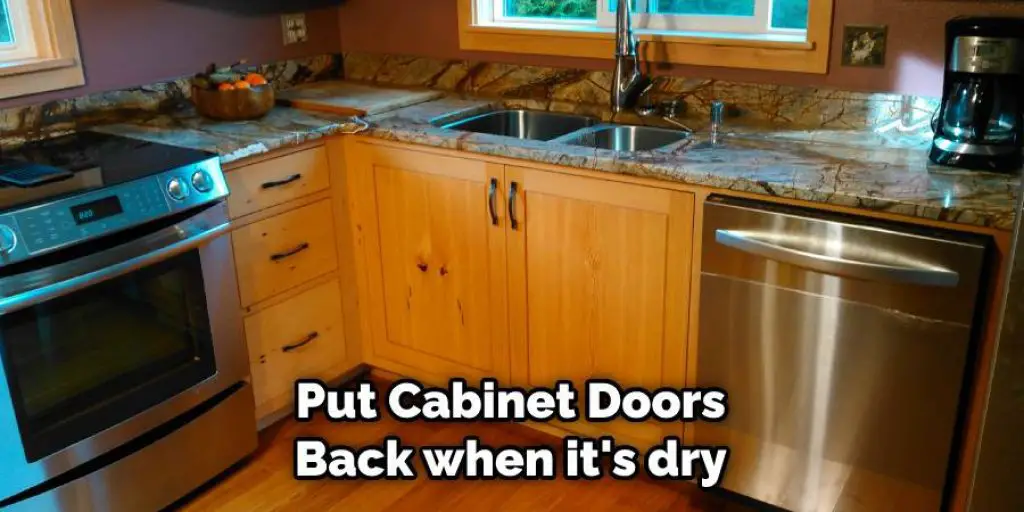
Finally, put away all of your tools and everything you took out from under the sink. Make sure to put everything back in its place and check for any leaks one last time before putting the cabinet doors back on. These steps should help you in learning how to put sink pipes back together.
Step Five: Check for Leaks
Finally, check to see if you have any leaks. If you do, then tighten the nuts and screws that you initially loosened during the process and go back over everything with a damp rag one more time before putting the cabinet doors back on.
Make sure to have a nice long look at everything when checking for leaks because the chances are that you will be able to see exactly where the water is coming from. After you fix any leaks, tighten down all of your connectors and turn the main water back on again. If there are no noticeable leaks under the sink, you’re all finished!
Step Six: Maintain
The best way to prevent anything like this from happening again is by maintaining your sink connections and pipes regularly. This means cleaning them out every so often and replacing any corroded or deteriorating bits of metal. It’s also a good idea to check for leaks after each time you use the sink to be safe.
All in all, this is a relatively easy task that you can easily do on your own without having to call in professionals. All it takes is some time and patience, and soon enough, everything will be back to normal, and you can continue using your bathroom or kitchen sink like nothing ever happened.
Step Seven: Put the Cabinet Doors Back On
Finally, put your tools away and make sure to clean up all of the extra messes that you might have made while doing this. Then, after making sure everything is dry, go ahead and put your cabinet doors back on.
After everything is finished up, all you’re left with is just a little bit of elbow grease, and the time it took to get everything back together. But, after all is said and done, you can relax knowing that sink problems are resolved, at least for now, and start using it like every day once again.
You can check it to Build a Pipe Fence on Unlevel Ground.
Conclusion
If you’re going to replace your kitchen or bathroom sink pipes, it will be important that you know how to put them back together. The first thing you need to do is turn off the water at the shutoff valve, which should be a few feet from where the pipe enters or leaves from under your house.
Once this has been done, disconnect all of the connectors by twisting and prying with a screwdriver or wrench if necessary. Then use the plumber’s tape on each connection before reconnecting everything, so there are no leaks between contacts. We hope you enjoyed this article on how to put sink pipes back together.
You can check to out – How to remove sink drain pipe coming out of wall


