Introduction
Fence posts are essential to the security of a property. The height, length, and quality of material used all make up for any flaws that might be present in other aspects of the fence. If you find your post is not straight, it will need to be cut down or replaced with another one. This article will outline how to straighten a warped fence post. So let us get started.
A Detailed Stepwsie Guide on How to Straighten a Warped Fence Post:
Step 1:
Remove the existing fence post by digging under it with a shovel, then prying it out of the ground using a crowbar or flat bar. When you remove the post, if any straight pieces of wood are attached to it (such as pickets), they may be salvageable and can later be reattached to your new posts.
Step 2:
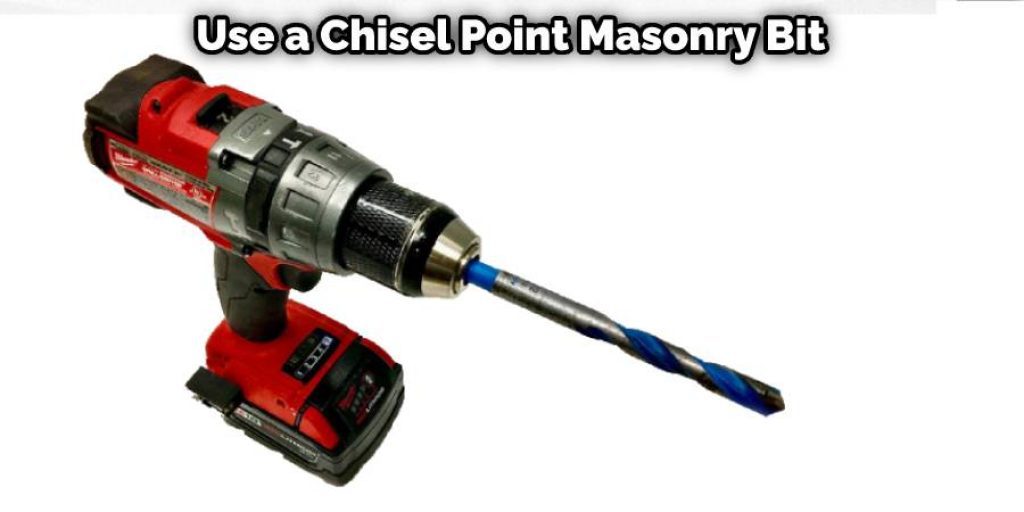
Set up your rotary hammer at the end of the last board on one side of your old fence line, which is still in place if multiple boards are running down your fence line). Use a chisel point masonry bit that will allow you to drill through one panel at a time without breaking through to another board which could cause damage when you start pounding on them with a sledgehammer.
Step 3:
Drill holes through the boards using your rotary hammer at about 1-inch intervals down both sides of the fence line so that you have a spot on each side of every commission.
Step 4:
Using a masonry chisel and sledgehammer, chip out all the wood from between the posts and each board except for one seat on each end which you will use to attach your straightened panels back onto when finished with this process. This is done by drilling a small pilot hole in the center of these two posts, then pounding a wedge into them until they split apart and come undone from their respective metal stakes, which hold them to the ground. Then set these two posts aside for later reach to your new straight fence boards.
Step 5:
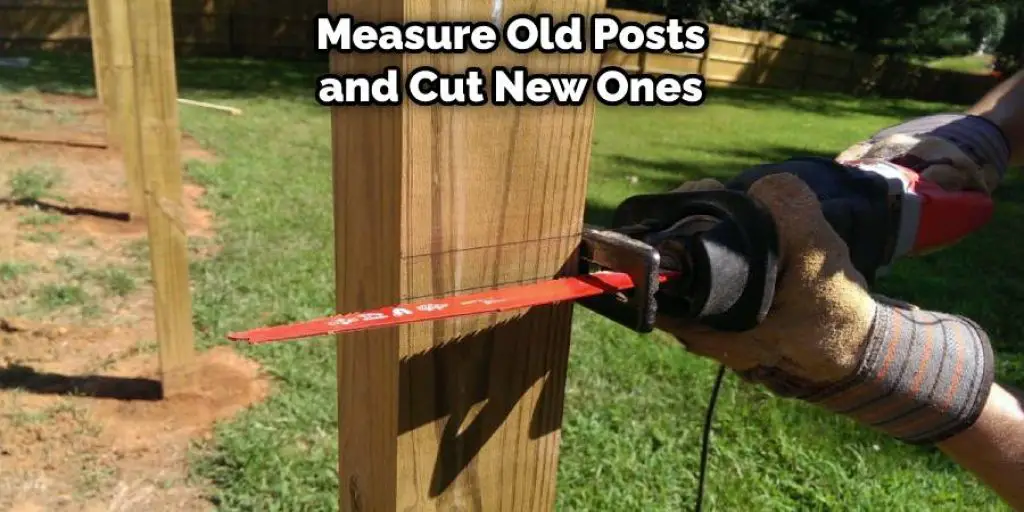
Measure your old posts and cut new ones to the same length using a nail gun to attach them to the ground in the exact place where yours used to be.
Step 6:
Place one of your straightened fence boards down on top of two posts, lining up the holes you drilled previously with those on your new posts until it sits evenly flat around all sides. Use deck screws than nails from a brad nailer to reattach that board onto its posts, then flip it over and repeat with another piece on either side until you have replaced all boards needed for at least one whole section of the new straight fence line.
Step 7:
Add more pieces along this section as necessary until both ends meet again, creating a continuous stretch of the straight fence line. At the very least, you should leave one entire linear space of fence pole plus a few extra inches at each side before adding new posts and boards so that you can later add on your cross braces and connect this to the rest of your fencing.
Step 8:
Repeat steps 1 through 7 for as many sections as needed until completed.
Step 9:
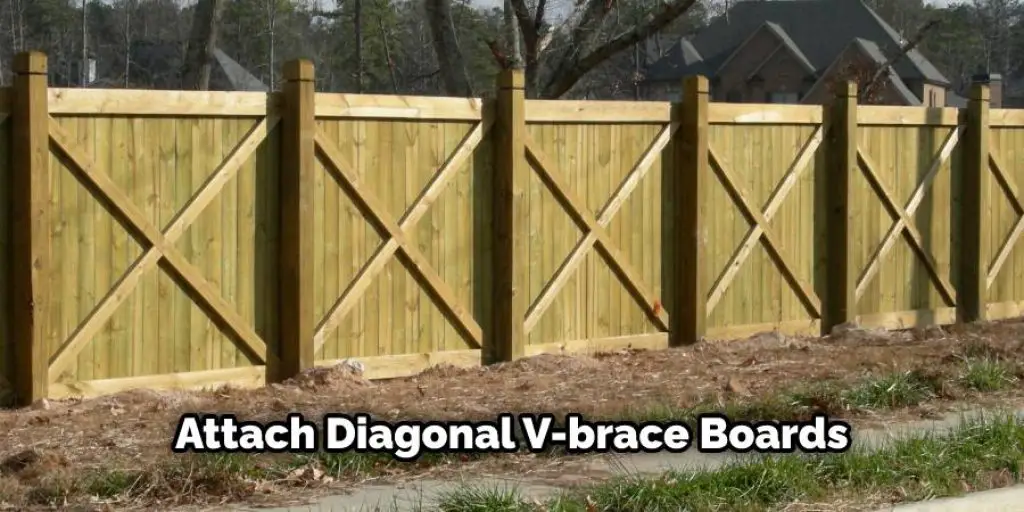
Finish by adding more support to all sections with an additional post in between each existing one, then attach diagonal v-brace boards over top of those support posts by screwing into them from the bottom up with deck screws or nails from a brad nailer until those boards are firmly attached and create a solid structure along all sides and corners of your fence line. If desired, paint all boards and cross braces to match your new fence after it is complete.
Step 10:
Move along with your life and enjoy the peace of mind that comes from knowing you will never have to deal with this problem again!
Precautions While Straightening a Warped Fence Post
- Always wear heavy gloves, eye protection, and ear protection when using these devices. The pressure you are applying to the fence post will be intense, but it is necessary if you are going to straighten your fence post into something that looks like it belongs in a national park instead of on your side yard.
- Use extreme caution when using these tools close to electricity lines. Always be aware of power lines near where you are working, and please do not attempt procedures involving electric fence wire wrapped around the pole or tools if there is any chance the wire could contact an electrical source. If you are unsure whether electricity may be present in any way, ask an expert before proceeding further with this project. Also, do not allow children to play near or around an electricity distribution line.
- Always check your work area for signs of water before starting this project, especially if you are on a section of fence that has been damaged by weather. Water running down the fence post will be forced deeper into any cracks you create when driving in the jacks and wedges, making it even more important to dry the wood thoroughly using fans, dehumidifiers, or some other method before continuing with this job. It would help if you allowed enough time for the wood to dry completely because applying pressure while working on wet wood may split open your efforts to straighten things out, making them worse than they were original. If you see any sign of water while doing this work, stop immediately and consult an expert.
- Always use proper personal protective equipment to avoid the possibility of injury from sharp nails, splinters, or similar hazards that may be present on a warped fence post. Be especially careful when working close to electrical wiring, often having exposed sharp wires protruding from it. Some older electric fences wire may even have insulation that is deteriorating and falling off. Remove your gloves before handling this type of material as insulation can easily hide under them and give you a nasty shock if you pick up some with bare hands.
- You must make sure no people are standing in front of the fence post while using any jacks or wedges to straighten it out because they could be injured by something falling onto them from above as you work.
- Never attempt to straighten a fence post using these methods that are not secured on both ends by being nailed, screwed, or otherwise attached to cross beams. For example, suppose the base of your fence post is resting on nothing but dirt while the section above the ground lays flat against a concrete foundation. In that case, it will come up without warning when you begin forcing it down and could cause injury if someone is standing in front of you the moving portion.
Conclusion
I hope this article has been beneficial for learning how to straighten a warped fence post. Thank you and have a nice day!
Related Article – How to extend wooden fence post height


