Drywall is a common material used in home construction and remodeling. It is easy to install and can be painted or wallpapered to match any decor. Plywood is a sturdy wood panel that can be used for various projects, from creating furniture to adding extra insulation to your home. It is also easy to install and can be painted or stained to match any decor.

When you combine plywood with drywall, you get a secure and sturdy building material capable of withstanding heavy loads. However, there are specific techniques for attaching plywood to drywall. If you don’t use the right tools and follow the correct steps, your plywood will not be secure. Plywood is a type of wood that is made up of thin layers of wood veneer glued together. Plywood is used in many construction projects because it is strong and versatile.
Depending on what you’re using it for, there are many ways to attach plywood to drywall. The best way is to look at the project requirements associated with the job itself. So, this article is for you. With just one simple trick, you will learn how to attach plywood to drywall! Drill a pilot hole through the plywood and into the drywall. Insert a screw through the washer and tighten. Repeat this step for each fastener.
6 Steps to Follow on How to Attach Plywood to Drywall
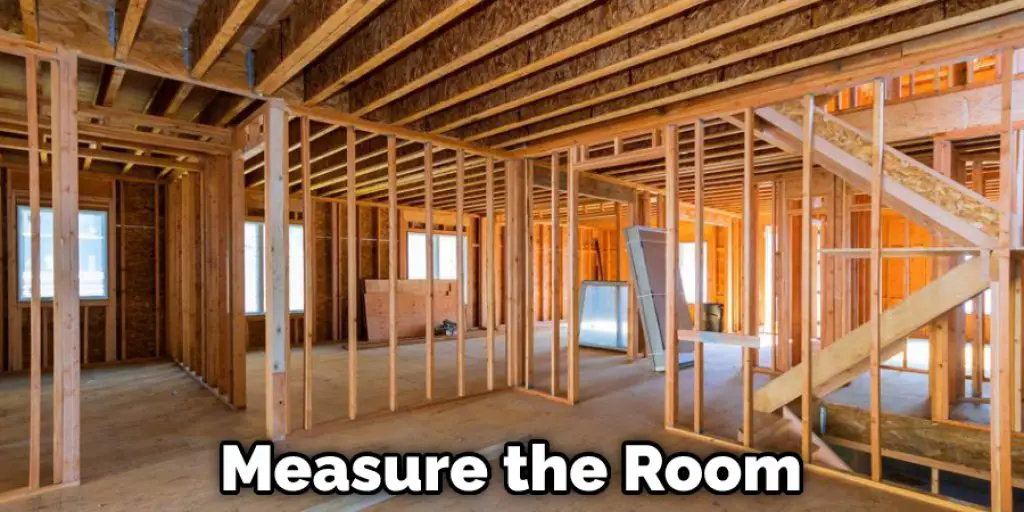
Step One: Measuring
The first step in attaching plywood to drywall is to measure the room you plan to cover with plywood. This step ensures that you will have enough plywood for your project, and it also provides that the finished product will fit properly. Make sure to take accurate measurements of your area before heading out to purchase material. Next, you need to find the studs in your wall by lightly tapping along the wall until you hear a solid sound. This is where you will be attaching the plywood.
If you are installing plywood over drywall the same size or smaller, you can use a standard-sized sheet of plywood for your project. You will need to measure the width and length of the room you are planning on covering with plywood to know how much plywood is needed for your project. If you are looking to cover an area larger than a sheet of plywood, you will need to combine multiple sheets of plywood to complete your project.
Keep in mind that with most projects, you will need to factor in about one inch of extra width and length, as plywood is rarely ever cut perfectly straight. A standard sheet of plywood is about four by eight feet, covering approximately 16 square feet.
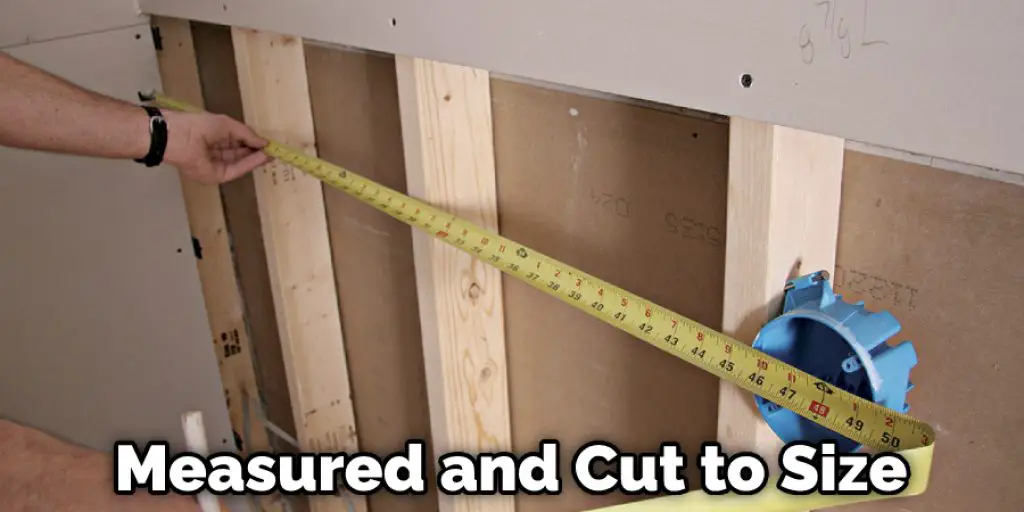
Step Two: Cutting to Width and Length
Once you have successfully measured your room and determined that a standard sheet of plywood is the ideal size for your project, it is time to cut the piece of plywood. Place one end of the plywood in the corner of your room where you would like to start your installation.
Use a pencil or paint marker to mark where the end of the plywood will meet in your room. After you have determined where you would like to start, use a circular saw with an appropriate blade for cutting plywood to cut along the line you have drawn.
Mark this same width on one of the adjacent walls, and measure up from the ground so that your plywood piece is resting firmly on the ground as you slide it under. This way, any excess plywood will be cut off at ground level and not need to be hoisted up over the wall later. In addition, this will help in how to attach plywood to drywall.
Step Three: Cutting the Holes
After the width and length of your plywood piece have been measured and cut to size, it is time to measure for any openings that may need to be cut into the plywood. Measure around outlets, light switches, smoke detectors, etc. Cut holes for all electrical sockets, light switches, or other anchored items in the same way out from the wall as the thing is anchored.
Use a circular saw with an appropriate blade for cutting plywood to cut holes that are large enough to fit your items through without having too much excess space around them but not so big that you damage the surrounding drywall. Keep in mind that if you are planning on attaching your plywood to the drywall with screws, it is best not to have any holes cut into the surface of the plywood.
Suppose you plan to install your plywood with an adhesive, especially construction adhesive, such as Liquid Nails, and mount it directly to the drywall without screws. In that case, you can cut any size opening for items that need to be attached to the surface of the plywood.
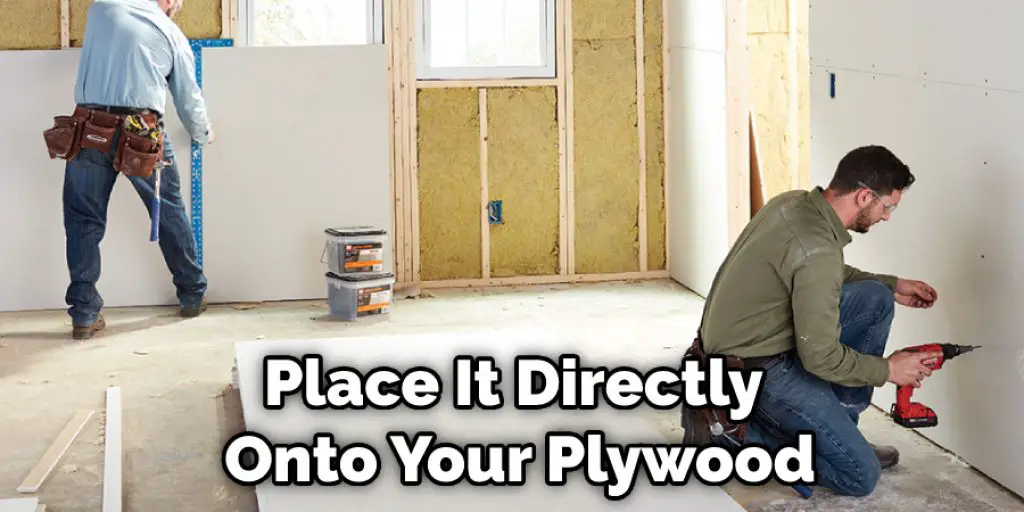
Step Four: Mounting Plywood to Drywall
When planning your installation of plywood over drywall, you have two options for mounting the plywood to the wall. The first option is to attach the plywood directly into the drywall with screws. This option is best if you plan to install your plywood over a smaller space, such as an accent wall or around an electrical socket.
The second option is to attach the plywood to the wall using construction adhesive, such as Liquid Nails. This option is best if you plan to install your plywood over a larger area that will be covered in material or need extra support, such as around an entire room or a ceiling.
If you do not have a stud finder and will not locate a stud at the desired location and still want to use screws, you can also attach your plywood by drilling directly into the drywall without finding the stud. These steps should help you in learning how to attach plywood to drywall.
Step Five: Construction Adhesive
If you plan to use construction adhesive, remove the backing from the Liquid Nails tape and place it directly onto your plywood. Press it firmly into place, as this will ensure that your sheet of plywood is firmly attached to the wall. To attach a sheet of plywood to a drywall surface, you first need to determine the size of a sheet of plywood to purchase.
Begin by measuring all four walls of your room and adding them together to find the total square feet you need to cover.
Next, head over to your home improvement store and pick out a sheet of plywood that will cover your entire room. Remember to measure any sharp corners or angled areas before you purchase your plywood, as this will save unnecessary trips back to the store if you end up with plywood that is too small.
Step Six: Finishing Touches
Before you hang your plywood, you need to prime and paint it. This is especially important if you live in a humid climate as the sheet of plywood may warp. If you would like, you can also prime and paint your wall before hanging your plywood for an accent wall or to match another design feature in the room.
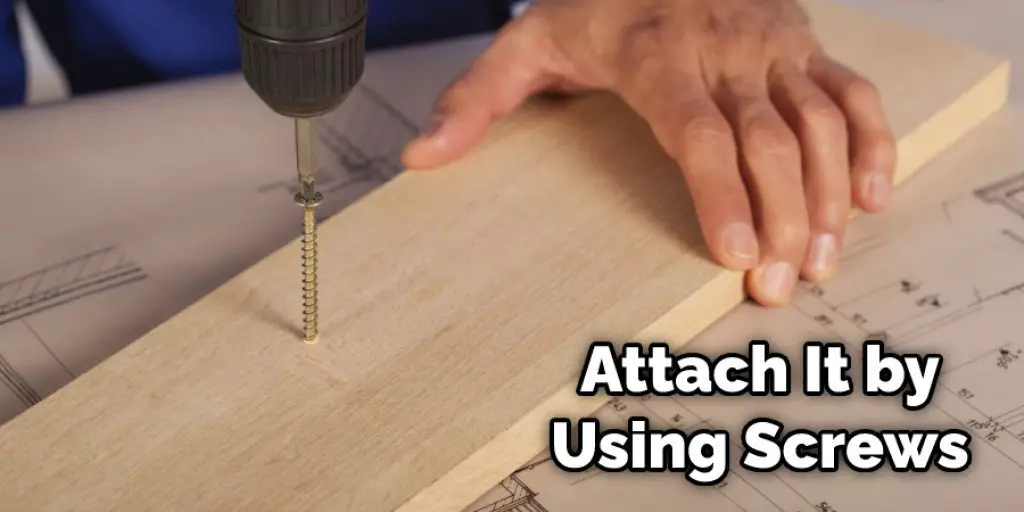
After your plywood and wall are primed and painted, you can hang your sheet of plywood onto the wall using screws or construction adhesive. If you used screws, be sure to drive them in as straight as possible so that they do not poke through the surface of the plywood.
If you decide to use an adhesive such as construction adhesive, press the plywood firmly into place until it is secure. Then, move on to hanging your sheet of drywall over the top of your plywood. This information will help you learn how to attach plywood to drywall.
You can check it to Remove Caulk From Drywall
How Do You Fix Plywood on Walls?
Drywall and plywood face many of the same problems when attaching them to a wall. They both have different sizes, weights, and strengths that need to be considered. If not connected properly, drywall can become loose or fall from the walls.
In most cases, drywall is much lighter than plywood; therefore, it is looser. Unfortunately, drywall is also not as strong, so it tends to break apart easily when drilled into. The best way to attach plywood to a wall is by using screws and drywall anchors.
Screws can be used to attach the plywood to the drywall, and then the anchors will help support the weight of both materials. If screws are not used, then screws should be added into studs and then wood glue will need to be put on top of the anchor to make sure it holds up well.
You Can Check It Out to: Fill Gap in Drywall Between Wall and Ceiling
Conclusion
If you are looking for a quick solution to attaching plywood, use the screws that came with your project. These will be significant, square-headed wood screws with an offset head, and they can be used in drywall without pre-drilling. The screw should go through both sheets of plywood and into the wall studs on either side of it.
This is easier than using nails and stronger because there are more points holding things together. Also, if the screws are long enough, they can attach metal corner beads. Finally, the conclusion paragraph is informative and provides information on how to attach plywood to drywall.
You may also read it: How to Remove Built in Drywall Shelves


