The post set in concrete is one of the most common types of fence posts. It consists of a metal rod drilled into the ground and then inserted into a hole in the concrete, where it can be secured with cement or screws. Removing an aluminum fence post set in concrete can be difficult, but there are some tricks to do so without much hassle.
One way to remove this type of fence post is by using a heavy-duty hammer drill attachment, which will cut through the metal at its weakest point-the top edge-and free it from being stuck in place inside the concrete. So, this article is for you. You will learn how to remove aluminum fence post set in concrete with just one simple trick!
Step to Follow on How to Remove Aluminum Fence Post Set in Concrete
Step One: Determine
First, it is essential to determine what type of concrete you have. Then, use a masonry blade saw to cut the perimeter of the fence post. You want to be sure that you are cutting through concrete, so marking where your cuts are will be very helpful. If you are unsure if you cut through the entire perimeter, make another pass with the saw.
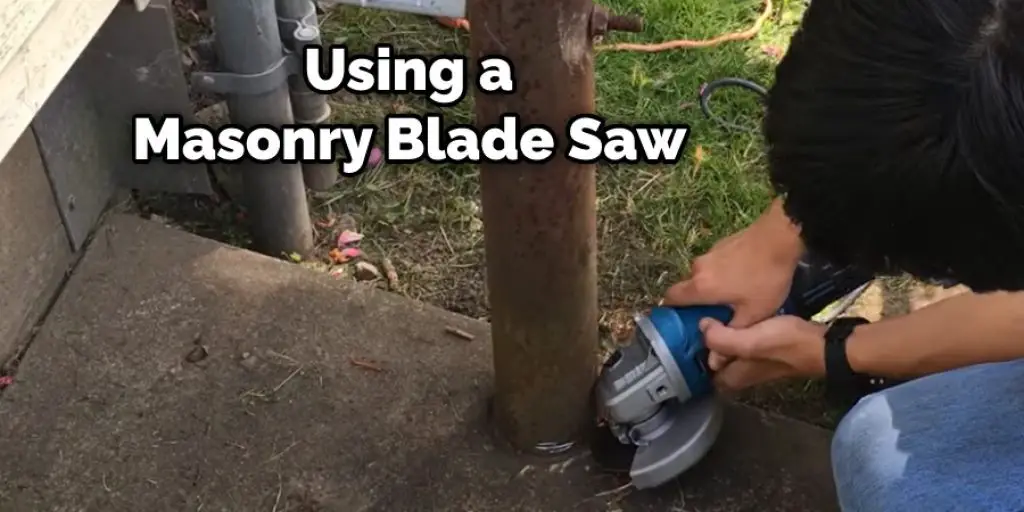
If you do not remove all of it, the new concrete will leak out of the hole. In addition, you may have to remove more concrete, depending on the brand of concrete that you are using. This is because not all brands of concrete are constructed the same way, which can lead to different levels of penetration.
Step Two: Prepare
After your fence post has been placed through the concrete, you can begin preparing to pour cement. Start by clearing away any debris around your work area. Then, put on protective clothing to shield yourself from the cement. Finally, gather all the tools you’ll need so they’re within reach when you start filling the hole. Mix your cement according to the package directions.
Then, pour it into the hole around the fence post. Slowly fill the hole until it’s flush with the ground. Once the cement is in place, use a trowel to smooth it out.
After the cement has dried, you can add soil or mulch around the base of the fence post to help keep it in place.
Third, use a ruler to mark a line on the new concrete that you will pour into the hole. The closer to the fence post that your new concrete is, the better it will support your fence.
If you have a newer fence, you will probably need to remove the top of the post. You can do this by using a Sawzall or chisel and masonry hammer. It might be easier to mark the area around your fence post that you want to remove with chalk before beginning your work.
Step Three: Remove Excess
The next step is to remove any extra concrete around your fence post so that your fence won’t fall over if it gets wet. Use a hammer and chisel to carefully chip away the excess concrete.
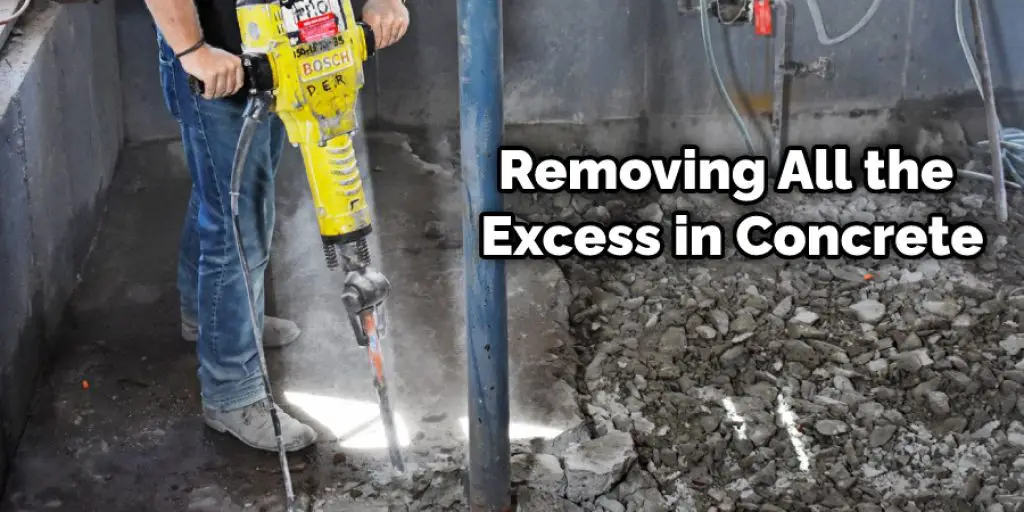
You may also want to use a crowbar to loosen up any concrete that has dried and hardened against the fence post. Finally, use an ice pick or screwdriver to lift out any large pieces of concrete that stick out from the hole, but be careful not to do this too quickly or forcefully.
You do not want to damage your concrete or puncture the fence post. If you need a hammer for this, you can use a paddle hammer, but keep in mind that this will dull the hammer’s head. However, this will help in how to remove aluminum fence post set in concrete.
Step Four: Pour the Cement
Now that your home is completely prepared, it is time to pour in your cement. Your new concrete will keep your fence post secure and prevent it from bending with the wind or sagging into soft ground. In addition, you can pour cement directly into holes that are deep enough to support the full height of a fence post without any additional help.
If you want to pour concrete into a hole, you will need to use a rod or stick to push the concrete down if the hole is not deep enough. Once the concrete has been poured and has solidified, you can use a finishing trowel to smooth out the top. You can also use a broom to remove any excess dust or dirt from the area.
The last thing you need to do is remove any extra concrete from your fence post. If there is concrete around the post that is higher than the ground, use a chisel and hammer to chip away at it until the post is the same height as the ground.
Step Five: Clean Up
Once you’ve completed your project, it’s best to promptly tidy up all your tools and materials. This will prevent them from drying out in the sun or rusting in the rain. When cleaning, use water or mineral spirits to remove any cement from surfaces that aren’t meant for this purpose.

After you finish your project, it’s best to clean up your tools and materials on time. This’ll prevent them from drying out in the sun or rusting in the rain. Make sure that when you’re cleaning, you use water or mineral spirits to get the cement off of anything that wasn’t made specifically for this task.
You can check it to Build a Raised Deck Over Concrete.
Conclusion
If you want to remove the fence posts from your concrete, a few different ways can be done. First, you could use an auger or rotary hammer drill with a masonry bit and break through the concrete. Another option is using a jackhammer and breaking up the surface of the cement near where you’re trying to extract it.
The last method is chipping away at the concrete in small chunks until they loosen enough for removal by hand or with tools like an ice pick or pry bar. The conclusion paragraph is informative and provides information on how to remove aluminum fence post set in concrete.
You may read it also – How to Repair Concrete After Removing Tack Strips.


